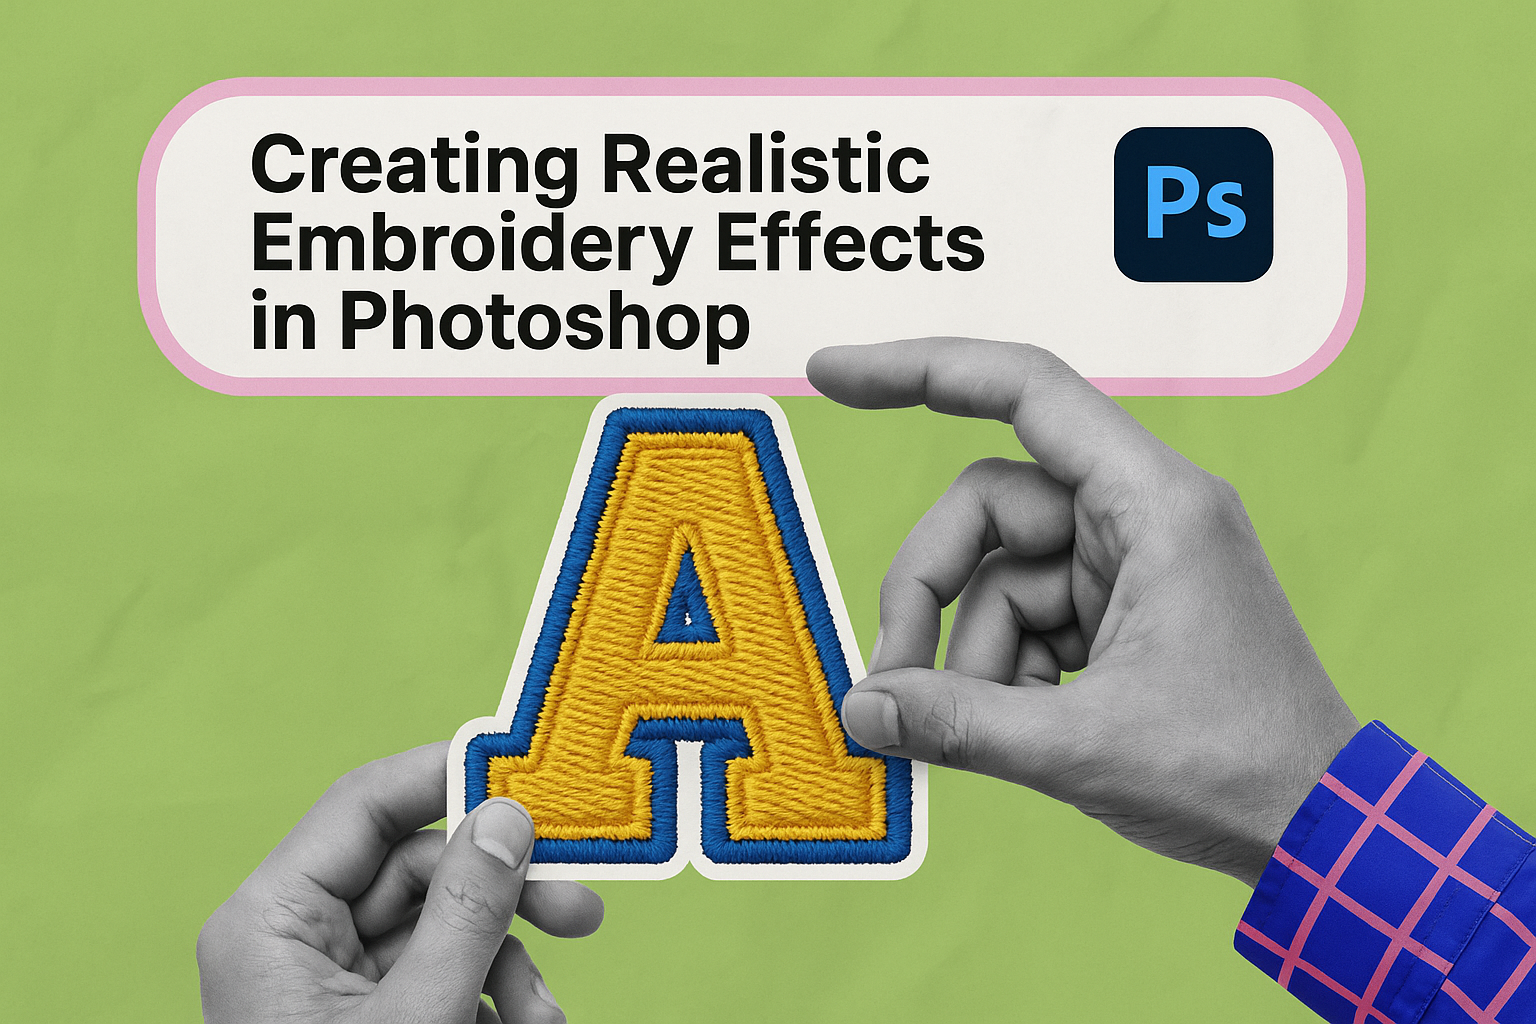
Creating a realistic embroidery effect in Photoshop can elevate any design project by adding texture and depth. The key to achieving this effect lies in mastering stitch brushes and layer styles. Whether designing text, patches, or intricate images, understanding these tools will open up a world of creative possibilities.
Photoshop offers a versatile platform for digital art, making it perfect for simulating embroidery. By using a combination of custom brushes and textures, designers can create lifelike embroidered art without needing a needle or thread. This technique lets artists transform graphics into embroidered masterpieces that truly stand out.
Readers looking to enhance their Photoshop skills will find the process of creating embroidery effects both fun and rewarding. With the right techniques, anyone can mimic the look of real stitching, offering endless creative options for personal and professional projects.
Understanding Embroidery Textures
Creating realistic embroidery effects in Photoshop starts with a deep understanding of the textures involved. Different fabric types and thread characteristics play crucial roles in achieving a realistic look.
Fabric Types and Their Properties
Different fabrics offer unique textures that can affect the final embroidery design. Cotton, for example, is soft and provides a smooth surface for embroidery. This fabric works well with most thread types and allows the design to stand out clearly.
Denim offers a coarser texture, which can give embroidery a more rugged look. This fabric is strong, making it ideal for designs that require durability, like patches on jackets or jeans.
Linen is another popular choice. Known for its natural and textured surface, it adds depth to embroidery designs. Linen is breathable and durable, making it perfect for more artistic and intricate embroidery work.
Thread Characteristics and Selection
The choice of thread can significantly impact the embroidery’s appearance. Polyester thread is a popular option due to its strength and vibrant colors, which make designs pop.
Cotton thread, on the other hand, offers a matte finish, creating a more subtle and traditional look. It is also more flexible, providing a softer texture to the embroidery.
Metallic thread can add a shiny and eye-catching element to designs, though it may be more challenging to work with due to its stiffness. Selecting the right thread involves considering these characteristics and how they interact with the chosen fabric to achieve a desired effect.
Essential Tools for Embroidery Design
Creating realistic embroidery effects in Photoshop requires the right tools. This includes selecting brushes, crafting stitch patterns, and using textures for realism.
Selecting the Right Photoshop Brushes
Choosing the appropriate brushes is vital for any embroidery project. Photoshop offers a range of embroidery Photoshop effects that mimic stitches, yarns, and fibers. Using a dynamic set of brushes can help create an authentic embroidered look as they adjust to your strokes naturally. It’s recommended to test different brushes to see which ones best suit your style and project needs.
Some designers prefer customizing their own brush sets by modifying existing ones or creating new presets. This allows for more control and personalization in embroidery design.
Creating Custom Stitch Patterns
Creating your own stitch patterns can greatly enhance the realism of an embroidery effect. Start by setting up a small canvas in Photoshop, like 27 x 5 pixels, and filling it with black. This size allows you to define intricate patterns that can be turned into brushes.
A handy method is using the Define Brush Preset option, as seen in the realistic embroidery text effect tutorial. The flexibility of custom patterns enables designers to add unique elements to their embroidery projects. Experimenting with different shapes and patterns can lead to striking effects.
Using Textures for Added Realism
Textures bring depth and authenticity to embroidery designs. Incorporating textures like denim, velvet, or cord can make the digital embroidery stand out. Photoshop layer styles are useful for overlaying these fabric effects onto your design, adding a tactile quality to the image.
The use of textures allows for a more organic feel. With tools such as Photoshop’s layer effects, designers can mimic the subtleties of real-world materials, enhancing the overall look and feel of the embroidery. Consider combining multiple textures for a more layered and intricate design approach.
Setting Up Your Photoshop Document
Creating realistic embroidery effects in Photoshop begins with the right document setup. This involves selecting an appropriate canvas size and resolution and maintaining an organized layer structure.
Choosing Canvas Size and Resolution
Selecting the right canvas size and resolution is crucial for achieving a realistic embroidery effect. It’s important to consider both the end use of the design and the level of detail required. A canvas size around 3000 x 3000 pixels works well for detailed work. Setting the resolution to 300 DPI ensures that the embroidery looks crisp and detailed, especially if the design will be printed.
For digital-only use, a lower resolution might suffice. However, it’s always safer to start with higher specs to preserve detail. When creating embroidery effects, the texture and detail come alive with good resolution settings. This helps maintain the quality when zooming in on intricate details.
Layer Organization and Management
Organizing layers efficiently in Photoshop is key for stress-free editing. Using clear labels for each layer helps keep track of different elements like stitches, background, and shadows. Organizing layers in groups such as “Background,” “Stitches,” and “Details” makes the editing process smoother.
Layering allows for non-destructive editing, where changes can be made without altering the original image. It’s helpful to use adjustment layers for changes in color and tone, as they can be modified without permanently changing the underlying layers. Proper layer management not only aids in easy navigation but also enhances the overall workflow efficiency in creating embroidery effects.
The Embroidery Effect Process
Creating realistic embroidery effects in Photoshop involves several important steps. The process includes sketching the design outline, applying base colors and stitches, adding highlights and shadows, and detailing with fine stitches and accents. Each phase plays a crucial role in achieving a lifelike embroidery effect.
Sketching Your Design Outline
The first step is to sketch a design outline. Start with a clear concept of your embroidery pattern. Using Photoshop, create a new layer for sketching.
Use simple lines to shape the main elements of the design. A basic sketch helps in visualizing where stitches and colors will be applied. It also provides a guideline for maintaining consistent proportion and alignment throughout the design process.
Refining the sketch is crucial. Adjust the details and structure until satisfied with the overall layout. Ensure that every line represents a future stitch or color placement. This careful planning sets the foundation for a successful embroidery effect.
Applying Base Colors and Stitches
With a solid sketch, it’s time to add base colors. Create another layer underneath the sketch to fill in colors corresponding to threads.
Select colors that match the intended embroidery thread colors. Use a soft brush and avoid hard edges to mimic the appearance of threads. Filling the main elements with these base colors gives a clearer view of the outcome.
Next, simulate basic stitching. Use a custom stitch brush or create one by defining your own brush preset. This step gives texture to the design, making it resemble real embroidery. Keep lines consistent with the outline for a realistic effect.
Adding Highlights and Shadows
Adding highlights and shadows is vital for depth. Identify the light source’s direction, and apply highlights accordingly. Create a new layer above the base colors to strategically place brighter tones where the light would naturally hit.
Shadows are equally important. Use a slightly darker color to paint areas that are less exposed to light. This not only adds depth but also brings out the three-dimensional aspect of the embroidery.
Layer styles like drop shadow or gradient overlay can enhance this effect. Play with these adjustments to make sure highlights and shadows look realistic and cohesive. This balance ensures that the embroidery effect stands out.
Detailing with Fine Stitches and Accents
Detailing is the final touch. It involves adding fine stitches and accents to polish the embroidery. Use a smaller brush to create detailed stitches.
Pay attention to edges and intersections. Add small stitches to emulate real embroidery textures. Accents can include tiny designs or different stitch types, enhancing realism and interest.
Textural diversity adds to authenticity. For example, add a satin stitch effect for shine or a French knot for raised details. Fine-tuning these elements leads to a more convincing design, bringing the embroidery to life in Photoshop.
Advanced Techniques
In Photoshop, creating realistic embroidery effects can be enhanced by using advanced methods. These include crafting 3D looks, integrating with fabric textures, and simulating various threads like metallic types. This section explores these techniques to add depth and realism to embroidery designs.
Creating 3D Embroidery Effects
To achieve a 3D look, focus on layer styles and shadowing. Shadows and highlights give depth, making the embroidery appear to rise from the surface. Use Bevel & Emboss in Photoshop to add these effects, tweaking the Depth and Size settings for realism.
Also, the Contour option can refine the edges, providing a more natural texture. Adjusting the Global Light angle helps to ensure consistent lighting across all embroidered elements. Experimentation with these settings can lead to highly realistic 3D results that enhance overall design impact.
Integrating Embroidery with Fabric Textures
Combining embroidery effects with fabric textures can be seamless and realistic. Start by choosing a suitable fabric texture to act as a background. The texture should complement the embroidery stitch type being applied. Techniques like using Clipping Masks can help integrate the embroidery onto the desired fabric.
Align the stitches with the texture’s weave for a natural look. The Blend If sliders can also be useful to merge the embroidery into the fabric patterns, making it seem like part of the material itself. This technique adds a layer of realism and authenticity to digital embroidery projects.
Simulating Metallic and Specialty Threads
Metallic and specialty threads offer a brilliant effect that can be tricky to mimic. Begin with Photoshop’s Gradient Overlay to capture the sheen and color variations typical of metallic threads. Adjust the gradient settings to reflect the thread’s reflective qualities.
For added texture, the Pattern Overlay feature can simulate the distinct texture of different specialty threads. Adjust Opacity and Blend Mode to refine this effect, ensuring it does not overpower the main embroidery design. Proper use of these tools can transform standard stitches into dazzling, eye-catching embroidery in digital designs.
Troubleshooting Common Challenges
When creating realistic embroidery effects in Photoshop, several common challenges can arise. Key areas to focus on include maintaining the proportions of your design, achieving effective color blending, and fixing any pixelated edges or artifacts that may appear during the process.
Maintaining Realistic Proportions
When scaling embroidery designs, it’s vital to maintain realistic proportions. If elements are stretched or distorted, the design can lose its authentic feel. A precise approach helps retain the look of real embroidery.
To avoid distortion, use Photoshop’s transform tools wisely. Hold the Shift key while resizing to keep the aspect ratio intact. It’s also useful to work with vector elements when possible, as they scale without losing quality.
By keeping a close watch on proportions, the design will look as intended, even when scaled up or down.
Color Blending for Depth and Dimension
Color blending is crucial for adding depth and dimension to an embroidery design. Achieving this can make stitches appear more realistic and dynamic. A few techniques can help in smooth blending.
Use gradient maps to achieve seamless transitions between colors. Adjust the opacity and blending modes of brush layers to create subtle highlights and shadows. This will give the embroidery more life.
Experimenting with different opacities and styles in Photoshop can yield surprisingly realistic results.
Fixing Pixelated Edges and Artifacts
Pixelated edges and unwanted artifacts can detract from the embroidery effect. These imperfections often occur when elements are poorly resized or when too much compression is applied.
To fix these, try using the Smart Sharpen or Gaussian Blur filters for smoothing. Zoom in to inspect edges closely and make necessary corrections. Using higher-resolution images will also minimize these issues.
Pay attention to each step, ensuring that the final look is polished, without jagged edges or distracting artifacts.
Exporting Your Embroidery Design
Exporting your embroidery design involves choosing the right file formats and ensuring colors remain consistent across devices. These are crucial for preserving the quality and appearance of your work in both digital and print formats.
Optimal File Formats for Web and Print
When exporting for the web, JPEG and PNG are popular choices. JPEG is suitable for photographs and gradients due to its compression, though it might lose some detail. PNG is ideal for designs needing transparency as it maintains crisp edges.
For print projects, TIFF and PDF provide high-quality results. TIFF is excellent for detailed images since it doesn’t compress, preserving quality. PDF ensures your design looks consistent across various printing devices.
Being mindful of file size is important. While high-resolution images are great for print, they may be too large for the web. Consider saving different versions for each use case.
Ensuring Color Accuracy Across Devices
Color accuracy is vital in maintaining your design’s true appearance. Different devices can display colors slightly differently, which might affect your design.
Using the CMYK color mode is advisable for print materials since it reflects how colors mix in ink. For digital projects, RGB is the standard, as screens display using red, green, and blue light.
To enhance consistency, using color profiles like sRGB for screens and Adobe RGB for printing can help manage color differences. Regularly calibrating your monitor ensures you’re seeing the most accurate colors.
Cross-checking small printed samples or proofs before mass production can help catch any unexpected color shifts. This small step can save time and ensure happiness with the final output.