Creating custom brushes in Procreate is an exciting way to personalize artwork. By mastering custom brushes, artists can bring unique textures and styles to their digital creations. This guide is here to show you how to do just that, making the process enjoyable and simple.
Artists new to Procreate will find the Brush Studio an essential tool. With a few taps, you can access settings that allow for creative freedom and endless customization options. Whether using existing images or crafting your own, Procreate provides the flexibility needed to tailor brushes to your art style.
For those looking to elevate their digital art, custom brushes are a game-changer. They offer a personal touch that cannot be achieved with default options. From doodles to detailed illustrations, these brushes open up a world of possibilities, ensuring every piece stands out.
Fundamentals of Brush Creation
Creating custom brushes in Procreate allows artists to express their creativity and tailor their digital art tools. The process involves understanding the brush engine’s settings and effectively using the brush library to manage and customize brushes.
Understanding Procreate’s Brush Engine
Procreate’s brush engine is a powerful tool for artists. It lets users control how a brush behaves by adjusting settings like shape, grain, and opacity. The shape settings determine the overall form of the brush stroke, affecting how each stroke is applied. The grain settings influence the texture, adding depth and character.
Opacity is crucial for achieving various artistic effects. Lower opacity can create subtle layers, while higher opacity offers bold lines. Other important settings include spacing, which affects the distance between each instance of the brush shape, and jitter, which randomizes stroke placement for a more natural look.
Experimenting with these settings helps artists create unique brushes that fit their style, offering endless creative possibilities.
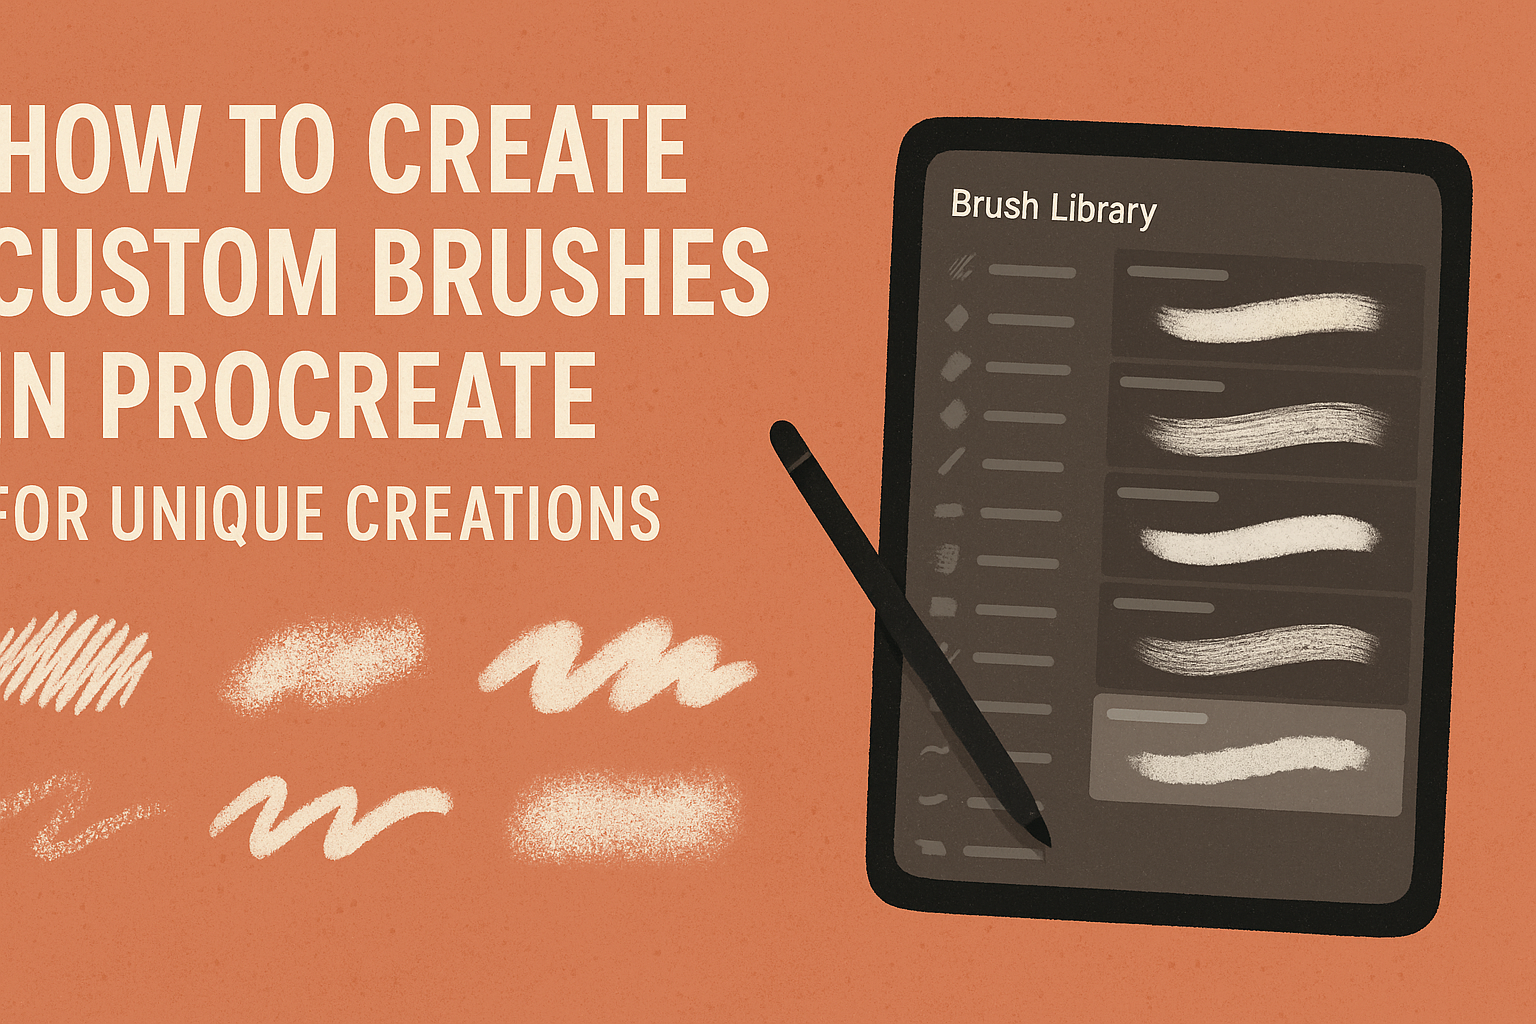
Navigating the Brush Library
The brush library in Procreate is where artists manage and organize their brushes. It provides options to create new brushes or edit existing ones. Users can easily duplicate brushes to try new adjustments without losing the original settings. Duplicating is done by swiping left on a brush in the library and selecting Duplicate.
This flexibility allows artists to test their ideas freely. Additionally, the library offers a way to reset default brushes if needed. This is useful when adjustments don’t go as planned. Artists can also import or delete brushes, giving them control over their brush collection.
Managing this library efficiently ensures that each brush can be accessed quickly, streamlining the creative process.
Setting Up Your Canvas
When creating custom brushes in Procreate, setting up your canvas properly is crucial. A well-prepared canvas ensures your brushes work as expected, with crisp textures and correct proportions.
Choosing the Right Canvas Size
The size of your canvas can significantly impact the quality of your custom brushes. Procreate suggests using a square canvas for the best results. A canvas size of 1800×1800 pixels or larger is recommended to maintain quality and avoid any distortion.
Choosing a square format ensures compatibility with various brush shapes and textures. If the canvas is too small, brushes may appear blurry when used on larger projects. Therefore, it’s essential to plan the canvas size before diving into brush creation, ensuring a seamless digital art experience.
Setting the DPI for Brush Creation
DPI, or dots per inch, influences the resolution and detail of your custom brushes. For brush creation in Procreate, a DPI setting of 300 is generally advised. This resolution provides a good balance between quality and file size, ensuring detailed brush strokes without overwhelming the application.
Higher DPI settings give you detailed and crisp brush previews, enhancing overall creativity. However, setting it too high may slow down the app. By choosing a DPI of 300, users can ensure their brush textures remain sharp and expressive, suitable for both small and large pieces. With the right DPI, your custom brushes can truly shine.
Designing Your First Custom Brush
Creating a new brush in Procreate lets artists tailor their tools to match their unique style. Adjusting brush properties can further refine these tools to suit any creative needs.
Creating a New Brush
To start designing a custom brush, open Procreate and navigate to the brush library. Look for the “+” icon at the top right corner of the screen. This is the entry point for creating a new brush. Tapping it will open the Brush Studio, a space where various brush settings are displayed.
In the Brush Studio, users can choose a shape to outline the brush’s stroke. This shape is the basis for how the brush appears on the canvas. Experiment with different shapes to see how they influence your artwork.
The texture of the brush is equally important. Users can either select a pre-existing texture or import their own. This texture adds depth and interest to the brush strokes. Once a shape and texture are selected, the basic structure of your custom brush is ready.
Adjusting Brush Properties
With the basic structure set, it’s time to fine-tune the brush properties. Begin with simple settings like size, opacity, and flow to see how they alter the brush’s behavior on the canvas. These settings provide a solid foundation.
Next, delve into more detailed settings like spacing, which affects the gaps between brush marks, and jitter, which impacts the randomness in the brush stroke. Procreate allows control over each aspect through sliders to get the desired result.
Don’t forget to test the brush after each adjustment. Seeing the changes in action helps decide if further tweaks are needed. Adjusting properties is a hands-on process, encouraging users to explore all the options available in Brush Studio.
Customizing Brush Dynamics
Customizing brush dynamics in Procreate allows artists to create more expressive strokes. Key areas to explore include modifying pressure and velocity settings and adjusting jitter and taper effects. These features can significantly alter the brush’s behavior, giving artists a wide range of creative possibilities.
Tweaking Pressure and Velocity Settings
Pressure and velocity settings impact how a brush reacts when in use. Adjusting these settings in the Brush Studio allows artists to control line thickness and opacity based on how hard or fast they press on the screen.
Pressure settings determine the variation in brush size and opacity. Increasing pressure sensitivity can make lines thicker, while decreased sensitivity results in finer strokes. Artists often experiment with these controls to suit their style or the piece they are working on.
Velocity, on the other hand, influences how quickly the brush responds to changes in speed. Fast strokes can become wider or more transparent, depending on the settings. Adjusting these parameters can enhance the expressiveness of digital paintings, giving them a more hand-drawn feel.
Altering Jitter and Taper Effects
Jitter and taper effects offer additional customization. They can introduce random variations and smooth off the start or end of strokes in unique ways.
Jitter settings in Procreate allow for random variation in stroke placement or size. This can create a more textured or dynamic line, useful for adding spontaneity to a piece. Artists can adjust the amount of jitter to achieve the desired level of variation.
Taper effects focus on smooth transitions at the beginning or end of strokes. Setting taper parameters helps generate strokes that start thick and end thin or fade off gracefully. This feature is particularly useful for calligraphy and illustrations requiring smooth line work. Adjusting taper can refine the overall look of the artwork by providing elegant stroke finishes.
Adding Textures and Grains
Creating custom brushes in Procreate involves more than just basic strokes. Adding textures and grains can significantly enhance the uniqueness of each brush, offering artists a broader range of creative possibilities.
Importing Textures
Importing textures into Procreate allows artists to expand their brush capabilities. First, they need to find or create a suitable texture file, commonly in PNG or JPEG format. Once they have the file, it’s important to import it correctly into Procreate. This can be done through the Brush Studio, where users select the brush they want to modify.
In the Brush Studio, navigate to the “Grain Source” section. Here, artists can replace the existing grain with their chosen texture. This personalizes their brushes, transforming simple strokes into textured masterpieces. For those unsure about texture choices, many online communities offer shared texture packs. This variety can help newcomers find the right fit for their projects and make their brush collection truly personal.
Crafting Your Own Grains
Creating custom grains offers artists a chance to design one-of-a-kind brushes. Start with a blank, square canvas, usually measuring about 2048 x 2048 pixels. This size ensures the grain looks crisp when applied. Using pure black and white is essential, as colors can affect transparency.
Artists can draw their desired pattern or shape on this canvas. Once satisfied, they can export this image into the Procreate Brush Studio. In the “Grain Source” area, they apply their custom grain by importing the image, making sure to adjust settings like scale and rotation to suit their needs. This process gives artists control over their brush’s texture and style, resulting in truly unique digital artwork.
Applying Advanced Techniques
Custom brushes in Procreate can elevate digital artwork to a new level. By experimenting with dual brushes and incorporating glaze and wet mix effects, artists can add depth and texture to their creations.
Experimenting with Dual Brushes
Dual brushes in Procreate allow artists to combine two distinct brushes to create unique textures. This technique can give a more layered effect, making the artwork stand out.
To start, select the primary brush and then choose a secondary brush with complementary features. Adjust the size, shape, and spacing to see how the brushes interact. This provides a wide range of possible effects.
It’s essential to try different combinations to see how each affects the appearance. Artists often use dual brushes to simulate natural textures, like fabric or foliage, giving a more realistic look to their artworks.
These combinations can be saved for consistent use, simplifying the creation of a signature style.
Using Glaze and Wet Mix Effects
Glaze and wet mix are powerful features for adding subtle depth to digital paintings. Glaze gives a layered, translucent effect, essential for areas needing a gradual color transition.
To use glaze, pick a brush with this capability. Adjust the settings to control the intensity and softness. This technique excels when blending colors smoothly, important for skin tones and shadows.
Wet mix mimics the look of wet brushstrokes, providing a more fluid appearance. This effect is useful when depicting water or creating expressive brushwork.
By altering the wetness and loading of the brush, artists can simulate real paint interactions. Mastery of these features can bring a dynamic, lifelike quality to digital art, enhancing visual impact.
Saving and Sharing Your Brushes
This section covers how to store your custom brushes in Procreate and export them to share with others. These steps will help keep your brushes organized and enable easy sharing with fellow artists.
Storing Brushes in Procreate
For artists who want to keep their brushes organized, creating a new brush set is a helpful step. In Procreate, users can make a new set by tapping the “Brush Library” icon and selecting the “+” icon. They can then name this set according to their needs, making it easy to find specific brushes later.
Once the new set is created, moving brushes is simple. She can drag and drop brushes into this set using the iOS drag and drop feature. This way, brushes are grouped based on preference, style, or project requirements. Such organization helps maintain workflow efficiency, making brush selection quick and hassle-free.
Exporting Brushes for Others
Sharing Procreate brushes with others is a straightforward process. First, selecting the desired brush from the library is necessary. After choosing a brush, she can swipe left and tap “Share.” This feature allows exporting the brushes in a “.brush” format, which is compatible with other Procreate users.
After exporting, sharing can be done through various platforms like email or cloud services. Artists can also upload their brushes to online communities for broader sharing. This function is excellent for collaborating with other artists or showcasing unique creations, making it easy for others to access and use the same tools.
Expanding Your Brush Collection
When looking to expand a brush collection in Procreate, exploring community resources and organizing tools can make a big difference. Make sure to try new brushes shared by artists and develop a system for keeping everything easily accessible and manageable.
Discovering Community Brushes
Many talented artists share their custom brushes online, often for free or at a low cost. Websites and platforms like Gumroad and Etsy often have creators offering unique brush sets tailored for specific styles.
Social media platforms like Instagram and Pinterest can also be great places to find recommendations and examples of how these brushes are used.
Another way to discover brushes is through online forums and groups dedicated to Procreate. Here, enthusiasts share their latest finds and personal creations. Engaging with these communities not only provides access to a wealth of brushes but also offers tips and inspiration.
Organizing Your Brushes Effectively
Keeping a large collection of brushes organized in Procreate is crucial. It can save time and enhance creativity. Start by creating custom brush folders within the app to categorize brushes by type or project.
Naming conventions are important too. Using clear and descriptive names aids in quick searching and retrieval.
Consider backing up your brushes regularly. This can be done by exporting them to cloud storage or an external device. Regularly reviewing and decluttering the brush library can also help maintain focus on the tools you use most. It ensures easy access and supports a smoother workflow when creating digital art pieces.