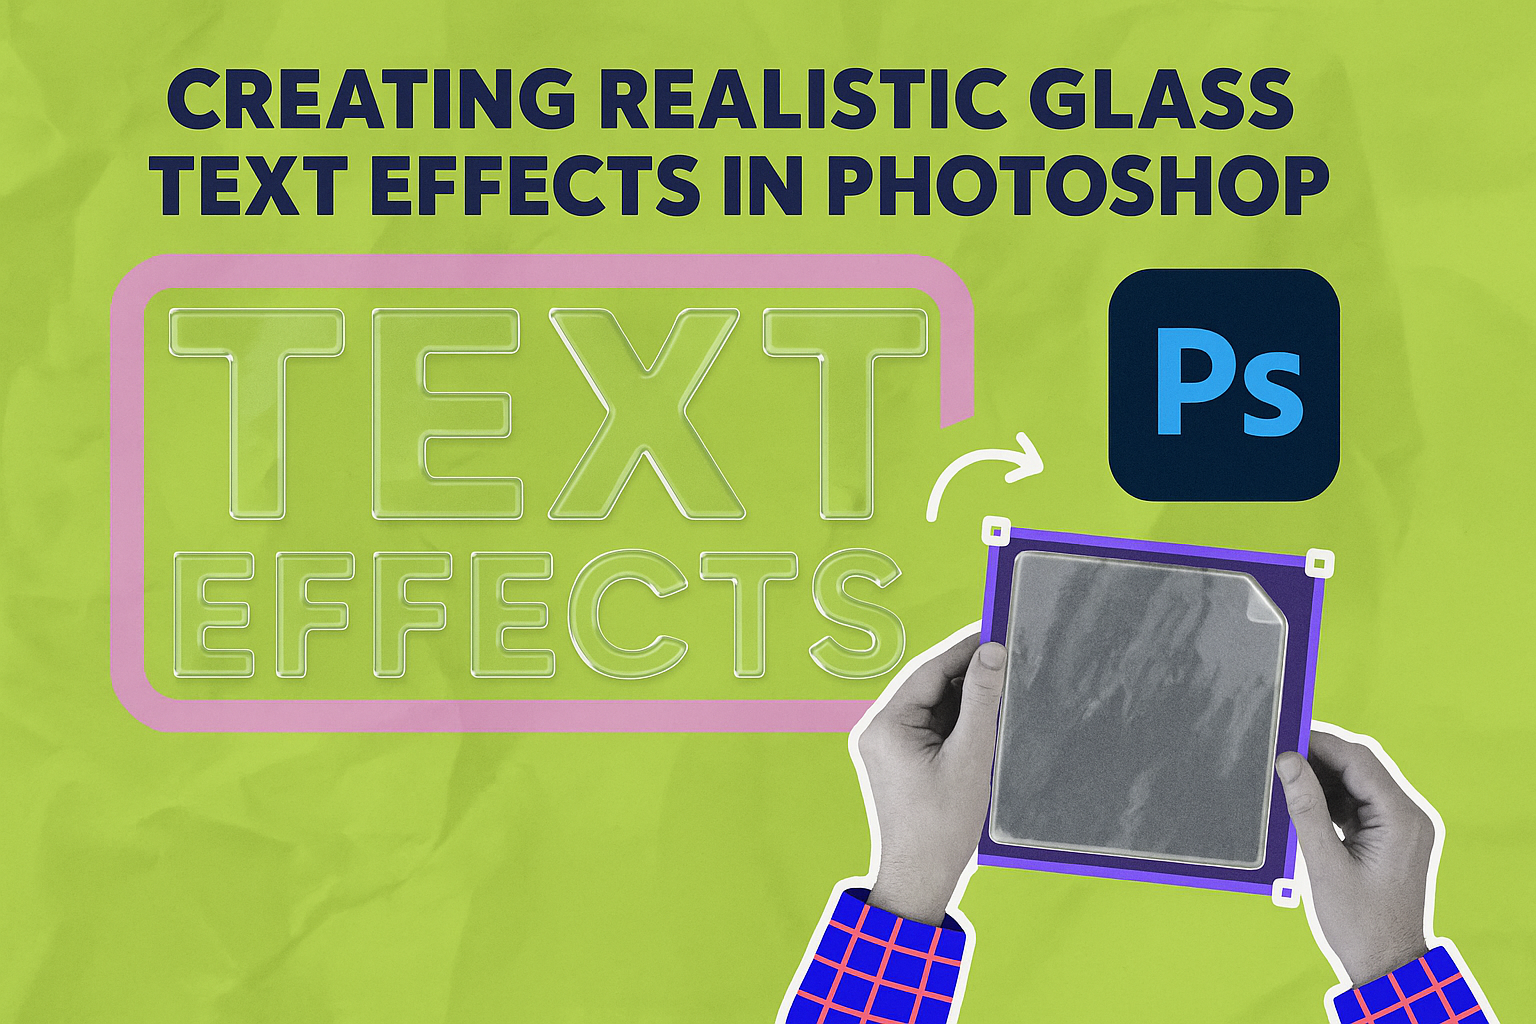
Creating a realistic glass text effect in Photoshop can add a touch of elegance and creativity to any design. Using simple tools like blending modes and layer style effects, anyone can master this technique. This guide will walk readers through the process, making it accessible for both beginners and experienced users.
The process involves applying transparent glossy textures and other effects that make the text look like real glass. This technique can be used for eye-catching logos, unique headers, or even artistic projects. Understanding how to manipulate these effects can open up a world of design possibilities.
Whether you’re looking to enhance a graphic or just exploring new Photoshop skills, this tutorial provides the perfect starting point. Many tutorials, such as those found on Photoshop Lady and Envato Tuts+, make the learning process simple and enjoyable. Dive in, and see what transformation awaits your text designs!
Understanding Glass Texture
To create realistic glass text effects in Photoshop, it’s crucial to grasp how light interacts with glass and recognize the visual traits of glass materials. These concepts help in applying the right effects to achieve transparency and shine.
Physics of Light and Glass
Light behaves uniquely when it passes through glass. Due to its transparency, glass allows light to both pass through and reflect off its surface. This dual action creates a gleaming effect, making text appear both solid and see-through. Factors like refraction, which bends light, and reflection, which bounces light back, are significant.
Refraction causes the light to bend at different angles as it enters and exits the glass. Reflection adds a glossy finish, enhancing the text’s 3D appearance. By understanding these concepts, designers can manipulate layers and blending modes in Photoshop to mimic these effects effectively.
Visual Characteristics of Glass
Glass has distinct visual properties that are vital in design. Its clarity makes it see-through, but the shine gives it a polished look. The edges may appear brighter, an effect to mimic using outer glow in Photoshop. Textured glass presents a complex surface, often appearing ‘frosted’ or ‘rippled’, impacting how the background shows through.
Designers must consider color as well, as glass can range from clear to tinted. The interplay of light, texture, and color gives glass its unique charm. Using tools like layer styles and blending options helps enhance these qualities, leading to realistic glass text effects.
Getting Started with Photoshop
When creating realistic glass text effects, it’s important to prepare and familiarize yourself with Adobe Photoshop. This involves setting up your workspace and understanding the essential tools and features.
Setting Up Your Workspace
To begin, it’s crucial to set up your Photoshop workspace efficiently. Start by opening Photoshop and creating a new document. Choose the size that fits your project, such as 1000×600 pixels, which offers a good balance for text effects.
Next, organize your panels. Ensure the Layers panel is visible, as it’s central to managing different elements in your design. You can find this under the Window menu. Other helpful panels include History and Navigator.
Consider customizing your toolbar. If certain tools aren’t visible, you can adjust which ones are shown. This can streamline your workflow considerably.
Finally, save your workspace settings by clicking on Window > Workspace > New Workspace. This allows Photoshop to remember your preferred layout for future use, minimizing setup time.
Essential Tools and Features
Photoshop’s Layer Styles are powerful for creating effects. The Bevel and Emboss feature, found in the Layer Styles panel, can help achieve a three-dimensional look for your text.
Use the Gradient Tool to add depth and color variations. Adjust gradients to simulate light hitting the glass surface. Additionally, the Opacity setting is crucial for making text appear transparent or reflective.
For precise adjustments, familiarize yourself with the Displacement Map tool. This helps create realistic distortions, making the text look more like glass interacting with its surroundings.
By using these tools effectively, users can produce stunning, realistic glass text effects, drawing from the visual inspirations and techniques found in resources like those on Envato Tuts+.
Creating the Base Layer
Getting the base layer right is crucial for a realistic glass text effect. This involves designing the shape that will hold the glass effect and applying a suitable base color to make it visually appealing and accurate.
Designing the Shape
Starting with the right shape is key. The first step in creating the glass text effect is to select a bold and clear font, which will help the glass effect pop. They can choose fonts like Arial Black or Impact, which have thick lines and spaces.
Once the font is selected, create a new text layer in Photoshop. To keep things precise, they should place the text on its own layer. This allows for easier manipulation and adjustment of settings later on. Using the move tool can help position the text correctly on the canvas.
If a custom shape is preferred instead of text, use the Shape Tool. This tool provides options like rectangles or circles, which can be transformed into glass shapes. Just ensure whatever shape is selected is simple enough to hold the details of the glass effect.
Applying the Base Color
After crafting the shape, they need to apply a base color. This color will serve as the foundation of the glass effect, so it should be soft and subtle. Light grays or soft blues often work well because they mimic the natural hues of glass.
The next step is to go to the Layer Style panel. Here, use the Gradient Overlay setting to add depth to the base color. A gentle gradient from a lighter to a darker shade of the chosen color can simulate light shining through glass.
To adjust the opacity, they can use the Fill Opacity option in the Layer Style menu. Lowering the opacity allows some of the background elements to show through, making the glass look more translucent.
Adding Realism with Texture
Enhancing the realism of glass text effects in Photoshop often involves using textures to create more depth. This can be achieved by using filters and layer styles or importing custom textures. Each technique has its own benefits and can be tailored to fit the desired look.
Using Filters and Layer Styles
Filters and layer styles in Photoshop provide versatile tools to enhance depth. By adjusting effects such as Bevel & Emboss, users can create highlights and shadows that mimic real glass. The Glass filter can add a subtle distortion, making the text appear refractive.
Bevel & Emboss: Adjust the size and soften settings to influence how sharp or smooth the text edges look. Use different gloss contours for varied reflective effects.
Gloss Contour: Experimenting with settings allows users to simulate the way light interacts with glass surfaces.
Applying multiple styles can produce a layered effect, offering more complex and realistic visuals.
Importing Custom Textures
Using custom textures can significantly enhance the realism of glass text effects. Textures like cracks, smudges, or gradients can be imported into Photoshop and applied over the text.
To import a texture, simply open it in Photoshop and drag it over the text layer. Adjust the blending mode to options like Overlay or Soft Light for seamless integration.
When choosing a texture, ensure it matches the scale and style of the text. Large textures may overpower smaller fonts, so resizing might be necessary. Experimenting with opacity can also help achieve the right balance.
Applying custom textures allows users to create unique effects that closely mimic real-life glass features.
Manipulating Light and Reflection
Transforming text into realistic glass graphics requires careful attention to light and reflection. By creating highlights and shadows and simulating refraction and reflection, plain text can gain depth and luster.
Creating Highlights and Shadows
For glass effects in Photoshop, highlights and shadows are crucial. They give the text dimension and make it look like real glass. Start by using the gradient tool to add subtle highlights on areas where light would naturally hit.
Adjust the opacity and layer styles for more depth. Shadows are just as important. They can be added using soft brushes or additional layers set to low opacity black. This creates the illusion of depth where glass overlaps other elements.
Without these elements, the glass text may appear flat. A balance between highlights and shadows will help create a convincing glass effect, adding to the text’s realism.
Simulating Refraction and Reflection
To simulate refraction and reflection in Photoshop, consider how light passes through and bounces off glass. Use distortion filters like the Glass filter to mimic these effects. Adjust its settings to subtly alter the text’s appearance.
Layer styles can play a role in enhancing reflections. Use the Overlay or Screen blend modes on duplicate layers of the text to intensify this effect. Customizing these settings based on your project can make a huge difference in realism.
The result should show a slight bending of shapes and colors behind the glass text. This creates an authentic look, making the text appear genuinely glass-like.
Advanced Techniques
When creating realistic glass text effects in Photoshop, exploring advanced techniques can add depth and intricacy to your designs. These methods involve working with shaders and creating a frosted look to enhance the glass effect.
Working with Shaders
Using shaders in Photoshop can greatly improve the realism of glass text effects. Shaders help simulate the way light interacts with glass, creating reflections and refractions that give text a more dynamic appearance.
Start by applying Blending Options to your text. Choose different blending modes to see how each mode interacts with the light. Adjust the transparency and use gradient overlays to simulate realistic lighting.
Experiment with displacement maps to add a sense of depth. These maps bend the light passing through, mimicking how real glass distorts images and colors. Using these techniques together allows for creating stunning glass effects that look convincing and professional.
Achieving a Frosted Look
To simulate a frosted glass effect in Photoshop, various techniques can add the delicate, blurred texture typical of frosted glass. Begin with a base layer style that includes subtle noise. This simulates the random texture of frost.
Use the Gaussian Blur filter to add softness to the text edges. This filter helps in achieving a matte finish typical of frosted surfaces. By adjusting the blur intensity, you can control how frosted the glass appears.
Applying a mask with a brush to selectively add frostiness on parts of the text can give it a more realistic effect. This makes certain areas opaque while leaving others clearer, emulating the uneven frost coverage. Combined, these methods effectively recreate the frosted glass effect in your designs.
Final Touches
To achieve a realistic glass text effect, focus on enhancing details and correcting colors. These final touches ensure the text truly stands out and appears lifelike.
Enhancing Details and Contrast
Adding details and contrast can make glass text look more real. Start by refining edges. Use a soft brush and carefully trace the text edges. This helps create a subtle transition between the text and background.
Increasing contrast within the text can further the effect. Adjust highlights and shadows to emphasize depth. The Bevel & Emboss feature in Photoshop is excellent for this. It gives the text a 3D look, enhancing the illusion of glass.
Consider adding a slight reflection or glare to mimic glass properties. Using the Gradient tool, add gradients that simulate how light hits glass surfaces. This small step can make a big difference.
Color Correction for Realism
Realistic glass should interact with colors realistically. Start by checking the color balance. Adjust using the Color Balance tool in Photoshop. This helps achieve a natural look.
Small changes in saturation can also be important. Using the Hue/Saturation tool, tweak to ensure colors stay vivid yet natural. Glass can sometimes create a subtle tint effect. Experimenting with different tints can make text fit better within the overall design.
Finally, consider simulating a subtle environment reflection. Use a new layer to add a faint reflection or overlay of the surroundings. This adds depth, anchoring the glass within its visual context.