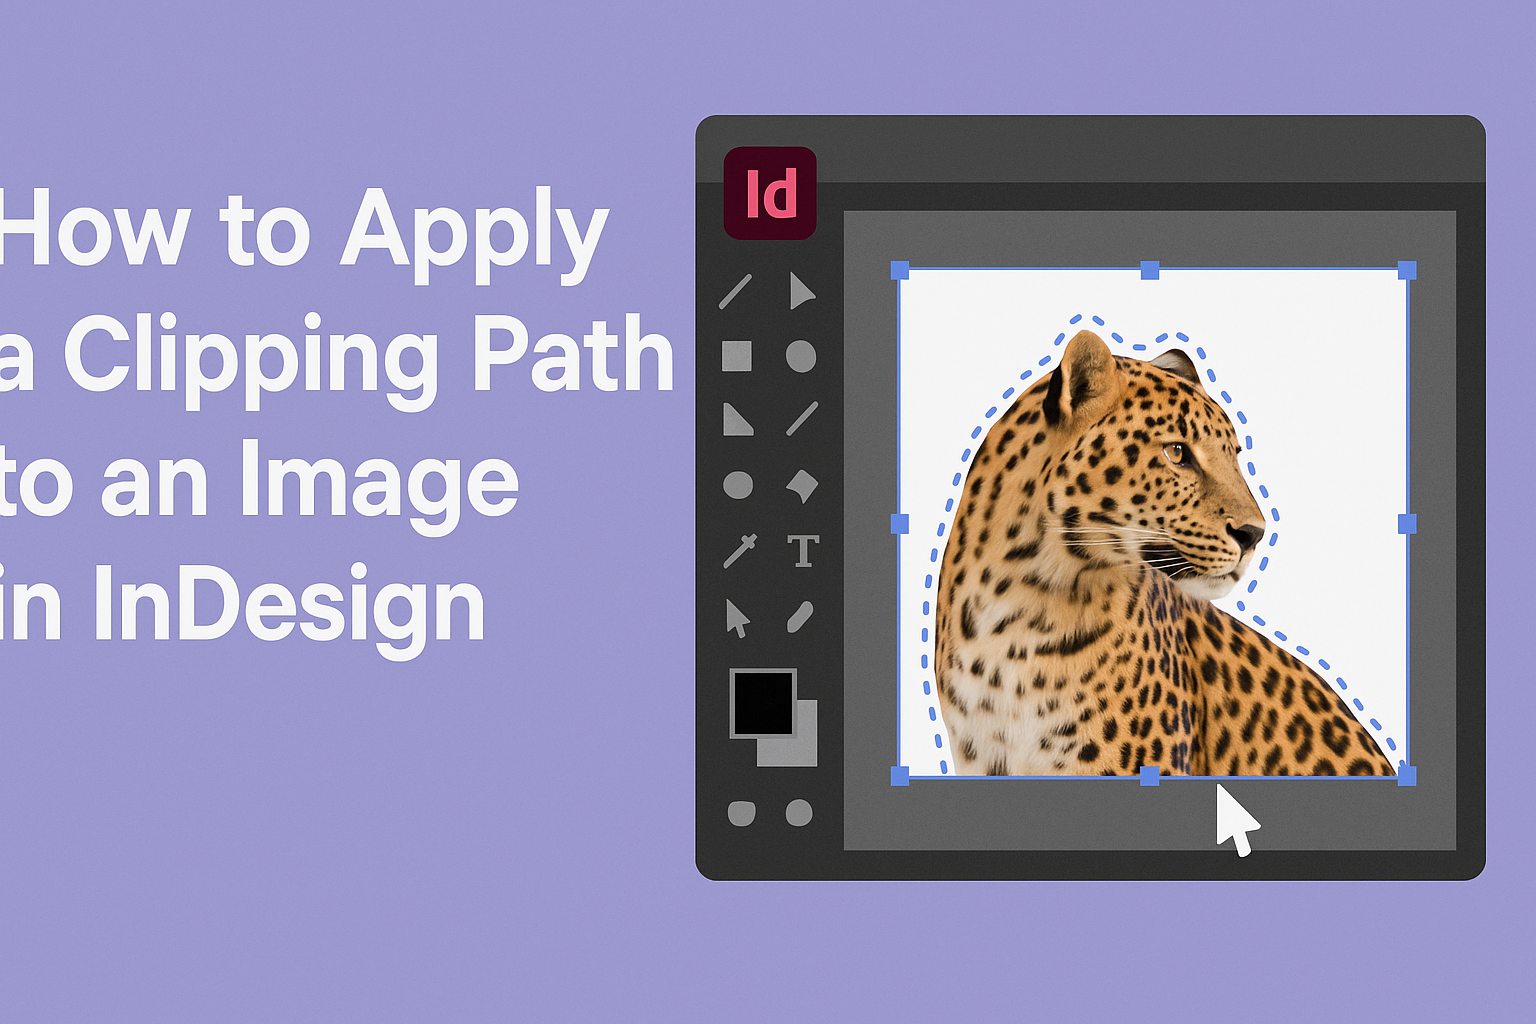
Applying a clipping path to an image in InDesign can transform a simple graphic into a standout visual element.
To add a clipping path, users must first select the image, navigate to the “Object” menu, and choose “Clipping Path.” This simple process allows for better control over the image’s appearance and enhances the overall layout.
Clipping paths are essential tools for graphic designers looking to create clean, professional-looking images. By using these paths, they can remove unwanted portions of an image or highlight specific areas, making their designs more appealing. With a little practice, anyone can master this technique and elevate their InDesign projects.
As more designers seek to streamline their workflows, learning how to apply a clipping path can be incredibly beneficial. This skill not only boosts creativity but also saves valuable time in the design process. Understanding the steps involved will empower users to make their projects shine.
Getting Started with InDesign
To begin using InDesign effectively, it’s important to set up a document properly.
Knowing the workspace layout helps users find tools quickly. Finally, placing images correctly is essential for creating a polished layout.
Setting Up Your Document
When starting a new project in InDesign, the first step is to create a document.
Users can select File and then New Document. This opens a dialog box where specific settings can be adjusted.
Key settings include page size, number of pages, and margins. Choosing the right dimensions ensures the final output fits the intended use, whether for print or digital.
Users can also set up bleed and slug areas for professional-quality results.
It’s crucial to name the document early to avoid confusion later. A clear naming convention helps manage multiple files more effectively.
Understanding InDesign Workspace
The InDesign workspace consists of several components, including the menu bar, toolbox, and panels.
The menu bar at the top provides access to all functions. The toolbox on the left includes selection tools, text tools, and shape tools.
On the right, panels offer features like Layers, Styles, and Color, which can be customized to fit the user’s preferences. Users can drag and dock these panels for easy access.
Familiarity with the workspace layout helps users navigate more quickly and efficiently. Taking the time to customize the workspace can enhance productivity.
Placing Images into Your Layout
Once the document is set up, users can add images.
To do this, they should go to File and select Place. This action lets users browse their files and choose images to insert into the document.
After selecting an image, clicking on the desired spot in the layout places the image. Holding down the Shift key while dragging helps maintain proportions.
Users can always adjust the image’s size later.
It’s important to remember that images should be high resolution for best quality in prints. This ensures they look sharp and professional.
Creating and Applying a Clipping Path
Applying a clipping path is a great way to control how images are displayed in InDesign. This process involves defining the path, using InDesign’s options, and making any necessary edits for the perfect look.
Defining a Clipping Path
A clipping path is an outline that determines which parts of an image are visible. InDesign allows users to create this path in a few ways.
One method is to use the Pen Tool. The Pen Tool lets the user draw a custom path around the desired area.
Another option is to use the Detect Edges feature. This automatically generates a path based on the image’s edges. Either method can help define the clipping area effectively.
Using InDesign’s Clipping Path Options
To apply a clipping path, select the image and go to Object > Clipping Path > Options. This opens the Clipping Path Options dialog box.
In this dialog, users can choose different options like Photoshop Path or Detect Edges.
Selecting Detect Edges lets InDesign create a path based on the image’s edges. The Tolerance slider is also vital here. It adjusts how closely the path follows the image edges.
A lower tolerance is good for sharp edges, while a higher setting works better for smoother areas.
Editing the Path Options
Once the clipping path is applied, it’s often necessary to edit it. Users can return to the Clipping Path Options to make adjustments as needed.
They can refine the path by changing the Tolerance again. There’s also the option to change the clipping path type if needed.
If the final look is not satisfactory, the user can always redraw the path using the Pen Tool. This flexibility allows for a precise adjustment to achieve the desired image effect.
Refining the Clipping Path
Refining a clipping path helps create a polished look for images in InDesign. This process includes adjusting anchor points, feathering edges, and applying effects that enhance the final appearance of the clipped image.
Adjusting Anchor Points
When refining a clipping path, adjusting anchor points is crucial. Anchor points serve as the markers that define the shape of the path.
By selecting the path with the Selection Tool, one can see and manipulate these points.
To adjust them, hold down the Control (Ctrl) key (or Command (Cmd) on a Mac) and click on any anchor point to move it.
By dragging the points closer or further, the user can smooth out curves or sharp angles. This precision ensures the clipping path fits the object more naturally and looks better in the overall design.
Feathering the Edges
Feathering the edges of a clipping path softens the transition between the clipped image and the background. This is especially useful for images needing a more blended look.
In InDesign, you can apply feathering by selecting the image, then going to the Effects panel.
Choose Feather and adjust the feather amount to achieve the desired softness.
A low feather value provides a slight blur, while a higher value yields a more pronounced effect. This technique helps integrate the clipped image into its environment, enhancing visual appeal.
Applying Effects to the Clipped Image
Applying effects to a clipped image can further enhance its appearance. In InDesign, various effects like drop shadows or glows can create depth and interest.
To add an effect, select the clipped image and navigate to the Effects panel.
After selecting an effect, users can customize parameters, such as opacity and distance, to achieve the desired outcome. This allows the image to stand out or blend in, depending on the design goals.
Using these refining techniques makes images in InDesign look more professional and intentional, engaging viewers effectively.
Best Practices
To successfully apply a clipping path in InDesign, it’s important to focus on image quality and preparation. A smooth workflow can also enhance the process and results.
Maintaining Image Quality
Maintaining high image quality is vital when applying a clipping path.
It’s best to work with images that are at least 300 DPI (dots per inch). This ensures that the final product looks sharp and professional, especially in print.
When creating a clipping path, avoid enlarging smaller images. Enlarging tends to cause pixelation. Instead, start with an image that has adequate resolution for its intended use.
Before exporting, check the image in a high-quality format like TIFF or PNG. These formats preserve quality better than others, ensuring crisp edges around clipped images.
Preparing Images for Clipping Paths
Preparation is key for successful clipping paths.
Start by organizing images in dedicated folders. This makes it easier to find and manage files during the design process.
Before applying a clipping path, ensure the image is free from unnecessary elements. Remove any distracting backgrounds or items that won’t be used in the final design. It reduces the complexity of the clipping path.
Utilizing software like Adobe Photoshop for initial edits can also help. Making adjustments like cleaning up edges or adjusting colors can save time in InDesign.
Workflow Tips
Having a smooth workflow can enhance efficiency.
It’s helpful to create a checklist before starting. This includes steps like selecting images, cleaning backgrounds, and setting up InDesign documents.
Using layers is also beneficial.
Keeping the clipping path on a separate layer can make adjustments easier later. It allows for quick access when needing to modify or refine the path.
Additionally, saving progress regularly prevents loss of work.
InDesign is known for its stability, but it’s always wise to save frequently. This small habit can avoid major headaches down the line.