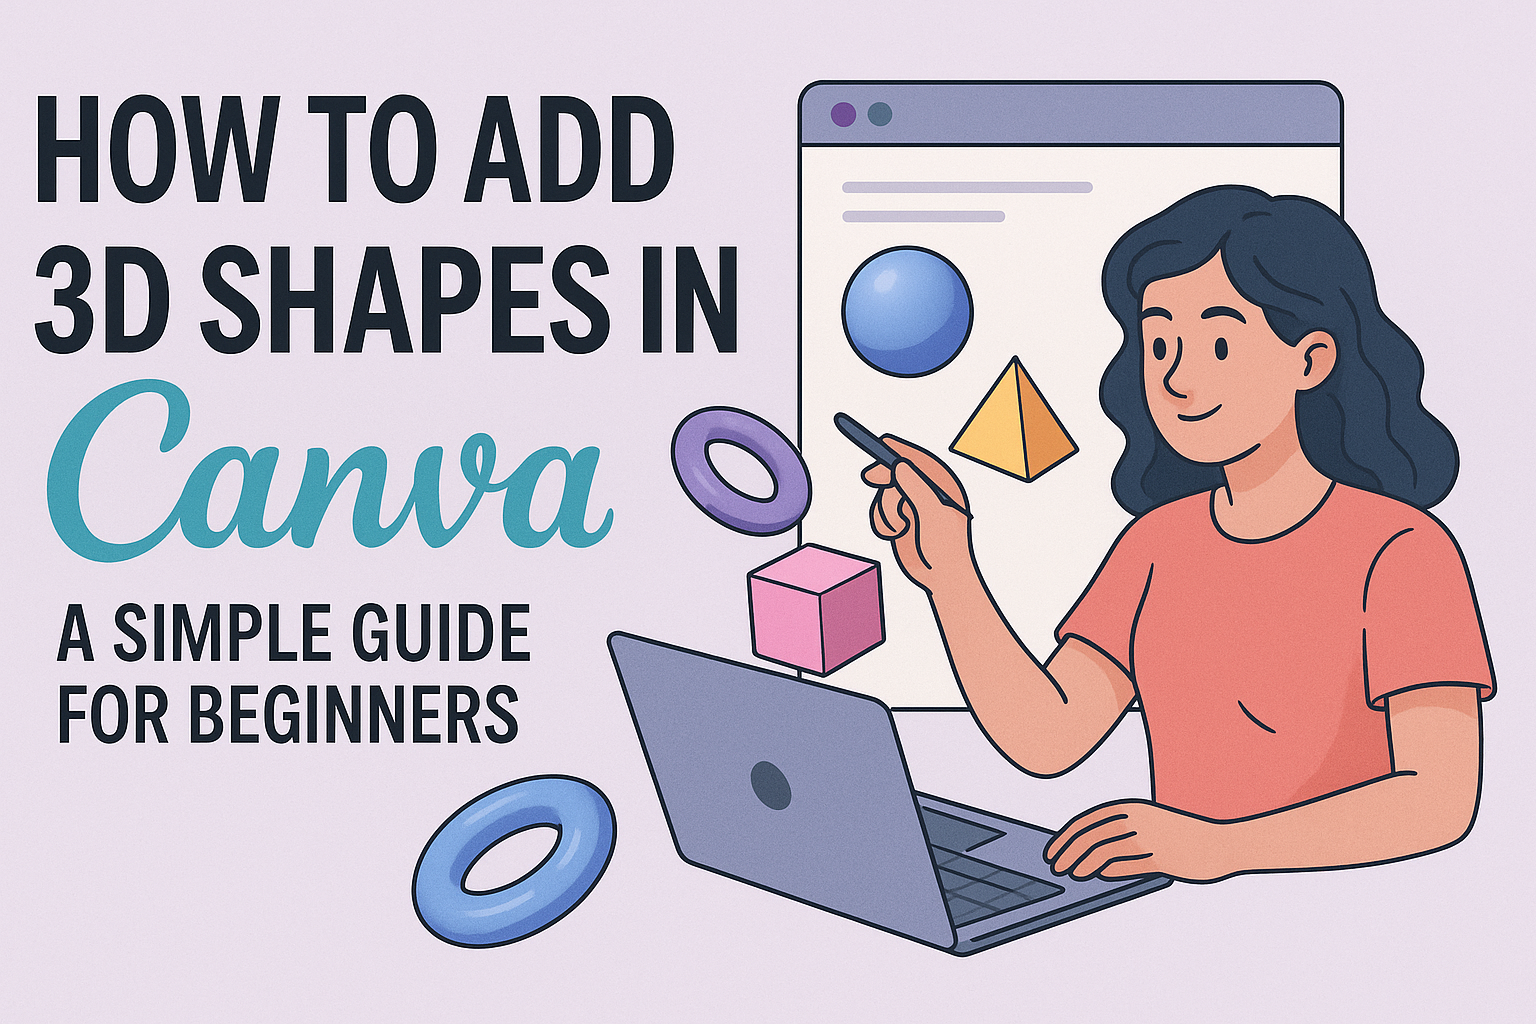
Canva is a powerful tool for creating stunning graphics, and adding 3D shapes can elevate any design project.
To add a 3D shape in Canva, users can access the Shapes Library through the Elements tab and select from various options. This feature allows creative minds to explore new dimensions and enhance their visuals.
Whether designing for social media, presentations, or personal projects, incorporating 3D shapes adds a unique touch that captures attention.
Shedding light on how to effectively use this feature can inspire others to experiment with their designs.
With easy steps and plenty of resources available, anyone can learn how to bring their ideas to life. The journey to mastering 3D shapes in Canva is just a few clicks away.
Getting Started with Canva
Canva is a user-friendly design tool that helps anyone create stunning graphics.
To begin using Canva, it’s essential to know how to create a new design and navigate the interface effectively.
Creating a New Design
To start a new design in Canva, the user first needs to log in to their account. On the homepage, they will see a button that says “Create a design.”
Clicking this will open a dropdown with various options, including custom dimensions, social media posts, presentations, and more.
Once the user chooses a design type, a new workspace opens. Here, they can select from templates or start from scratch.
It’s important to keep in mind the size and purpose of the design while choosing options. The workspace allows users to save their projects, so they can easily return to finish or edit them later.
Understanding the Canva Interface
The Canva interface is designed for simplicity and ease of use.
On the left side of the screen, users will find the main tool panel. This includes tabs for “Templates,” “Elements,” “Text,” and “Uploads.”
Each section has specific features. For example, the Elements tab includes shapes, icons, and images.
Users can drag and drop items directly onto the canvas. The top toolbar allows adjustments like color changes, font selection, and alignment.
Familiarizing oneself with these tools will make the design process smoother and more enjoyable.
Adding 3D Shapes to Your Project
Adding 3D shapes can bring a fresh look to any design in Canva. With just a few simple steps, a user can enhance visual appeal and creativity.
Selecting 3D Shapes from the Element Tab
To find 3D shapes, the user should open Canva and start a new design. Then, they must click on the Elements tab located on the left side of the screen.
Once there, they should scroll down to the 3D category. This section will display a variety of shapes that can be added to the design.
Users can browse through options such as cubes, spheres, or unique angled shapes.
Selecting a shape is easy; just click on the desired item to add it to the design canvas. Users can drag it to their preferred location on the canvas to start building their composition.
Customizing 3D Shapes
After placing a 3D shape, customizing it is the next step.
Click on the shape to reveal editing options. Users can change colors, adjust sizes, and apply effects.
To change the color, simply select the shape, then click on the color box in the toolbar.
For resizing, drag the corners of the shape to fit the design’s needs. Canva also allows users to apply effects like shadows or glows.
Each modification lets users create a more personalized and unique design. From bright colors to subtle shades, the options for customization are extensive.
Adjusting and Styling 3D Shapes
Adjusting and styling 3D shapes in Canva can elevate designs significantly. This process includes resizing and rotating shapes, changing their colors and textures, and layering them with other elements to create a polished look.
Resizing and Rotating
To resize a 3D shape in Canva, the user can click on the shape and drag the corners inward or outward. This allows for precise adjustments to fit the design needs.
Holding the Shift key while resizing keeps the shape’s proportions intact.
Rotating the shape is just as simple. By moving the circular arrow cursor positioned near the shape, one can easily rotate to any angle.
This flexibility enables better integration of shapes into various layouts.
Changing Colors and Textures
Changing the color of a 3D shape can enhance its appeal. After selecting the shape, users can click on the color box in the toolbar. This gives access to a color palette, allowing for quick adjustments.
Users can also explore texture options by selecting a shape and accessing the “Effects” panel.
From here, they can add patterns or gradients. This can create depth and interest, making the design stand out even more.
Layering with Other Design Elements
Layering 3D shapes with other design elements is vital for creating a comprehensive visual.
Users can drag shapes over text or images. They can adjust the order using the “Position” feature for a better layout.
Additionally, combining shapes creates new designs. For example, overlapping circles can form unique patterns. Grouping elements maintains alignment and makes adjustments simpler in the future.
This layering technique can make any design more dynamic.
Tips for Using 3D Shapes Effectively
Using 3D shapes in Canva can enhance any design. Here are some tips to make the most out of them:
-
Choose the Right Shapes: Not every project needs 3D shapes. Use them to highlight important elements or add depth to your design.
-
Balance Colors: Ensure the colors of the 3D shapes match or complement the overall color scheme. This creates a cohesive look.
-
Utilize Shadows and Gradients: Adding shadows can give shapes more dimension. Gradients can make flat shapes appear more dynamic.
-
Limit the Number of Shapes: Too many 3D shapes can clutter a design. Focus on a few key shapes to keep the composition clean.
-
Experiment with Sizes: Varying the size of shapes can create visual interest. Larger shapes can capture attention, while smaller ones can add subtle details.
-
Use Grouping: Grouping shapes together can create unique designs. This also makes it easier to move and adjust them as a unit.
-
Incorporate Movement: If possible, use animations for 3D shapes. Simple movements can bring designs to life.