Canva is a popular tool for creating stunning visuals, but not everyone knows how to make the most of its editing features.
To adjust the light settings of Canva images, users can access the editing tools by selecting the design that needs changes, then clicking on the image and using the available options.
This simple action can dramatically improve the appearance of a design, whether by brightening a photo or balancing its contrast.
Adjusting light settings isn’t just about making an image brighter; it’s about bringing out the best in your visuals. With the right tools, users can enhance the mood and tone of their designs by fine-tuning brightness, contrast, and saturation.
Doing so ensures that the final product reflects the intended message and style.
For those who want to create eye-catching designs, mastering these adjustments can make their images stand out.
Knowing how to effectively manipulate light settings helps designers, both beginners and seasoned pros, to create more engaging and professional-looking projects. Whether it’s for social media, personal projects, or business, these skills can make a big difference.
Understanding the Basics of Canva
Canva is a popular design tool used by many people for both personal and professional projects. It offers a wide range of image types and editing features to help create stunning visuals effortlessly.
What is Canva?
Canva is an online graphic design platform that allows users to create a variety of visual content. It is user-friendly and ideal for those without advanced design skills.
People can create designs such as social media posts, presentations, posters, and more.
One of Canva’s key attractions is its drag-and-drop interface. Users can select from thousands of templates or start with a blank canvas. The platform also provides access to a large library of photos, illustrations, and fonts.
These features make it accessible and efficient for both beginners and experienced designers.
Canva also offers collaborative features. Teams can work together in real-time, making it easier to share feedback and ideas. Additionally, Canva’s integration with various apps and tools helps streamline the design process.
Types of Images in Canva
In Canva, users can work with different types of images. These include stock photos, uploaded images, and illustrations.
Stock photos are available in Canva’s extensive library. Users can search and insert these images into their projects with ease.
Uploaded images allow personalization by letting users incorporate their own photos. This is useful for branding and making designs unique. Canva supports various file formats for uploads, providing flexibility in design choices.
Illustrations and icons are also part of Canva’s offering. These graphics enhance the visual appeal of designs. They are available in different styles and themes, catering to diverse creative needs.
Users can easily resize, recolor, and adjust these elements to fit their projects, ensuring a cohesive look across designs.
Navigating Canva’s Interface
Navigating Canva’s interface is a simple process that involves accessing the image editor and locating the light settings. These steps enable users to efficiently edit and adjust their designs.
Accessing the Image Editor
To access the image editor, users should start by opening Canva and selecting the design they want to work on. Once the design is open, they can click on the image they wish to edit.
This action brings up various editing options at the top of the screen. In this area, users will find a button labeled “Edit Image,” which opens the editor. This editor provides a range of tools that allow for precise adjustments to images.
Locating Light Settings
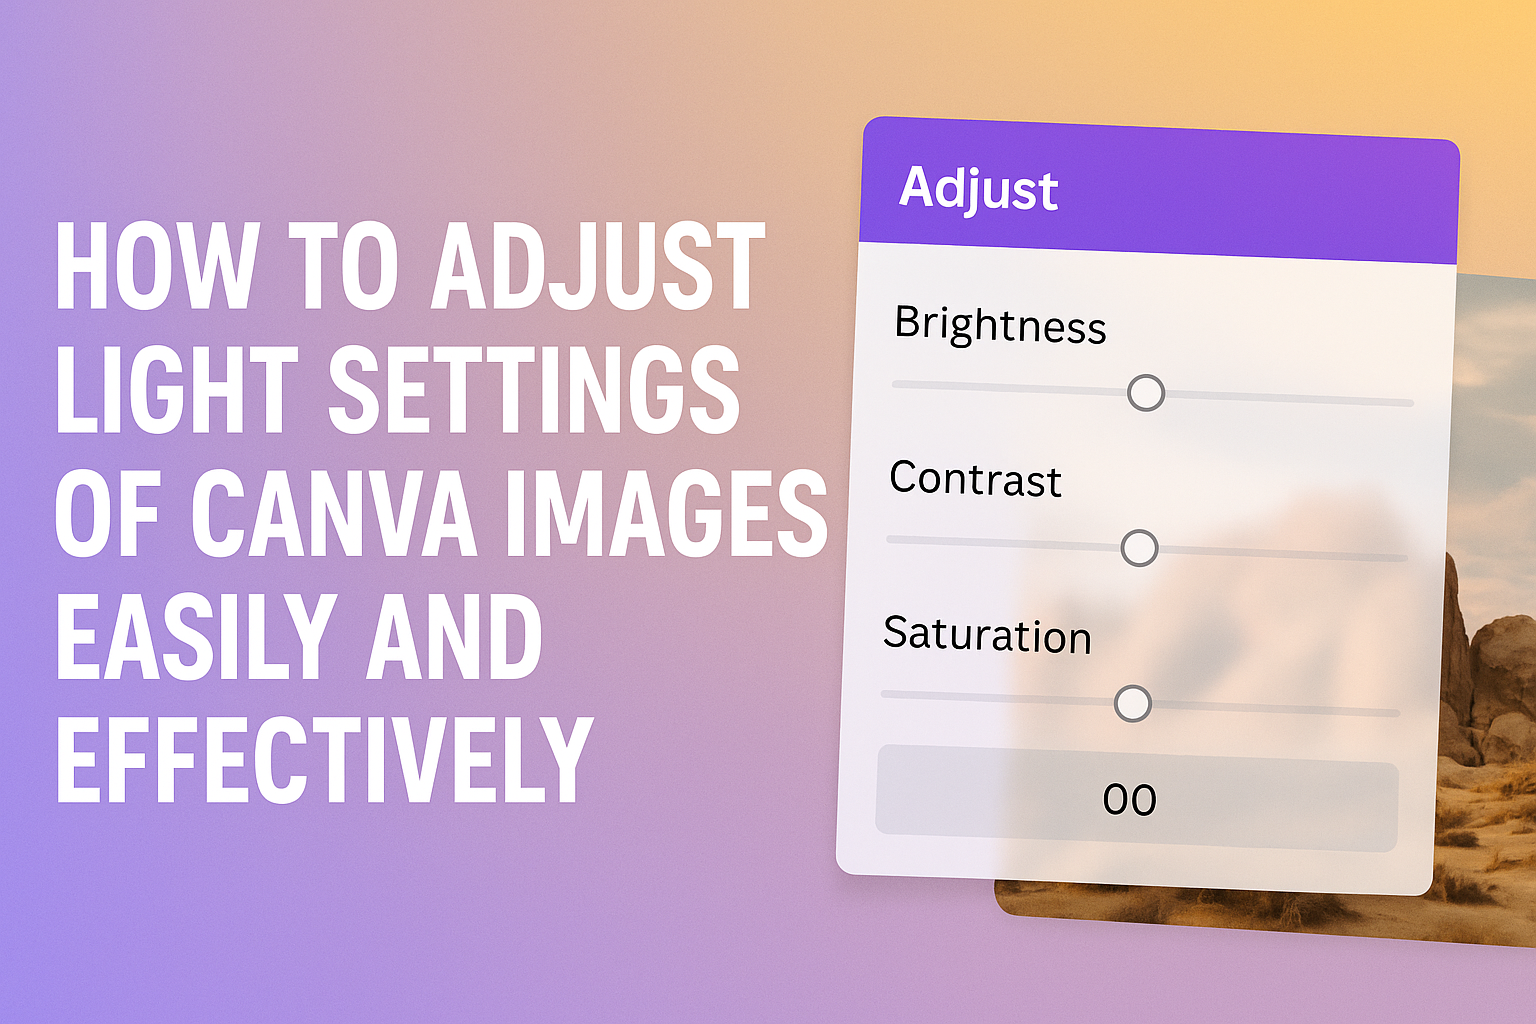
Once inside the image editor, users can spot the light settings easily. Click on the “Adjust” option to unveil sliders for different settings.
These sliders allow changes to be made to brightness, contrast, and saturation. For those looking to brighten or darken an image, simply move the brightness slider left or right.
Users find these tools user-friendly. Each adjustment can vastly improve the visual appeal of their design.
Adjusting Brightness and Contrast
Adjusting brightness and contrast can enhance images in Canva by altering their light and dark balance. Understanding these adjustments will help make images more visually appealing and suitable for various projects.
Modifying Brightness
Modifying brightness changes how light or dark an image appears. To adjust brightness in Canva, users can use the “Edit photo” option on the floating toolbar.
Users should then navigate to the Adjust tab, where they can find the Brightness slider.
Moving the slider to the right increases brightness, making the image lighter. Shifting it to the left decreases brightness, giving the image a darker look.
Adjustments should be made carefully, as too much brightness can wash out details, while too little may hide them.
It’s important to preview changes to ensure the desired effect is achieved.
Using the preview function allows users to see their changes in real-time, helping them achieve a balanced look that highlights key elements in the image.
Altering Contrast
Contrast is the difference between the darkest and lightest parts of an image. Increasing contrast in Canva can make an image look more vivid, while decreasing it makes the image appear softer.
To alter the contrast, users can find the Contrast slider in the same menu where brightness adjustments are made.
Moving the slider to the right enhances the difference between light and dark areas, creating a more striking visual. Shifting it to the left reduces these differences, resulting in a more muted effect.
Carefully modifying contrast helps emphasize textures and details, enhancing an image’s overall aesthetic.
Users should adjust the contrast based on what suits the project’s needs while being mindful of not losing important image details.
Working with Filters and Effects
Filters and effects in Canva allow users to change the mood and style of their images. Understanding how to apply and customize these tools can greatly enhance image presentation, making them more engaging.
Applying Filters
Filters in Canva are perfect for altering the atmosphere of an image quickly. Users can choose from a variety of filter options.
By simply clicking on a filter, the look of an image can be dramatically changed. For instance, a vintage filter might give a photo an old-time feel, while a vivid filter can make colors pop.
To adjust the intensity, users can move a slider. This feature is useful for fine-tuning how subtle or pronounced the filter appears.
If a user is not satisfied with a chosen filter, it can be easily removed by selecting “None”.
Filters can be applied not just to single images but also to those placed in grids and frames, ensuring consistency across an entire design.
Customizing Effects
Effects offer another layer of customization. In Canva, users can alter brightness, contrast, and saturation to vary how an image looks.
Brightness adjustments can lighten or darken an image, aiding in creating the right visual tone.
For those interested in more artistic changes, vignettes or blurs can be added as well. These effects help focus attention on specific elements within the image.
Users need to experiment with different combinations to achieve their desired outcome.
Many effects can be adjusted on photos that users upload directly, making it easier to personalize images that are unique to their projects.
Fine-Tuning with Advanced Settings
In Canva, adjusting advanced settings allows users to enhance their images with more precision. Saturation and tint and warmth settings are vital tools for creating a more appealing visual experience.
Adjusting Saturation
Saturation controls how intense or vivid the colors appear in an image. To adjust saturation in Canva, users can click on the photo they wish to edit and access the editing tools usually found in the toolbar.
Increasing saturation can make colors pop, making an image more vibrant. This is useful when the picture looks dull or washed out.
On the other hand, reducing saturation can create a more subdued or vintage look, which might be desirable for creating a certain mood or style.
Fine-tuning saturation involves balancing the vividness of colors without making them look unnatural.
Users should be careful when increasing saturation too much, as it can lead to colors looking too bright or unnatural.
Keeping an eye on the overall feel of the image helps in maintaining a natural tone.
Controlling Tint and Warmth
Adjusting the tint setting can shift an image’s color balance between green and magenta. This is especially handy for fixing photos where lighting may have cast a slightly green or pink hue.
Applying tint adjustments requires subtlety to achieve a balance that looks natural.
Warmth settings in Canva change the balance between warm (yellow/orange) and cool (blue) tones.
Increasing warmth can make an image look sunnier or give it a golden glow, while decreasing warmth can create a cooler, more somber feeling.
When fine-tuning these settings, small adjustments can make a big difference.
Users should aim to keep skin tones realistic and ensure that the overall mood matches the desired effect of the image. Balancing tint and warmth helps in achieving professional-looking edits.
Saving and Applying Changes
Once you have adjusted the light settings in Canva, it’s essential to know how to save those changes and apply them efficiently. This ensures a smooth workflow, especially when dealing with multiple images.
How to Save Adjustments
To save adjustments in Canva, first, click on the image that you have edited. Make sure all desired changes, such as brightness and contrast, are complete.
Locate the “Download” or “Save” button, often at the top of the Canva interface. Clicking this will prompt you to choose a format, like PNG or JPEG, for saving.
It’s helpful to use Canva’s “Projects” feature to keep track of your saved designs. This allows users to revisit and edit previously saved images without starting from scratch.
Organizing designs within folders can also simplify management and retrieval.
Applying Settings to Multiple Images
To apply the same settings to multiple images, Canva’s batch editing tools come in handy.
First, edit one image to your liking using the light settings. Note the settings you chose, such as the degrees of brightness or contrast.
Next, you can apply these saved settings to other images by manually entering them for each image.
Unfortunately, Canva does not yet support batch processing for effects, but using copy-paste shortcuts for similar edits can be efficient.
For future ease, save templates that include preferred settings. This way, the visual consistency across designs can be maintained without repetitive adjustments.