Canva has become a go-to tool for creating stunning visuals, whether for personal projects or professional designs.
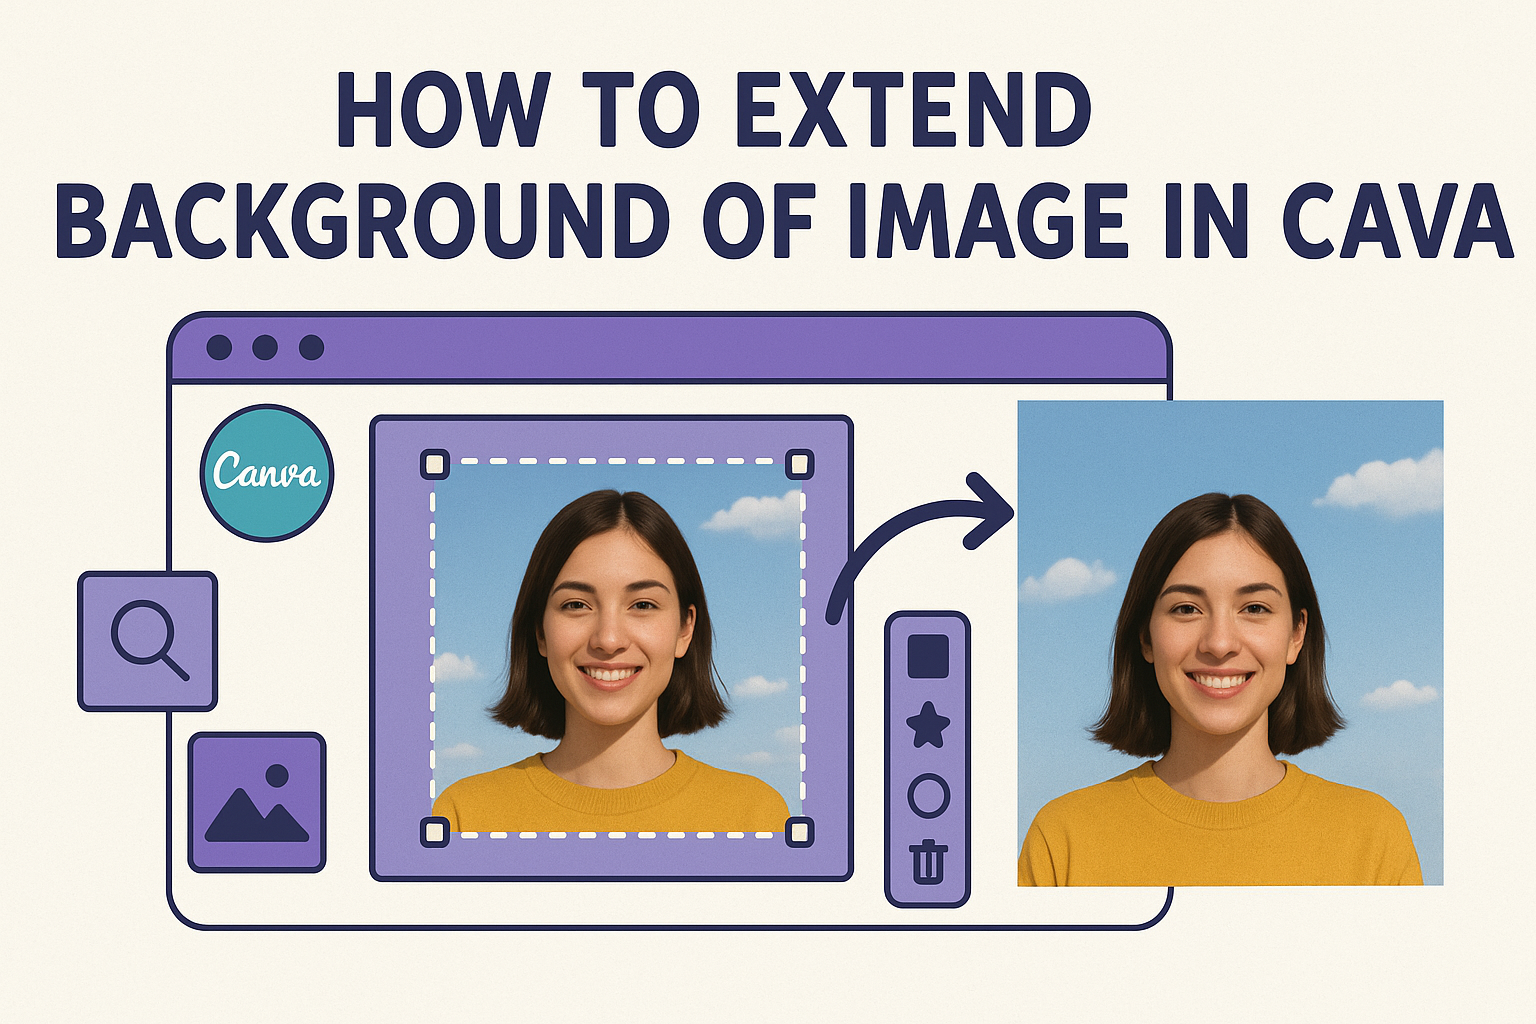
One of the common challenges faced by users is how to fit an image perfectly into their design space. To extend the background of an image in Canva, users can simply use the AI Image Expander. This tool allows them to seamlessly add extra space to any side of their image.
This feature makes it easy to achieve the desired look without compromising the image’s quality. By simply right-clicking the image and setting it as a background, users can effortlessly stretch the canvas and add design elements, text, or other features.
The built-in AI tools are both innovative and accessible, ensuring even beginners can expand image backgrounds like a pro.
The ability to expand image backgrounds is especially useful for those needing to create designs with specific layout requirements. The AI Image Expander on Canva offers a simple and effective way to enhance your design. Whether you’re a seasoned designer or a casual creator, this tool makes managing image spaces easier and more flexible.
Understanding the Basics of Canva
Canva is a popular online platform that allows users to create a wide range of designs easily. It offers various tools for image editing, making it suitable for both beginners and professionals.
What is Canva?
Canva is a web-based design tool that enables users to create graphics with ease. It is accessible on most devices, so users can work from anywhere.
It was designed to be user-friendly and intuitive, making it perfect for those with no design background. The platform offers a drag-and-drop interface, allowing users to quickly design anything from social media posts to business cards.
Their extensive library of templates and elements simplifies the design process, ensuring even beginners can create professional-looking designs swiftly.
Key Features for Image Editing
Canva provides several features that are especially useful for image editing. Users can easily resize images, add text, and apply filters, allowing for quick adjustments without advanced software.
It also offers tools such as cropping, rotating, and flipping images. The background remover tool is a standout feature, as it helps isolate subjects with just a click.
For those looking to add flair, Canva’s built-in stickers and illustrations can enhance any project. Furthermore, the extensive library of stock photos ensures users have access to high-quality images at no additional cost.
These features make Canva a go-to for anyone needing to work with images regularly.
Getting Started with Image Editing
To begin customizing your images in Canva, start by creating an account and choosing the right canvas size. These steps ensure you’re set up effectively for your design needs.
Setting Up Your Canva Account
First, you’ll need to create an account on Canva. Visit their website and sign up with your email or social media account. This grants access to various templates and tools for image editing.
Once you have access, explore the Canva dashboard. It’s user-friendly and designed to make finding and using tools easy.
Familiarize yourself with the toolbar, which includes elements, text options, and uploads. Knowing where these features are helps streamline your editing process later on.
To save your progress and designs, ensure you link your account with cloud storage or download your work frequently. This avoids losing any important changes.
A successful setup will make your image editing experience more seamless and enjoyable.
Selecting the Right Canvas Size
Choosing the correct canvas size is crucial for your project. Canva offers various preset sizes, such as social media posts, presentations, and posters.
If none fit your needs, you can set custom dimensions using the “Custom Size” option.
Matching the size of your canvas to your intended use ensures clarity and quality in your final design. Oversized or undersized images might look blurry or pixelated.
Be sure to consider where you’ll be displaying your finished image. Whether it’s an Instagram post or a printed poster, size matters for visual appeal.
Adjust your canvas dimensions early on to avoid resizing issues later, which helps maintain the quality and composition of your work.
Extending Image Backgrounds
Extending backgrounds in Canva helps make designs more attractive and gives extra space for text or other elements. This process ensures that designs look complete and well-balanced.
The Importance of Background in Design
Backgrounds play a vital role in making any design stand out. They set the tone and mood of the entire project. A well-crafted background can grab attention and keep the viewer focused.
In design work, extending a background can make more room for text and graphics. This is crucial when trying to maintain visual flow. An extended background also provides flexibility in adjusting the layout without cutting off parts of the image. This results in a polished and professional look for any project.
Steps to Extend a Background
To extend a background in Canva, one can start by opening Canva and creating a new design. This opens up the workspace for adding an image that needs a background extension.
Select and upload the desired image. Use the “Magic Expand” tool to increase the background size or simply drag the sides of the image in Canva’s editor.
Adjust the background’s color or pattern to match the design. A detailed guide on this is available on extending backgrounds using the Canva Magic Expand.
It’s helpful to preview the design to ensure that the extended background blends seamlessly with the original image. Make necessary adjustments for perfect balance. This process can help achieve a cohesive and attractive design ready for any purpose.
Using Canva’s Image Editing Tools
Canva offers several handy tools to make image editing simple and fun. Key tools include resizing, adjusting, and cropping images to create the perfect design.
Resize Tool
The Resize Tool in Canva is quite user-friendly. It allows users to experiment with different dimensions without compromising image quality.
Whether you need to adjust the size for social media posts, flyers, or presentations, this tool offers flexibility.
To use it, select the “Resize” button at the top of the design page. From there, choose from suggested dimensions or enter custom dimensions.
If you have Canva Pro, you can take advantage of the “magic resize” feature. This feature enables users to effortlessly change the design size for multiple platforms at once, making design adaptation a breeze.
Adjust Tool
The Adjust Tool is great for fine-tuning an image’s visual appeal. Users can tweak brightness, contrast, and saturation easily.
If an image looks a bit dull, increasing the brightness can make it pop. Adjusting contrast can also add depth to an image, while saturation changes help enhance or soften colors.
To access this tool, click on your image and select “Edit Image” on the toolbar. You’ll see various sliders to adjust each setting.
Just slide them left or right to achieve the desired effect. This tool ensures that every photo looks its best, fitting perfectly into your design theme.
Crop Tool
Canva’s Crop Tool is essential for focusing on specific parts of an image. If there’s unwanted space or a distracting element, cropping can improve the composition.
This tool allows designers to trim images to fit into layouts seamlessly, giving designs a clean and professional look.
To crop an image, click on it and select the “Crop” option from the toolbar. Then, drag the handles to define which parts of the image you want to keep.
Cropping aligns images perfectly with design grids, framing, or other elements. It’s an effective way to highlight the most important parts of any image.
Advanced Techniques
Extending the background of an image in Canva can be an art. Mastering techniques like matching background colors and creating seamless extensions can make edited images look natural and professional.
Matching Background Colors
To match background colors in Canva, it is crucial to ensure that the expanded area blends seamlessly with the original image.
Start by using the color picker tool to select a color from the existing background. It’s a good idea to pick a few different shades to account for lighting variations.
Applying these colors in layers can help mimic the original background’s texture and depth. Sometimes, adjusting the transparency of the new sections can make the transition appear smoother.
Users might find the gradient tool especially helpful for areas with mixed lighting.
Learning to use Canva’s color palettes can also enhance matching. Custom palettes can be saved and re-used, offering consistency across projects.
With these techniques, backgrounds will not only look extended but naturally unified.
Creating Seamless Extensions
Creating a seamless extension involves more than just color matching. Canva’s Magic Expand tool can be a handy feature for this purpose.
By selecting the image and accessing the expand options, users can stretch the image while maintaining clarity.
For manual extensions, using additional design elements like shapes or frames can help blend the new sections. Creative layering can hide any discrepancies between the original and extended areas.
Moreover, using Canva’s layers and effects can enhance the integration of new elements. Applying slight blur effects or shadows can give the final image more depth and realism.
By combining these strategies with practiced skills, the new extensions will look more professional and cohesive.
Tips and Tricks for Professional Results
Achieving professional results when extending a background in Canva requires maintaining high image quality and thoughtfully incorporating new elements. These steps ensure the final image looks polished and seamless.
Maintaining Image Quality
Maintaining image quality is crucial when extending backgrounds.
Start by using high-resolution images to avoid pixelation when stretching the background. Canva offers features like the Magic Expand tool, which helps in maintaining quality as you adjust and extend image sizes.
Be mindful of using filters and effects. Too many alterations can degrade the image quality.
Instead, use subtle adjustments to keep the picture clear and visually appealing. Regularly zoom in and check the details to ensure everything remains sharp.
High-quality backgrounds contribute to a professional and clean presentation without any visual distractions.
Incorporating New Elements
Incorporating new elements can enhance and complement the extended background.
Consider using graphics or text to create a balanced composition. Canva provides various tools such as the Transform tool, enabling users to drag and adjust elements seamlessly within the design.
Aligning these new elements with existing ones helps in creating a unified look. Adding shadows or using the Set Image as Background feature can also help integrate new components smoothly.
Always preview the design to ensure elements are proportionate and cohesive. Thoughtful integration of these additions will make the extended background appear natural and professional.
Saving and Sharing Your Edited Images
After editing images in Canva, it’s essential to know how to save and share your work effectively. Understanding the export options and sharing methods will ensure your images look their best wherever you showcase them.
Export Options in Canva
Canva offers various export options to suit different needs. Users can choose formats like PNG, JPEG, and PDF.
PNG is ideal for images requiring a transparent background and high quality. JPEG is great for photos where file size needs to be minimized.
When exporting, Canva allows you to select the resolution. Higher resolutions offer better quality but result in larger files.
If you plan to print an image, select a higher resolution option. For web use, standard resolutions are usually sufficient.
Adjusting the size and file type during export can also affect how the image appears on different platforms.
Additionally, Canva provides an option to compress files to save space without significantly losing quality. This is particularly useful for images that will be uploaded online.
Sharing Images Online
Sharing your creations directly from Canva is simple.
Users can instantly share images through social media integrations, such as Facebook and Instagram.
Links can also be generated for quick sharing, allowing others to view or edit the design, depending on the permissions set.
For teams collaborating on a project, Canva offers sharing options that let others comment or edit directly online.
This makes group projects more streamlined, as everyone can access the latest version.
Another neat feature is the ability to share designs through email.
Canva sends a direct link to the recipient, ensuring they receive the exact version intended for them.
This can be particularly handy when sharing professional documents with clients or colleagues.