Learning to use layers effectively in GIMP is a game changer for anyone interested in digital image editing. Layers allow users to edit specific parts of an image without affecting the whole picture, giving more control and flexibility. This is essential for beginners and pros aiming to enhance their creations.
The world of layers might seem complex at first, but understanding them can significantly improve editing skills. From simple tasks like adjusting brightness to complex composite images, mastering layers opens up endless possibilities. Having a clear guide can make this learning process smooth and enjoyable.
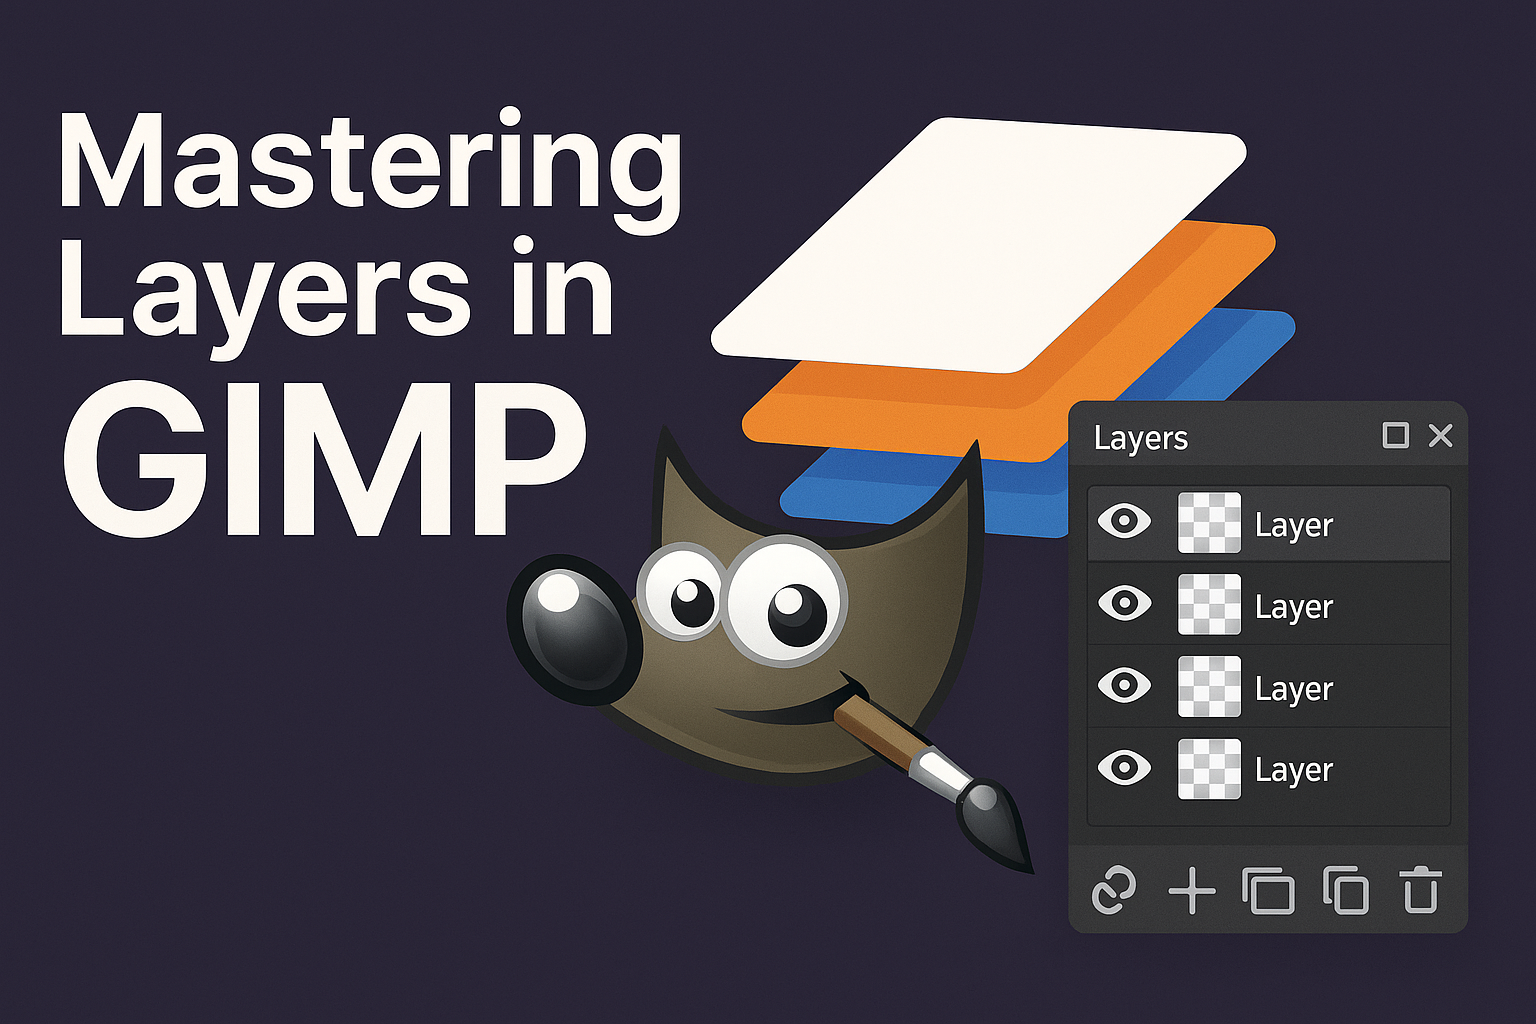
GIMP provides powerful tools, and learning how to use layers is key to unlocking its full potential. For a detailed guide on using layers, including tips on hiding, locking, and renaming them, the tutorial provides step-by-step help. Whether it’s adjusting photos or creating intricate designs, layers offer an essential toolkit for creativity.
Getting Started with GIMP
GIMP is a powerful image editing tool that is accessible to everyone. This section will guide users on how to install GIMP, navigate its interface, and perform basic operations effectively.
Installing GIMP
To begin using GIMP, the first step is downloading and installing the software. Users can find the latest version of GIMP on its official website. The website provides options for Windows, macOS, and Linux.
After downloading, users can follow the installation prompts on their device. On Windows, it usually involves opening the .exe file and following the setup instructions, while macOS often requires dragging the GIMP icon to the Applications folder.
Linux users can install via the terminal using package managers like apt for Ubuntu with the command sudo apt install gimp.
Regular updates are crucial for the best experience, so checking back on the GIMP website for new releases is recommended.
Exploring the GIMP Interface
Once installed, GIMP opens to its distinctive user interface consisting of several components. The Toolbox is on the left, providing access to various editing tools such as brushes, erasers, and more.
In the center is the canvas where images are displayed. To the right, users find the Layers panel, which helps manage image layers effectively.
Navigating through the menu bar at the top reveals options for file operations, editing, and applying effects. This menu includes features like File, Edit, Select, and Filters, which contain vital functions.
Exploring these components helps users familiarize themselves with GIMP’s interface, setting the stage for more advanced tasks.
Understanding Basic Operations
Basic operations in GIMP lay the foundation for creating and editing images. Users can start by creating a new project with File > New, which opens a dialog to define the image size and resolution.
To open an existing image, navigate to File > Open and select the desired file. The Zoom Tool lets users magnify specific areas of an image for precise editing.
Common tools like Brush Tool and Eraser help with basic edits. The Move Tool can reposition layers or selections within the canvas.
Adjusting color and brightness is achievable via Colors > Brightness-Contrast, enhancing image quality with just a few clicks. These foundational skills are essential for any GIMP user.
Fundamentals of Layers
In GIMP, understanding layers is crucial for creating and editing images efficiently. This section covers the basics of layers, including what they are, how to use the layers panel, and how to create and manage them effectively.
What Are Layers?
Layers in GIMP work like transparent sheets stacked on top of each other. Each layer can hold a different part of an image, allowing users to edit different elements separately without affecting the rest. This setup helps to keep projects organized and makes edits reversible. Layers can be rearranged, allowing some to sit in front of or behind others. This control offers flexibility in design, helping to create complex images without permanent changes to the original work.
The Layers Panel
The layers panel is the control center for managing layers in GIMP. This panel displays all layers in a project, showing their arrangement and visibility. Each layer can be toggled on or off, allowing the user to see the effects of individual edits.
Users can lock layers to avoid accidental changes or rename them for better organization. Small icons make actions easy, like hiding, showing, or merging layers. The panel also allows for opacity adjustments, providing control over transparency, which is key in blending images together.
Creating and Managing Layers
Creating a new layer in GIMP involves clicking the “Create a new layer” button, often represented by an icon resembling a sheet of paper. Users can choose the layer’s size and color options, including transparency.
Managing layers includes many tasks: duplicating, deleting, merging, or changing the stacking order. Each operation helps refine the image or correct mistakes. For example, if a layer needs more detail or cleanup, it can be duplicated and edited separately before merging back for a seamless look. Handling layers effectively ensures a structured workflow, leading to high-quality results.
Working with Layers
The key to photo editing in GIMP is understanding how layers work. They let users stack images, modify details, and add effects without altering the original photo. This section covers vital topics like layer properties, modes, transformation techniques, and grouping.
Layer Properties
Layers in GIMP come with various properties that are important for different editing needs. Each layer has its own opacity setting, allowing users to determine how transparent it appears. This is crucial for blending effects or creating ghostly images.
Additionally, users can adjust the visibility of layers. Clicking the eye icon next to a layer temporarily hides it, helping focus on other elements. The lock feature also prevents any unwanted changes to certain layers.
Managing these properties effectively ensures precise edits and protects original work. Users often leverage these settings to experiment with bold ideas without fear of making irreversible changes.
Layer Modes and Blending
GIMP offers a variety of layer modes that control how layers interact with each other. These modes can affect color, contrast, and brightness, creating unique effects. Some common modes include Multiply, which darkens images by multiplying the pixel values, and Overlay, which enhances contrast by combining Multiply and Screen effects.
Blending helps combine layers smoothly. For instance, reducing opacity allows the top layer to softly merge with the ones below. Choosing the right mode for the desired effect is essential in producing high-quality images. Beginners often enjoy experimenting with these options to find exciting combinations.
Transforming Layers
To transform a layer means changing its size, shape, or position. In GIMP, users can move layers with the Move Tool by clicking and dragging. It’s useful for repositioning images within a project.
The Scale Tool allows resizing. It’s crucial to maintain aspect ratio to avoid distortion, which can be done by holding down the Shift key while scaling. Other tools like Rotate and Shear help adjust angles and tilt.
By transforming layers, editors can creatively fill spaces and align images with precision, crafting a polished look. This flexibility is why GIMP is favored among hobbyists and professionals alike.
Layer Groups
Layer groups are handy for organizing and editing multiple layers as a unit. They serve as folders within the layer panel, helping manage projects more efficiently. For example, users may group all text layers in a document to quickly apply changes without sifting through each one.
Creating a layer group is simple: click the group icon at the bottom of the layer panel and drag layers into it. This setup keeps the workspace tidy and focused. Managing elements in groups ensures consistent edits across multiple layers, enhancing workflow.
Advanced Layer Techniques
Working with layers in GIMP offers endless creative possibilities. From using masks for selective editing to applying adjustment layers for color correction, these techniques are essential for enhancing images.
Masking and Layers
Masks in GIMP are powerful tools that allow for selective editing. By adding a mask to a layer, users can hide or reveal parts of an image without permanently altering it. This is done by painting on the mask with black to hide and white to reveal, creating a seamless blend between layers.
One advanced technique involves using gradient masks. By applying gradients to masks, users can create smooth transitions between visible and hidden areas, enhancing effects like vignettes or soft edges. This flexibility makes masks an essential component of detailed photo editing.
Adjustment Layers
Adjustment layers offer a non-destructive way to alter the appearance of an image. Unlike direct edits, adjustment layers let users tweak brightness, contrast, color, and more while retaining the original photo. This makes it easy to try different looks without losing the original image data.
In GIMP, users can simulate adjustment layers by using layer groups with various blend modes. For instance, to adjust the saturation, they can add a new layer, fill it with color, and set the mode to ‘Color.’ Such techniques allow for changes that are reversible and experiment-friendly.
Layer Effects and Styles
Layer effects and styles in GIMP add depth and creativity to images. Effects like shadows, glows, and bevels can be applied to give elements a three-dimensional look. These effects are customizable, allowing control over aspects like size, opacity, and color to match the desired outcome.
One interesting application is using layer styles to create text effects. By applying bevel and shadow effects to text layers, users achieve standout headlines or creative titles. Although GIMP does not directly support styles the same way Photoshop does, many effects can be achieved through various plug-ins and manual techniques.
Optimizing Workflow with Layers
When working with layers in GIMP, users can boost their productivity and creativity by using specific techniques. Linking and merging layers streamlines the editing process, while shortcuts and efficiency tips help save time.
Linking and Merging Layers
Linking layers in GIMP allows users to move multiple layers together without needing to manually adjust each one. This feature is especially useful when adjusting grouped elements that need to stay in the same relative position. By linking layers, you ensure that they move in unison.
Merging layers can simplify the workflow by reducing layer count. This can be especially helpful for large projects with many layers. After successfully finishing adjustments, merging visible layers helps to clean up the workspace and enhance performance. Always keep a backup of layers before merging, as it simplifies the process without losing original work.
Layer Shortcuts and Efficiency Tips
Using shortcuts in GIMP saves a lot of time during editing. For example, pressing “Shift + Control + N” quickly creates a new layer. This is just one of many shortcuts that can optimize a designer’s workflow by reducing reliance on manual commands.
Efficiency can also be improved by using the “Layer Groups” feature. This allows users to organize multiple layers into a single folder. By using these shortcuts and practices, GIMP users streamline their creative process, resulting in faster and more efficient editing sessions. Keeping the workspace tidy with organized layers and familiarizing oneself with common shortcuts enhances productivity significantly.
Creative Use of Layers
GIMP layers offer many creative possibilities. By mastering layers, users can mix text with images, blend two or more pictures smoothly, and enjoy creative projects. Here’s how layers can enhance creativity in various ways.
Text and Layers
Adding text with layers in GIMP allows for creative freedom. Each piece of text can have its own layer, giving control over placement and style. Users can easily move or transform text layers without affecting other elements in the project.
Customizing text with effects such as shadows or strokes enhances its appearance. By using the option to merge text layers with image layers, artists can create seamless designs or standout captions. These techniques help bring a professional touch to any design.
Combining Images with Layers
Layers make combining images a breeze. Artists can place each image on a separate layer for easy editing and blending. This process helps in adjusting elements to fit together naturally.
Masking is a useful tool in GIMP for this purpose. It allows smooth transitions between images, avoiding harsh edges. By changing opacity and shading, you can create dreamlike landscapes or imaginative collages. These skills lend themselves to crafting unique works of art that capture attention.
Creative Layer Projects
Creative projects using GIMP layers are endless. Users can make everything from eye-catching posters to detailed photo manipulations. Experimenting with different layer types, such as background and adjustment layers, gives users flexibility.
Try blending modes to change how layers interact with each other for unique effects. This might include overlaying textures or adding color tints. With practice, layers can transform ordinary images into stunning visual stories or elaborate artwork. They provide a canvas for imagination without limits.
Troubleshooting Common Layer Issues
Sometimes, GIMP users face problems when trying to move a layer. One common reason is that the layer is locked. Simply check if the “Lock” option is enabled in the layers panel and unlock it.
Another common issue is linked layers. If layers are linked together, they might not move independently. To fix this, ensure to unlink them first.
The wrong layer being selected can cause confusion. Make sure the correct layer is highlighted in the layers panel before trying to make changes.
Sometimes, layer masks can interfere with editing. To avoid this, select the actual pixel layer instead of the mask.
Here’s a quick table to summarize solutions:
| Problem | Solution |
|---|---|
| Layer is locked | Unlock the layer |
| Linked layers | Unlink layers before moving |
| Incorrect layer selected | Highlight the correct layer |
| Layer masks in the way | Select pixel layer, not mask |
For more detailed fixes, read Can’t Move Layer in GIMP.
Best Practices for Layer Management
When working with layers in GIMP, it’s important to stay organized. This can make editing easier and faster. Using descriptive names for layers helps keep track of what each layer does.
It’s helpful to use layer groups for complex projects. Grouping related layers can reduce clutter and maintain focus on specific parts of the image. Learn more about creating and using grouped layers here.
Locking and linking layers can prevent accidental changes. Lock a layer to avoid moving or editing it unintentionally. Linking layers allows for moving or transforming multiple layers simultaneously, preserving their relative positioning.
Adjusting the opacity of different layers can create interesting effects and help in blending elements. Use the opacity slider in the layers panel to make adjustments easily. For detailed guidance, you can explore techniques from GIMP tutorials available online.
Making use of layer masks can enhance editing. They allow non-destructive editing by hiding or showing parts of a layer. This gives more control over blending and modifying image sections. Find more on this technique in some comprehensive tutorials.