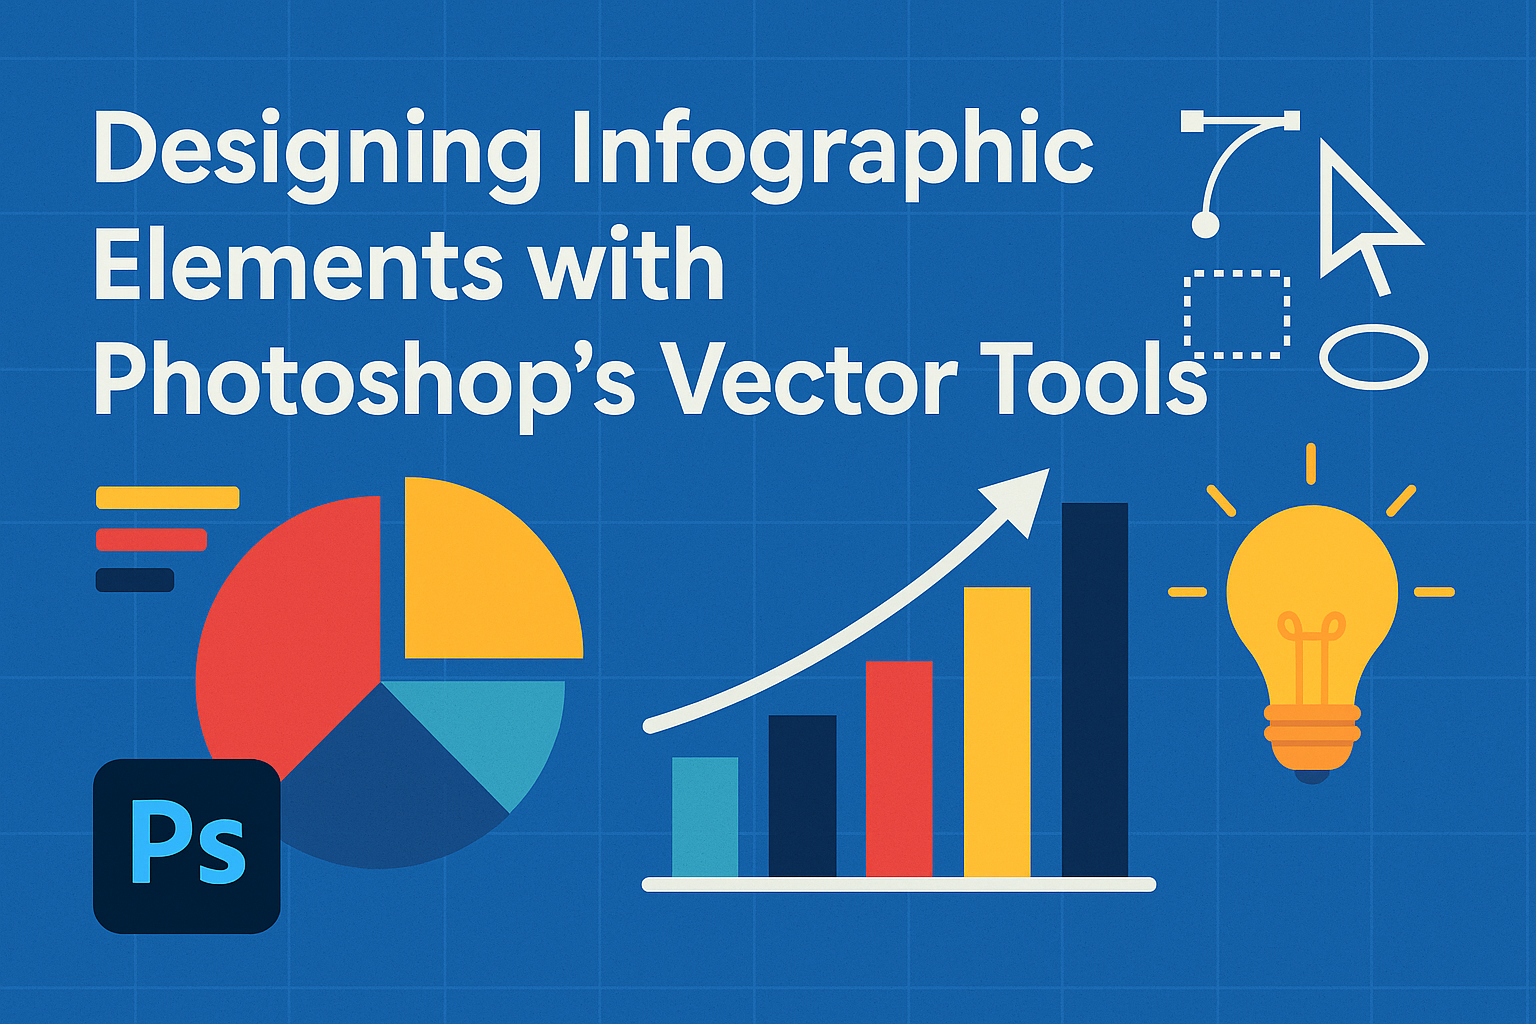
Photoshop offers a powerful toolkit for creating engaging infographics. One of its standout features is the ability to use vector tools to design scalable and precise elements. With Photoshop’s vector tools, designers can craft infographic elements that remain crisp and clear, no matter the size or resolution.
Anyone interested in making professional-looking infographics will find Photoshop’s vector tools indispensable. These tools make it easy to adjust shapes, colors, and layouts without losing quality. With the right techniques, even beginners can create visually stunning and informative graphics.
This journey into designing infographic elements using vector tools is perfect for both newbies and seasoned designers. By mastering these tools, individuals can effectively communicate complex data visually, making information more accessible and engaging. The satisfaction of creating eye-catching infographics is just a few steps away.
Understanding Vector Graphics in Photoshop
Photoshop is primarily a raster graphics software, but it does offer vector tools that can be incredibly useful. These tools allow for scalable graphics that don’t lose resolution, making them ideal for creating clean, crisp design elements.
Vector graphics in Photoshop use mathematical formulas to define shapes, curves, and lines. This allows the images to be resized infinitely without any loss of quality. This is a feature often associated with Adobe Illustrator, but it’s available in Photoshop too, making it versatile for designers who prefer working in one program.
The Pen Tool is a key feature for creating vector paths in Photoshop. It lets designers draw precise vector shapes and lines. While straight lines are easy to create, mastering curves may take some practice. It’s worth investing time in learning it to take full advantage of vector graphics.
Additionally, Photoshop offers methods to vectorize images, which involves converting pixel-based images into vector graphics. This can be done by creating a solid color layer and saving the result as an SVG file, enabling easy scaling.
Here’s a simple tip: utilize the Shape Tools to create basic geometric shapes. These shapes are inherently vector-based and can be combined for more complex designs. By understanding these core tools, designers can create infographic elements that are both versatile and visually appealing.
Setting Up Your Document
Setting up your document properly is the foundation for creating engaging infographics in Photoshop. This involves selecting an appropriate canvas size, ensuring the correct resolution and color mode, and effectively saving your settings for easy access and consistency.
Choosing the Right Canvas Size
Selecting the right canvas size is crucial for clarity and impact. The canvas needs to fit the intended platform, whether print, web, or social media. Standard dimensions like 800×1200 pixels are common for web, but can vary greatly depending on the platform.
Opt for larger sizes if the infographic will be printed. This ensures that the graphics remain sharp and visually appealing. Resize wisely to maintain quality, avoiding pixelation for both digital and print formats.
Additionally, ensure the aspect ratio matches your target use. A vertical layout is often preferred for infographics as it supports readability, especially on digital screens.
Configuring Resolution and Color Mode
Setting the right resolution ensures images are sharp and details are clear. For web-based infographics, a 72 DPI resolution is standard. For print, increase this to 300 DPI to achieve high-quality images.
Choosing the correct color mode is also vital. Use RGB mode for graphics intended for digital use like websites and social media. For print, select CMYK. This allows for accurate color representation, ensuring the infographic looks vibrant and professional in both forms.
Remember that correct settings can save time and produce better results, so verify these choices before diving into design work.
Saving Your Document Settings
Properly saving document settings can make future edits and consistency easier. Use the Photoshop format (.PSD) to keep layers intact. This makes changes or adjustments straightforward later on.
Additionally, consider saving frequently used settings as templates. This can streamline your workflow and ensure uniformity across multiple projects. Use descriptive file names to help locate files quickly.
Create backups regularly to prevent data loss. External drives or cloud services can offer secure storage and version history. Keeping organized saves hassle and ensures all your hard work is preserved and easily accessible.
Getting Familiar with Photoshop’s Vector Tools
Photoshop’s vector tools are great for creating clean, scalable graphics. Mastering these tools will allow users to produce precise lines and shapes. This section will explore the pen tool, shape tools, and paths panel to enhance your graphic design skills in Photoshop.
Exploring the Pen Tool
The pen tool is handy for drawing complex shapes and paths with precision. It uses anchor points and lines to create curves and shapes.
To use the pen tool, start by clicking to set your first anchor point. Click again to set another point and create a straight line. To curve the line, click and drag the handles to adjust the curve.
When creating a closed shape, connect the last anchor point back to the first one. Keyboard shortcuts, like holding the Alt key, help adjust handles for smoother curves. By practicing these steps, users will gain competence in intricate shape creation.
Using Shape Tools for Quick Elements
Shape tools offer a quick way to create standard shapes such as rectangles, ellipses, and custom shapes. Found in the toolbar, these tools are simple to use.
Select a shape tool, such as the rectangle tool, then click and drag to draw. Hold shift to keep proportions consistent, such as making a perfect square instead of a rectangle. For more options, explore the custom shape tool, which provides a library of ready-made shapes.
Users can further customize shapes by using the properties panel. Adjust color, stroke, and dimensions to fit the design needs. These tools speed up the process of adding basic elements to any infographic.
The Paths Panel Overview
The paths panel is central to managing your vector paths in Photoshop. It allows you to view, edit, and organize different paths within a project.
Open the paths panel from the window menu. Here, all created paths are listed, including saved selections and vector mask paths. Users can click on any path to make it active and perform edits or transformations.
Editing paths can involve using tools like the direct selection tool to adjust individual anchor points or paths’ line segments. This flexibility makes it easier to refine paths and shapes, ensuring high-quality design output. By efficiently managing paths, users can streamline their workflow.
Creating Basic Shapes and Lines
Photoshop offers a variety of tools to create basic shapes like rectangles, circles, and more complex polygons. Users can also manipulate lines and strokes to enhance their designs. Each tool provides options for customization to fit specific design needs.
Drawing Rectangles and Circles
To draw rectangles and circles, users can use the Rectangle Tool and the Ellipse Tool. These tools are great for creating simple geometric shapes. Each tool allows for the adjustment of the fill color, stroke color, and thickness. It’s important to select the right tool from the Shape Tools panel in Photoshop.
Shapes can be drawn by clicking and dragging on the canvas. Holding down the Shift key helps in creating perfect squares or circles. Users should also set the options such as size and alignment to ensure consistency. Utilizing these basic shapes can help in designing structured and clear visuals.
Creating Custom Polygons
For more detailed designs, Photoshop includes a Polygon Tool. It offers flexibility in creating different shapes by adjusting the number of sides. Users can input their desired number of sides directly in the tool’s options bar, making it easy to craft anything from triangles to octagons.
The Polygon Tool also includes options for adding star-like points by modifying the “Star Ratio.” Users can experiment with these settings to create unique designs. This tool is particularly useful when creating custom logos or icons that require non-standard shapes. The Custom Shape Tool also allows for a variety of preset shapes that can be customized.
Manipulating Lines and Strokes
Lines are fundamental in designs for creating divisions and guiding the viewer’s eye. The Line Tool in Photoshop allows users to create straight lines with a choice of stroke width and style. Lines can be made thicker for emphasis or dashed for a different look.
By adjusting the settings, users can create lines that fit their design purpose. The weight of the line and the pattern can be adjusted by selecting the options in the tool’s settings. This level of control makes it easier to integrate lines into infographics and other graphic elements, providing clear and structured designs.
Advanced Vector Techniques
Photoshop’s vector tools offer advanced features that can transform any design project. The Direct Selection Tool allows for fine-tuning vector paths, the Convert Point Tool adjusts curves with precision, and Pathfinder combines shapes effortlessly. Mastering these tools enhances design flexibility and precision in creating intricate infographic elements.
Working with the Direct Selection Tool
The Direct Selection Tool in Photoshop lets designers make precise adjustments to vector paths. Unlike the regular selection tool, this one allows for moving and editing individual anchor points and segments. By fine-tuning each part of the path, designers can achieve more accurate shapes and alignments.
To use it effectively, click on an anchor point to adjust its position. This tool is helpful in correcting curves or aligning sections of a complex shape. It provides flexibility to make small or large changes without affecting the whole shape, enhancing creativity in designing infographics.
Mastering the Convert Point Tool
The Convert Point Tool is key for converting corner points into smooth curves and vice versa. It is essential for creating custom shapes with precise angles and curves. By clicking on a corner point, designers can drag to create a curve or smooth line.
This tool is ideal for fine-tuning vector paths to fit intricate designs. It is particularly useful in designing logos or intricate patterns in infographics where specific curves are necessary. The Convert Point Tool enhances design control, allowing for smooth transitions and tailored shapes.
Combining Shapes Using the Pathfinder
Pathfinder in Photoshop is a powerful feature for combining vector shapes. It offers several methods, including merging, subtracting, and excluding shapes. This facilitates the creation of complex shapes without redrawing from scratch.
Start by selecting multiple shapes to combine. Use options like “Add” to merge or “Subtract” to remove parts of the shape. This approach simplifies the process of creating complex elements and saves time in design projects. Pathfinder is excellent for designing infographics where multiple data sets need a cohesive visual representation. It provides versatility and control, making advanced shape creation efficient and dynamic.
Styling Your Vector Elements
Styling vector elements in Photoshop allows designers to create eye-catching infographic elements. From applying vibrant colors to playing with strokes and using layer styles, each method adds a unique flair to vector art.
Applying Colors and Gradients
Colors and gradients bring vector elements to life. Using the Color Picker tool, designers can select hues directly from the image or opt for preset colors. Sampling a color from within the design creates unity and consistency.
Gradients add depth and dimension. They transition colors smoothly, making the design pop. In Photoshop, users can manipulate these effects for endless combinations, ensuring each element stands out. Applying these techniques thoughtfully increases the impact of the infographic.
Adding and Modifying Strokes
Strokes outline vector elements, enhancing their visibility and adding emphasis. Adjusting stroke width can change the perception of the element, making it bolder or more delicate. These strokes are editable in the Options bar, and modifications can alter the artwork significantly.
Customizing strokes involves more than just width. Designers can experiment with different styles and patterns, like dashed or dotted lines, adding texture and variety. This allows for a creative touch, fitting each design’s theme while maintaining a clean look.
Utilizing Layer Styles for Impact
Layer styles offer versatile ways to stylize vector elements. Options like shadows, glows, and bevels create striking effects. Adding a shadow can give a sense of depth, while a glow can highlight important parts of the design.
Using layer effects enhances the design’s mood and ensures vector elements attract attention. It’s crucial to balance these effects without overloading the image. Subtle tweaks can make a big difference, so experimentation is key. These techniques help bring infographic elements to the forefront.
Designing Complex Vector Illustrations
Creating complex vector illustrations can add depth and personality to infographic elements. By layering shapes, incorporating text strategically, and using clipping masks, designers can enhance their projects with precision and creativity.
Layering Shapes for Dimension
Layering different shapes is key to adding depth and dimension to vector illustrations. Designers can start by stacking basic shapes like rectangles and circles to build complex designs. Adjusting the opacity of these layers allows for a more transparent look, giving the artwork a multi-dimensional effect.
By using colors that complement each other, designers can create a stunning visual impact. It’s crucial to pay attention to the order of layers. Shapes at the top will stand out more against the background shapes.
Grouping layers can keep the workspace organized. This makes it easier to manage and edit multiple layers at once, leading to more efficient designing. Layer naming is helpful, too, ensuring each element is easily identified during revisions.
Incorporating Text into Your Designs
Text can transform a basic vector illustration into a compelling visual story. Choosing the right font style and size is essential to ensure the text complements the image. Designers often use bold or italic fonts to highlight important points or to create contrast within the design.
Another technique is to adjust the text alignment and spacing. Aligning text along a curve or inside a shape makes the design more dynamic. Designers should maintain readability by balancing text and image proportions.
Using color schemes for text that match or enhance the overall illustration can create a cohesive look. Remember to keep the text scalable, as vector graphics allow text to adjust without losing quality.
Using Clipping Masks for Composition
Clipping masks are a powerful tool in creating intricate compositions within vector illustrations. They allow designers to place one layer inside the boundaries of another shape, providing unique design possibilities. This technique is perfect for creating textured patterns or focusing attention on specific image areas.
To use clipping masks effectively, designers must place the mask above the target image layer. Once applied, only the part of the image within the shape’s outline becomes visible. Experimenting with different shapes and sizes can lead to creative outcomes.
Clipping masks allow for non-destructive editing, meaning changes can be made without permanently altering the original layers. This flexibility encourages creativity and precision in design.
Optimizing Vector Elements for Different Media
When designing with vector graphics, it’s important to tailor elements for their intended platform. Considerations vary between web and screen displays, print output, and mobile applications. Each medium has its specific requirements to ensure the best visual quality and performance.
Preparing for Web and Screen Display
Vectors for web use should focus on load times and clarity. Minimizing the color palette aids in reducing file complexity and load time. Using CSS or SVG color definitions can keep file sizes small. It’s also advisable to remove unnecessary elements, such as hidden layers or unused objects, which helps streamline file size and improve performance. Keeping file formats like SVG ensures scalability without loss of quality. Ensuring vector graphics are responsive is crucial so they can adapt to different screen sizes seamlessly. Designing with web-friendly units like pixels or percentages can make scaling more efficient across devices.
Exporting for Print
When preparing vectors for print, retaining high resolution is key. Vector formats such as PDF or EPS are often preferred because they maintain quality regardless of scaling. It’s important to set the correct color profiles, using CMYK rather than RGB, to ensure colors print accurately. Additionally, checking that all fonts are converted to outlines avoids font substitution issues and maintains the design’s integrity across different systems. Keeping an eye on the bleed and trim lines ensures that no essential design elements are cut off during printing. In print, clarity and detail are critical, so ensuring designs are vector-based means they remain sharp.
Adjusting for Mobile and Apps
Vectors for mobile need to be optimized for different screen sizes and resolutions. It’s important to test how elements appear on various devices to ensure consistency. Using responsive design principles can help with this. Keeping file sizes small is essential to not slow down app performance; formats like SVG are beneficial here. Simplifying designs by using fewer colors and less detailed elements can improve both load times and clarity on smaller screens. Ensure accessibility by considering how colors and contrasts appear to users with different needs. Designing with touch interactions in mind, like larger touch targets, is critical for user-friendly interfaces.
Best Practices for Efficient Workflow
When designing infographics with Photoshop, using efficient workflows can save time and reduce mistakes. This involves setting up an organized file structure, mastering shortcuts, and preparing your work for future edits.
Organizing Layers and Groups
Organizing layers and groups is crucial in Photoshop. As projects grow more complex, layers can quickly become overwhelming. Naming each layer clearly and logically helps keep track of elements. Using groups to combine related layers makes it easier to manage different parts of an infographic.
For instance, putting text elements in one group and graphics in another allows quick edits without confusion. Another tip is using color labeling for layers, which adds another level of organization. This helps maintain clarity and efficiency.
It’s also helpful to create a standard template for layer organization. This makes it easy to organize files consistently across similar projects. Keeping this structure in mind speeds up design processes and enhances productivity.
Using Shortcuts and Custom Tool Presets
Understanding keyboard shortcuts greatly enhances workflow efficiency. Regularly using shortcuts for common actions like saving (Ctrl/Cmd + S) or copy-pasting (Ctrl/Cmd + C and Ctrl/Cmd + V) can save a lot of time.
Custom tool presets can be highly beneficial. Designers can set preferred settings for tools like brushes and shapes, allowing them to switch tools quickly without resetting each time. Customizing the workspace by adjusting panels also helps streamline the workflow.
Photoshop also allows creating custom shortcuts. Assigning keys to frequently used actions makes tasks faster and smoother. These time-saving techniques enhance productivity and make repetitive tasks less tedious.
Future-proofing Your Work
Future-proofing ensures projects remain editable and adaptable. One way is using vector shapes and smart objects, which maintain quality when resized. This preserves flexibility for future adjustments.
Saving layered files in formats like PSD or TIFF retains all editing capabilities. Backup copies are essential for preventing data loss. Consistent file versioning helps track changes over time.
Documenting the design process with notes or guides within files assists others who might work on the project later. This practice ensures clear communication and simplifies collaboration. Future-proofing not only benefits individual designers but also boosts efficiency when projects need revisiting.