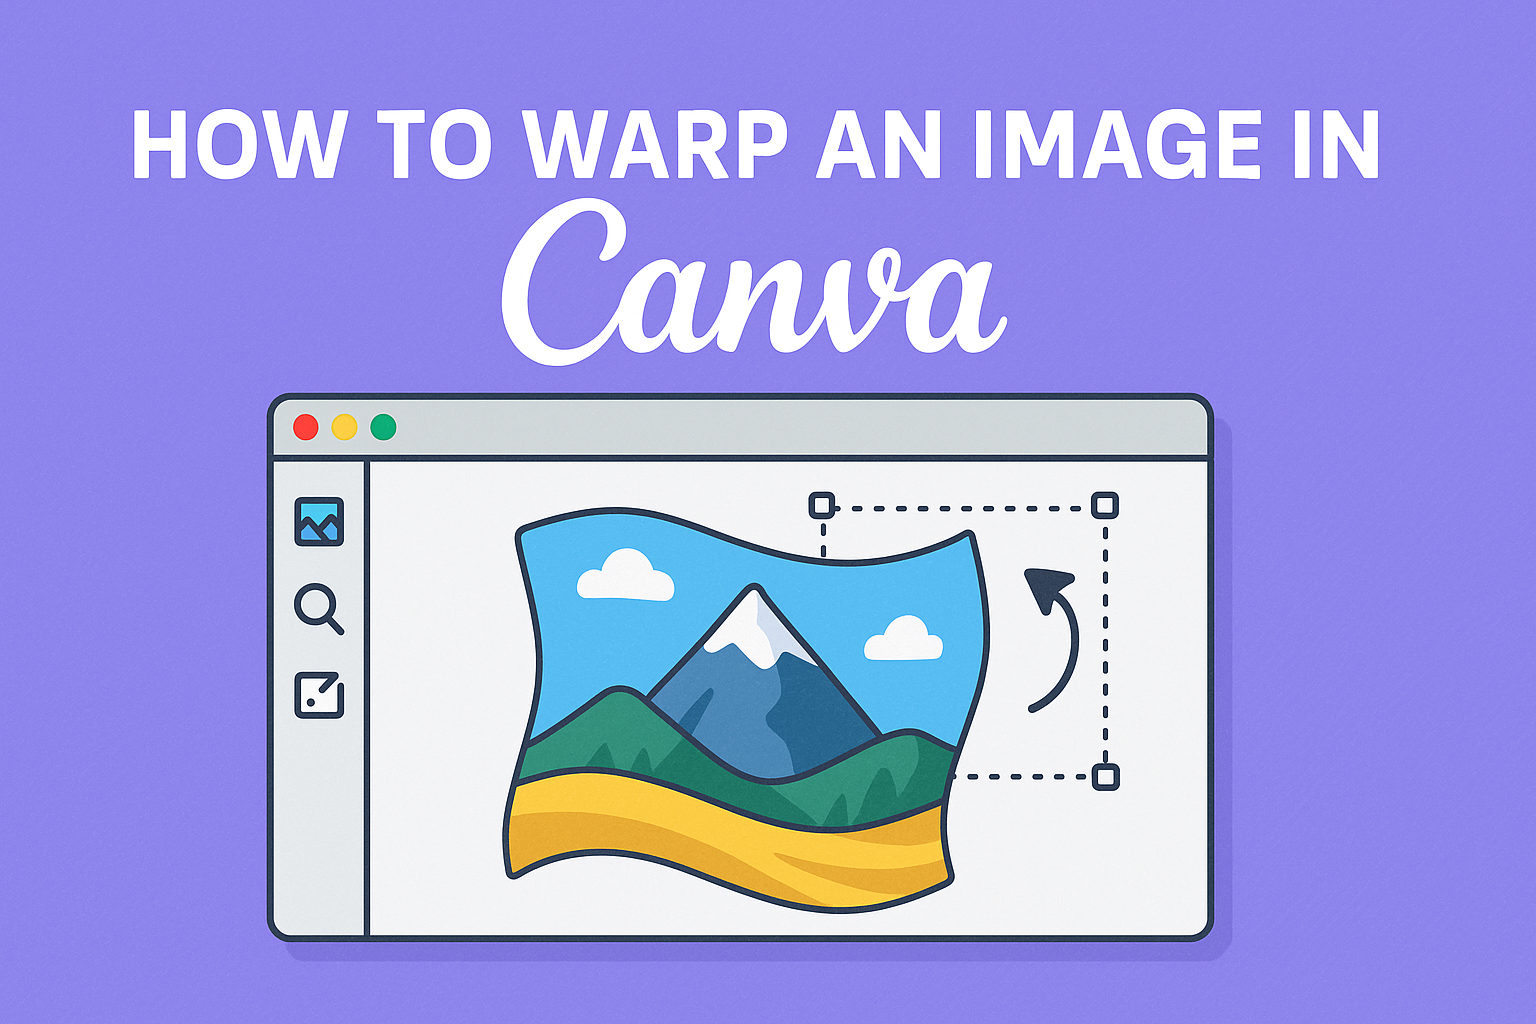
Warping an image in Canva can transform an ordinary design into something eye-catching and unique.
For those looking to enhance their graphics, the process is simple and can be done in just a few easy steps.
Whether creating social media posts, presentations, or personal projects, mastering image warping can add flair and creativity to any design.
Many users are drawn to Canva for its user-friendly features, but not everyone knows about the various ways to modify images.
Warping allows designers to bend, stretch, or distort images to fit their creative vision. With this skill, they can bring their ideas to life in a fun and engaging way.
In this blog post, readers will discover how to warp images effectively in Canva.
From uploading images to applying the perfect warp effect, the article will provide all the necessary steps for creating stunning visuals.
Getting Started with Canva
Canva is a user-friendly design tool suitable for both beginners and experienced users.
Learning how to set up an account, navigate the platform, and select the correct canvas size is essential for effective design.
Creating an Account
To start using Canva, the first step is to create an account.
Users can sign up for free using their email address, Google account, or Facebook. After entering their details, they will receive a confirmation email. It is important to verify this email to gain full access to Canva.
Once logged in, users will encounter the dashboard, which displays templates, recent designs, and project folders.
Upgrading to a paid version, Canva Pro, provides additional tools, images, and features, but the free version is often sufficient for beginners.
Basic Navigation
Navigating Canva is straightforward. The left sidebar includes essential options such as “Templates,” “Uploads,” and “Elements.”
By clicking on these options, users can easily explore various design resources.
The top toolbar allows for adjustments like changing font styles, sizes, and colors.
Users can drag and drop elements onto the canvas, making it easy to create custom designs. Shortcuts and the help center are available for users needing extra assistance.
Choosing the Right Canvas Size
Selecting the correct canvas size is crucial for the final design.
Users can start with pre-set sizes for popular formats like social media posts, presentations, or flyers.
To choose a custom size, click on “Create a design” and enter the dimensions required. This flexibility ensures that each design fits its purpose perfectly.
It’s helpful to know the common sizes for different platforms, such as 1080×1080 pixels for Instagram posts or 1920×1080 pixels for YouTube videos.
Adjusting the canvas size before starting can save time and effort later.
Understanding Image Warping
Image warping is an important technique used in design to change the shape and appearance of images. This technique allows creators to achieve unique effects and customize visuals to better fit their projects.
What is Image Warping?
Image warping refers to the process of altering the geometry of an image. It allows designers to bend, stretch, or resize parts of an image in creative ways.
In programs like Canva, there are different tools available for warping images. Two common effects are the “Curve” effect and the “Liquify” effect.
- Curve Effect: This creates a subtle bend in the image. It is excellent for adding a gentle wave to an otherwise flat image.
- Liquify Effect: This allows for more dramatic distortions. Designers can push and pull areas of the image to create unique and artistic results.
These tools give artists the flexibility to customize images to their liking.
Uses of Image Warping
Image warping has various applications in design and art. Many professionals use it to enhance the aesthetic quality of their projects.
- Creative Designs: Warping can add flair to invitations, posters, or social media graphics. It makes designs stand out.
- Product Images: Businesses often use warping to showcase products in dynamic ways. This can attract more customers’ attention.
- Artistic Projects: Artists might warp images to express ideas or concepts. This method allows for greater creativity in their visual storytelling.
By utilizing image warping effectively, designers can transform their projects and convey messages more clearly.
Preparing Your Image for Warping
Before starting the warping process, it’s important to get the image ready. This involves uploading the image to Canva and choosing the right file for the effects you want. Following these steps makes the warping easier and improves the final look of the design.
Uploading Images to Canva
To upload an image to Canva, the user should first open the editor. They can click on the “Uploads” tab found on the left side of the screen.
Next, they will see a green button that says “Upload an image or video.” Clicking this button allows them to select files from their computer. Canva supports several file types, including JPG, PNG, and GIF.
Uploading the image is smooth and quick. After uploading, it will appear in the user’s uploads library. This image can be easily dragged onto the design canvas to start working on warping.
Selecting Images for Warping
Choosing the right image is key to achieving great warping results.
It’s best to select images with clear and defined shapes, as this allows for better manipulation.
Images with simple backgrounds or interesting elements work well too. Avoid overly busy images that might get distorted or lose meaning after warping.
After selecting an image, the user should think about the effect they want to achieve. Bold colors and high contrast images often look better after warping.
This careful selection process leads to more successful visual effects and enhances the overall design experience in Canva.
Accessing the Warping Tools
To warp an image in Canva, users need to locate the proper tools to achieve the desired effect. The process involves a few simple steps that make it easy to distort images in creative ways.
Where to Find Warping Features
First, users should open Canva and either create a new design or select an existing one. Once in the design interface, they can upload an image by clicking on the Uploads tab.
After the image is uploaded, it will appear in the workspace.
Next, they can select the image to reveal the editing options. The Effects tab is where users will find the warping tools.
Clicking this tab opens up a variety of options, including the Warp Tool. This tool allows users to distort the image in multiple ways, adjusting the appearance with a simple slider.
Using the Photo Effects Menu
To access the warping tools, users click on the selected image and choose the Effects menu. Here, they will see the option for the Warp Tool.
Users can easily increase or decrease the warp effect by dragging a slider.
When using the Warp Tool, it’s helpful to experiment with different settings. This tool can bend, twist, or stretch the image, providing various artistic options.
Users should take their time to see how each adjustment changes the look of the image. This hands-on approach leads to discovering unique styles that enhance their designs.
Warping Techniques in Canva
Canva offers several techniques for warping images, ranging from simple adjustments to more complex effects. Users can easily manipulate images to fit their design needs.
Basic Image Manipulation
To start warping an image, users can select the image and apply basic adjustments. This includes changing the shape by selecting “Edit Image” and using the “Shape” feature.
Users can choose from various shapes such as circles, squares, or custom polygons.
Another simple technique is to use the “Crop” tool. By cropping the image, users can achieve different visual effects. Dragging the corners of the image can distort it slightly, giving a unique look without complicated steps.
Lastly, adjusting the size or position of the image can create a basic warp effect. This can help integrate the image more smoothly into the overall design.
Advanced Warping Effects
For more dynamic and creative warping, Canva provides advanced tools like the “Warp” feature.
Users can access it by selecting the image and navigating to the top toolbar. Here, they can tweak the curve settings to create dramatic effects like bending or twisting images.
The “Perspective” option is also valuable. It allows users to create an illusion of depth by adjusting angles. This can make objects come alive on the canvas.
Using these techniques in combination can yield impressive results. For instance, one could use basic manipulation to define the shape and then apply advanced effects to enhance the image’s overall appeal.
Adjusting the Intensity of the Warp
Adjusting the intensity of the warp effect in Canva is important for achieving the desired look. Finding the right balance can enhance creativity while maintaining image clarity.
Fine-Tuning the Warp Effect
When fine-tuning the warp effect, users can start by adjusting sliders available in the editor. These sliders typically control the amount and direction of the warp.
To begin, click on your image and look for the “Effects” or “Transform” options. Users can choose to modify the “Curve” or “Liquify” effects.
By gradually moving the slider, individuals can see real-time changes.
Small adjustments can lead to significant visual changes, so it’s wise to make changes slowly. Evaluating the image from different angles helps in deciding the best intensity.
Balancing Warping with Image Quality
Balancing the warp intensity with image quality is essential to avoid distortion.
Users should observe how warping affects the details in the image.
If the warp is too strong, it can blur the original details and make the image look unappealing.
Keeping the intensity moderate can help preserve key elements.
Regularly zooming in allows users to check for clarity. If needed, adjusting the warp intensity down can restore quality without losing the artistic effect.
This balance ensures that the warp enhances the design while keeping image integrity intact.
Applying and Saving Your Changes
After warping an image in Canva, it is important to apply the changes correctly and save the final product. This process ensures that the image retains the adjusted look, ready for personal use or sharing.
Warping the Final Product
To warp the image, the user selects the desired image and clicks on the “Warp” icon in the top toolbar.
They can adjust the curve using a slider, changing how much the image bends.
Once satisfied, the warping effect is applied by simply clicking outside the editing area. This ensures that all changes are locked in.
After warping, the user may want to add effects or filters for a more polished look. Each effect can be previewed instantly, allowing for adjustments before finalizing.
Exporting Your Warped Image
Once the image looks perfect, it’s time to export.
The user clicks on the “Download” button at the top right corner. They can choose different file formats like PNG, JPG, or PDF.
Making the right choice depends on how the image will be used. For web use, JPG or PNG is common.
After selecting the format, the user hits the “Download” button again to save the warped image to their device. Canva will prepare the file and prompt the user once it’s ready for download.