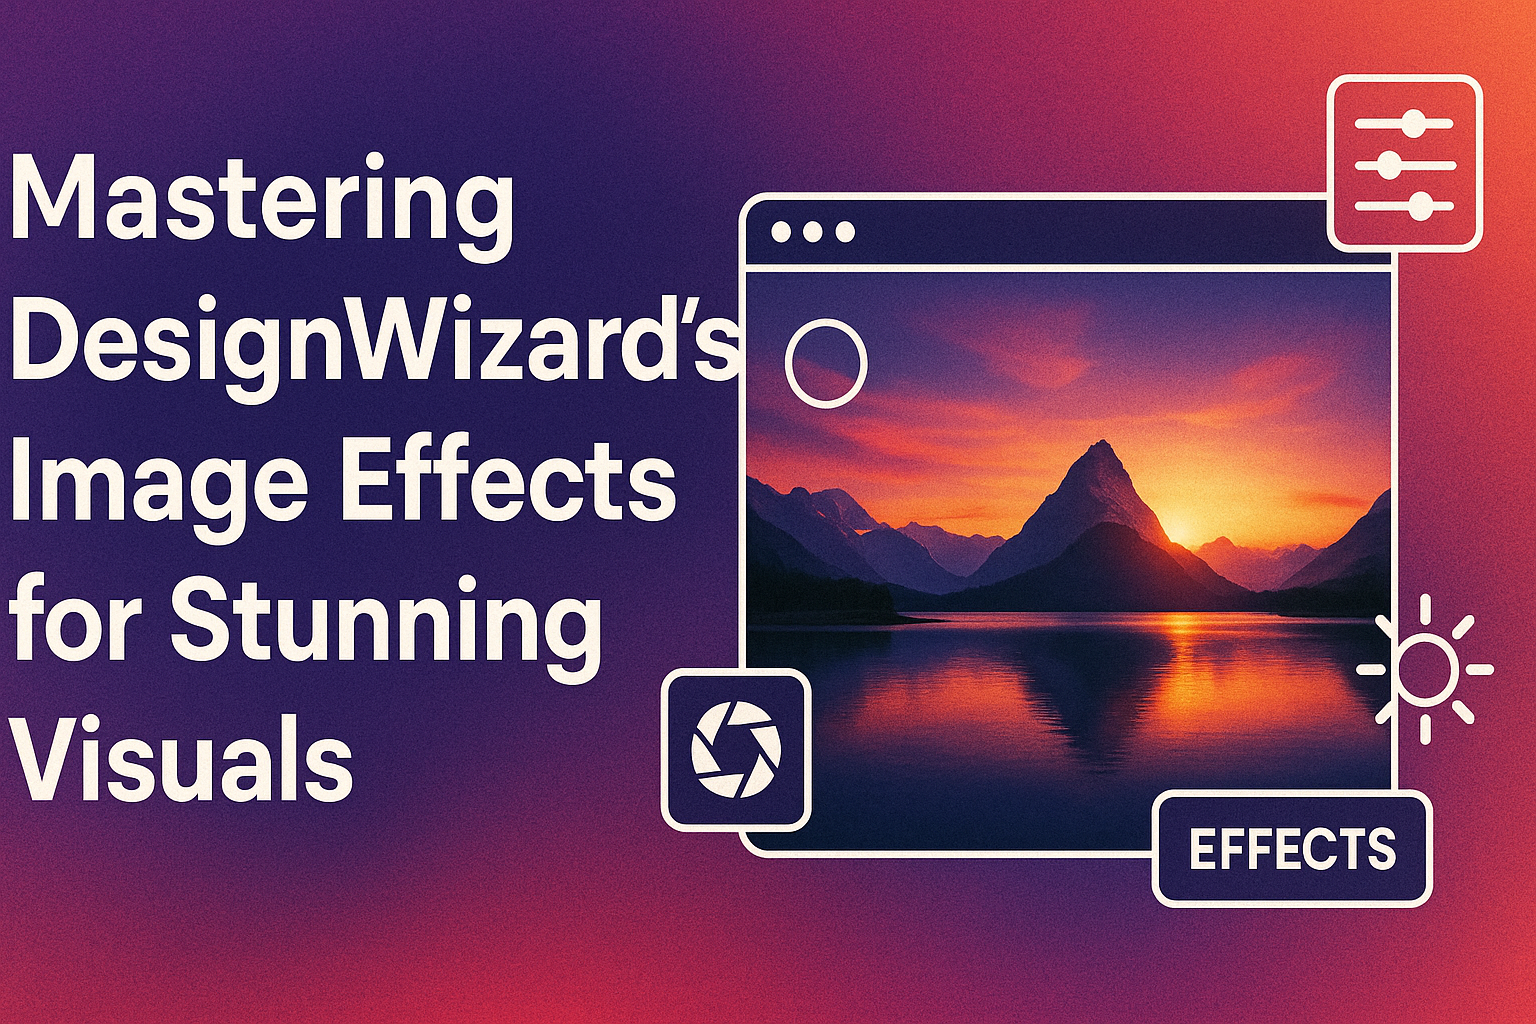
DesignWizard makes enhancing images quick and easy, perfect for creating eye-catching designs. By using DesignWizard’s image effects, anyone can turn ordinary photos into stunning visuals with just a few clicks. This tool offers a variety of effects that can transform any project, whether it’s for personal creativity or professional results.
Engaging filters and effects are readily available in DesignWizard to elevate each design. Users can experiment with different styles to discover unique combinations that make visuals stand out. From vibrant colors to subtle enhancements, the possibilities are endless for those looking to maximize their creativity.
For those looking to take their designs to the next level, incorporating DesignWizard’s effects adds a professional touch. The platform is designed for both beginners and experienced designers, ensuring everyone can create captivating and polished images.
Getting Started with DesignWizard
DesignWizard is a powerful tool for creating eye-catching designs. Beginners can easily dive in and start crafting their own creative projects. Key steps include setting up your first project, exploring the interface, and choosing templates that suit your needs.
Creating Your First Project
Starting a new project in DesignWizard is simple. Users first need to sign up for an account. Once logged in, they can find the “Create New” button prominently displayed on the dashboard. Clicking it leads to a blank canvas where all creative ideas come to life.
Choosing the right size for your project is crucial. DesignWizard offers various preset sizes for social media posts, posters, and more. If users have specific dimensions in mind, they can enter them manually.
Users can then upload their own images or choose from the extensive library of graphics and photos available. Selecting the perfect visual elements sets the foundation for an engaging design.
Navigating the User Interface
Understanding DesignWizard’s interface makes designing easier. At the top is the main toolbar, featuring options like text, images, and shapes. On the left, users find various tools to customize elements on the canvas.
In the canvas area, users can see their work in progress. It’s easy to move elements around by clicking and dragging. Zoom and grid tools help ensure precision in design.
On the right, users access layer settings and effect options. This panel is key to adjusting the look and feel of the design, giving users freedom to be as creative as they want.
Selecting the Right Template
DesignWizard offers a broad array of templates tailored for different needs. To select a template, users can browse categories like social media, business, or events. This ensures they find one that fits their project purpose.
Using templates is a time-saver. Users don’t need to start from scratch, providing a head start with pre-designed layouts. Personalize by altering colors, fonts, and images to align with specific brand needs.
A well-chosen template sets the tone for the entire design process. It acts as a springboard, helping users transform ideas into reality quickly and efficiently.
Exploring Image Effects
Image effects can enhance design projects by adding artistic touches and transforming ordinary visuals into engaging artworks. This involves learning about both basic and advanced techniques to expand creativity.
Basic Effects Overview
Basic effects are essential tools for anyone starting with image editing. Common effects include brightness, contrast, and saturation adjustments, each impacting the visual tone. These foundational tools help in correcting image exposure and enhancing colors.
Another standard effect is cropping, useful for focusing on specific image areas. Applying basic filters like grayscale or sepia can quickly change the mood of a photo, giving it a classic or vintage look. In Design Wizard, users can easily apply these effects to improve image quality.
Advanced Effects and Techniques
Advanced effects require more skill but offer greater creative control. Techniques like blending modes allow designers to layer images or colors for unique results. Using mask tools can help in hiding or revealing parts of an image.
Color splitting is another creative effect, allowing users to tint highlights and shadows with different hues, adding depth and interest. Mastering such effects can elevate compositions by creating more dynamic visuals. Tools like Midjourney offer guidance on these advanced techniques, ensuring captivating and immersive visuals.
Enhancing Photos with Filters
Using filters can add a special touch to photos, improving their look and feel. Filters can be applied in several ways, either by choosing a ready-made option or adjusting the details to suit your style.
Applying Pre-Set Filters
Pre-set filters offer a quick way to enhance photos without needing to fuss over every little detail. Users can simply pick a filter that matches the mood or theme of their image. These filters can do things like brighten colors, add a vintage look, or give a dramatic effect.
Choosing the right pre-set filter is crucial. For nature shots, vibrant filters can make colors pop. Portraits might benefit from softening filters to create a warm glow. The key lies in knowing which filter enhances the image’s subject best, drawing the viewer’s eye to its most important features.
Using tools like Design Wizard, users can easily select and apply these effects in just a few clicks, transforming their photos from simple to stunning.
Customizing Filter Intensity
Customizing filter intensity allows people to fine-tune their image enhancements. This involves adjusting how strongly or subtly a filter impacts a photo. It’s useful when a pre-set filter doesn’t fit perfectly, but the user still wants its basic look.
Adjusting the intensity can achieve a balanced effect, ensuring the filter complements rather than overwhelms. For instance, reducing intensity can prevent colors from becoming too bold, maintaining a natural appearance. On the other hand, increasing it might enhance the mood of a themed shoot like a sunset or night scene.
With customization options provided by tools such as Design Wizard, photographers and designers can create a more personalized and professional look, suiting their project’s unique needs.
Adjustment Tools for Image Enhancement
Enhancing images requires the right tools to adjust brightness, contrast, saturation, color balance, and size. By mastering these elements, anyone can create stunning visuals that stand out.
Brightness and Contrast Adjustments
Brightness and contrast adjustments are crucial for making an image more vibrant and clear. Adjusting brightness changes the lightness in an image. Increasing it can make a dark photo pop, while decreasing it might add moodiness. Contrast affects how different the lights and darks appear. More contrast can add depth and make colors stand out, while less contrast can give a softer look. Using the DesignWizard’s tools, simply slide the controls to find the best balance that highlights your image’s key features.
Saturation and Color Balance
Adjusting saturation enhances the intensity of colors in an image. Boosting saturation makes colors more vivid, which is great for bold visuals. Dialing it back can create a calming, muted effect.
Color balance ensures that the colors reflect the actual tones of the scene. Adjusting this helps correct unnatural tints; for example, if an image looks too blue, adjusting the warmth can fix it. The tools in DesignWizard allow easy manipulation of these elements, making it simple to achieve the desired look and feel of any photo.
Cropping and Resizing Tips
Cropping is a useful technique to eliminate unwanted parts and focus on the subject. It can also improve composition by placing the subject according to the rule of thirds, enhancing visual appeal.
Resizing ensures images fit certain formats without losing quality. When resizing, it’s key to maintain the aspect ratio to avoid distortion. Tools in DesignWizard offer options to precisely crop and resize images, ensuring every picture looks professional and polished. Remember, thoughtful cropping and resizing can dramatically change the impact of a photo.
Creative Layers and Overlays
Creating stunning visuals often involves using layers and overlays effectively. These techniques can transform ordinary images by adding depth and artistic flair. The use of textures, gradients, text, and graphics plays a crucial role in enhancing the overall design. Let’s explore these elements in more detail.
Using Textures and Gradients
Textures add dimension to images, making them more appealing and engaging. By integrating different textures, designers can create a tactile feeling that captivates the viewer. For instance, adding a paper or fabric texture can give an image a rough or smooth feel.
Gradients, on the other hand, provide smooth transitions between colors. They can add a sense of movement or highlight certain parts of the image. By combining gradients with textures, artists can achieve a harmonious blend that enhances the picture’s vibe.
Experimenting with various textures and gradient combinations can help you discover unique effects. Changing opacity levels or mixing multiple textures can create stunning results. It’s all about finding the right balance to enhance the visual impact.
Incorporating Text and Graphics
Text and graphics are powerful tools in visual design. By layering graphic elements, designers can build complex and eye-catching compositions. Graphic overlays can be used to highlight certain parts of an image or provide additional context.
Text layers can act as focal points in an image. Choosing the right font and color ensures the text is clear and complements the design. Positioning is crucial, so make sure it doesn’t overcrowd the image.
Graphics can include shapes, icons, or even other images. Combining these with photos can result in a dynamic and creative outcome. It’s essential to ensure these elements work together cohesively to not distract from the main subject.
Efficient Workflow Tips
To enhance productivity while working with DesignWizard’s image effects, using shortcuts and organizing assets efficiently is crucial. This section focuses on these essential techniques to help streamline your creative process.
Shortcut Keys and Quick Actions
Mastering shortcut keys is key to a smoother workflow in DesignWizard. These shortcuts reduce time spent navigating menus and allow for quick actions. For example, using keyboard shortcuts to cut, copy, or paste elements can speed up edits. Keystrokes for switching tools or applying effects are also helpful.
Quick actions like duplicating layers or adjusting opacity through shortcuts can further enhance efficiency. Users should customize shortcuts based on their workflow needs. This customization ensures that frequently used actions are always a keystroke away, maximizing productivity and creativity.
Organizing Assets and Layers
Organizing assets and layers properly in DesignWizard can significantly improve workflow efficiency. Creating a structured layer hierarchy helps in managing complex designs. Naming each layer descriptively makes it easier to find elements. It’s also beneficial to use folders to group related layers, maintaining a tidy workspace.
Importing assets into well-organized libraries saves time when searching for elements. Consistent file naming conventions are crucial here. This organization aids in quick access and re-use of assets. These practices make editing less cumbersome, allowing for more focus on creativity rather than management tasks.
Sharing and Exporting Your Designs
DesignWizard makes it easy to share and export your creations. Learn the best ways to export designs for different media and share them directly to social platforms.
Exporting for Different Media
DesignWizard offers several options for exporting designs. Users can choose from various file formats like JPEG, PNG, and PDF to suit different needs. Each format has its strengths; JPEGs are great for web images, while PDFs work well for print.
When exporting, it’s essential to consider the resolution. Higher resolution is ideal for printing. Stick to 300 DPI for print materials and 72 DPI for digital ones to ensure quality. The platform allows for easy adjustments to these settings, helping users get the best results for any media type.
Exporting layouts for various platforms is also seamless. DesignWizard includes preset dimensions for different uses, such as social media headers or postcards, ensuring that users meet specific requirements without hassle.
Sharing to Social Platforms
Sharing directly to social media is straightforward with DesignWizard. The platform integrates with popular sites like Facebook and Twitter, allowing users to post their creations instantly. This saves time and maintains original quality.
Users can log in to their accounts on these platforms directly through the DesignWizard interface. Once connected, they select their desired platform when a project is complete. Automated resizing ensures designs fit the platforms’ specific guidelines.
For a more personal touch, users can download their designs and manually upload them to other platforms like Instagram. This flexibility ensures that creators can easily share visuals, reaching a broad audience with their stunning designs.