The Pen Tool in Affinity Designer is essential for anyone looking to create detailed vector graphics. This tool allows users to draw precise curves and shapes, making it a favorite among graphic designers and artists.
With its flexibility, the Pen Tool can help turn simple ideas into stunning visuals.
Learning how to use the Pen Tool effectively can enhance a designer’s skill set significantly. It not only simplifies the process of creating complex designs but also improves overall efficiency.
With a little practice, anyone can master this tool and unlock their creative potential.
In this blog post, readers will discover step-by-step techniques that will make using the Pen Tool straightforward and enjoyable. From basic shapes to intricate curves, mastering this tool opens doors to a world of possibilities in vector drawing.
Getting to Know the Pen Tool in Affinity Designer
The Pen Tool is essential for creating precise vector shapes and lines in Affinity Designer. Understanding its interface and key shortcuts can greatly enhance the drawing experience.
Understanding the Pen Tool’s Interface
The Pen Tool can be accessed from the left-hand toolbar, often represented by a pen icon. Selecting it allows the user to draw curves, closed shapes, and straight lines.
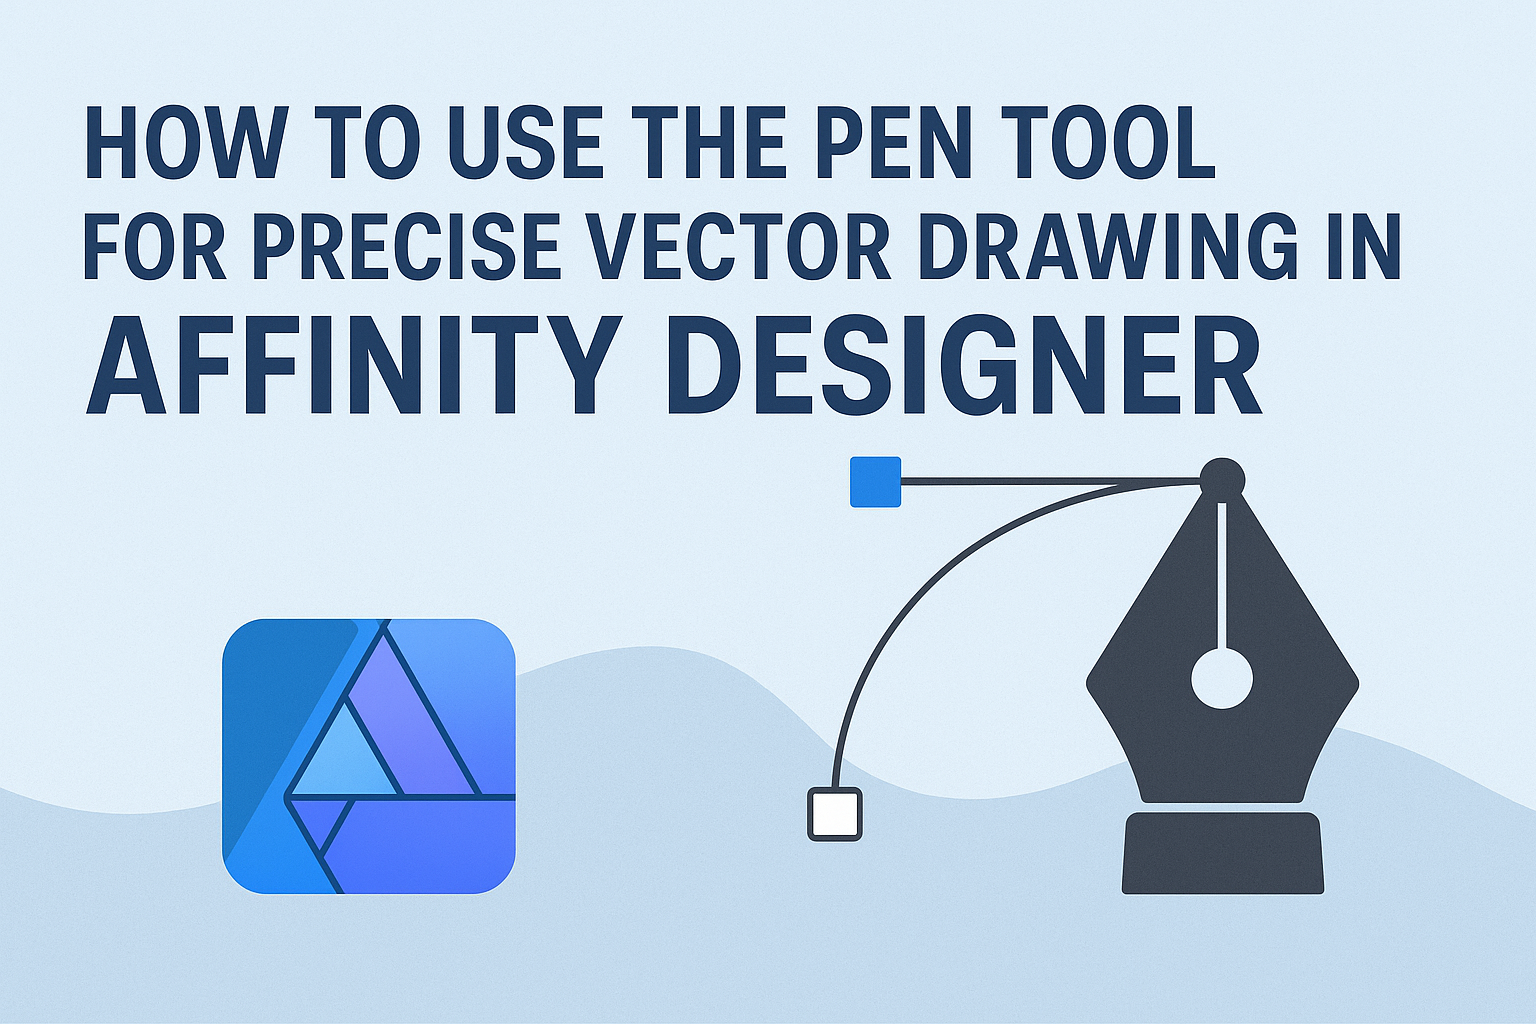
When using the tool, nodes are created as points in the design. These nodes can be adjusted to modify the shapes drawn.
On-curve nodes create the main points of the shape, while off-curve handles allow for smooth curves.
In the toolbar, options for switching between drawing modes, such as adding or deleting nodes, are available. Familiarizing oneself with these features makes it easier to work quickly and efficiently.
Key Shortcuts and Modifiers
Affinity Designer includes many shortcuts that speed up using the Pen Tool. The most common shortcut is the letter P to activate the Pen Tool quickly.
While drawing, holding the Shift key locks lines to 45-degree angles, keeping the shapes neat.
To switch between the Pen Tool and Node Tool, simply press A. This combination helps in adjusting the nodes without changing tools constantly.
For users looking to add points, simply click on the path, or hold Ctrl (or Cmd on Mac) to remove points. Using these shortcuts can save time and improve workflow significantly.
Starting with Basic Shapes
Creating basic shapes is an essential first step in using the Pen Tool effectively. Understanding how to draw straight lines, polylines, and curves will set a solid foundation for more complex designs.
Drawing Straight Lines and Polylines
To start drawing straight lines, the user selects the Pen Tool from the left-hand toolbar or uses the shortcut key “P.”
Clicking once establishes the first anchor point, while clicking again determines the endpoint. Each click creates a straight line segment.
For creating polylines, the user continues clicking to add more segments. To finish the shape, they can click on the first anchor point or press “Enter” or “Escape.” This method is perfect for creating geometric shapes or simple illustrations, as it allows for precise placement of points.
Creating Curved Lines and Bezier Curves
Drawing curved lines requires a slightly different technique. While using the Pen Tool, the user clicks and holds on the canvas for the initial anchor point.
As they drag the mouse, direction handles appear, shaping the curve. The position of these handles directly affects the curve’s smoothness and direction.
For complex Bézier curves, users must carefully adjust each anchor point and its corresponding handles to achieve the desired shape. Practicing this technique is key to mastering the Pen Tool. Users can create beautiful, flowing designs that enhance their vector artwork.
Mastering Pen Tool Techniques
Being comfortable with anchoring points and control handles is essential for creating smooth and precise vector drawings. This part will explore how to add or delete anchor points, manipulate control handles for better curves, and convert sharp points to smooth ones. Each skill enhances the user’s ability to control their designs effectively.
Adding and Deleting Anchor Points
Adding and deleting anchor points is fundamental when shaping paths.
To add an anchor point, the user can click on the path with the Pen tool. This action places a new point where it’s clicked, allowing for greater detail in shapes.
To delete an anchor point, the user should select the Pen tool and then click on an existing anchor point. This will remove it, streamlining the shape.
It’s vital to maintain the balance of points. Too many can clutter the design, while too few can limit flexibility.
Using the shortcut keys, such as Command (Mac) or Ctrl (PC), speeds up the workflow when making these changes. This technique allows for quick revisions and refining, leading to more artistic freedom in vector creation.
Manipulating Control Handles for Smooth Curves
Control handles are crucial for creating smooth curves in vector art. Each anchor point has handles that determine the curve’s direction and length.
To adjust these handles, the user can click and drag them, fine-tuning the curvature.
The key is to ensure that the handles are balanced; they should be equal on both sides of the anchor point for a smooth transition. If a curve appears sharp or awkward, the handles may need adjustments.
Pairing this technique with the Direct Selection Tool provides even more control. This tool allows for on-the-fly adjustments, leading to more fluid paths that appear polished and professional, essential for high-quality designs.
Converting Sharp Points to Smooth
Converting sharp points to smooth points changes how a path flows. This transformation allows a user to create flowing shapes rather than jagged edges.
To do this, the user must select the anchor point with the Pen tool and then click and drag to create curves.
When an anchor point is selected, there is often an option to convert it to a smooth point in the software. This move allows the user to adjust the control handles freely.
After conversion, it’s important to tweak the handles to achieve the desired curvature. This flexibility is crucial for achieving organic shapes in designs, making the artwork more appealing and cohesive.
Advanced Pen Tool Usage
The Pen Tool can do more than create simple shapes. With practice, users can trace complex shapes and combine paths to build intricate designs. Mastering these methods enhances precision in vector drawing.
Tracing Complex Shapes
Tracing complex shapes begins with selecting the Pen Tool and setting it up correctly.
Users should zoom in on the image or shape they want to trace. This allows for greater accuracy in placing anchor points.
Start by clicking to create the first anchor point. Users can then click again to create straight lines. To form curves, click and drag the points to adjust the direction handles. This helps in creating smooth curves that follow the shape’s outlines.
It’s beneficial to use the “Snap to Grid” feature to maintain alignment. Adjusting the opacity of the layer being traced can also help see the lines more clearly. By practicing these techniques, creating detailed and intricate shapes becomes manageable.
Combining Paths for Complex Designs
Combining paths enables users to create complex designs by merging different shapes.
To combine paths, one can start by selecting multiple shapes created with the Pen Tool. The “Add” option in the geometry section of the toolbar merges these selected shapes into one single path.
Alternatively, users may also need to subtract parts of shapes using functions like “Subtract” or “Intersect.” These features allow for greater flexibility in design creation.
It’s crucial to organize layers properly for easy adjustments later on.
Users should keep track of combined and original paths to avoid confusion.
By mastering these operations, the design possibilities in Affinity Designer expand significantly.