Creating complex shapes in Adobe Illustrator can seem like a daunting task, but mastering the Pathfinder tool makes it much simpler. The Pathfinder tool is essential for combining, dividing, and reshaping vector paths to achieve intricate designs effortlessly. It offers a straightforward approach to transforming basic shapes into detailed artwork.
The importance of this tool cannot be overstated as it opens up a variety of creative possibilities. With it, designers can merge multiple shapes, subtract portions, and intersect paths, crafting unique and polished graphics. By understanding how to leverage the different commands within the Pathfinder panel, anyone can elevate their design skills significantly.
For anyone eager to enhance their Illustrator projects, the Pathfinder tool is a game-changer. It’s versatile and powerful, turning simple concepts into beautifully complex results. Exploring this tool further ignites creativity and inspires new design methods.
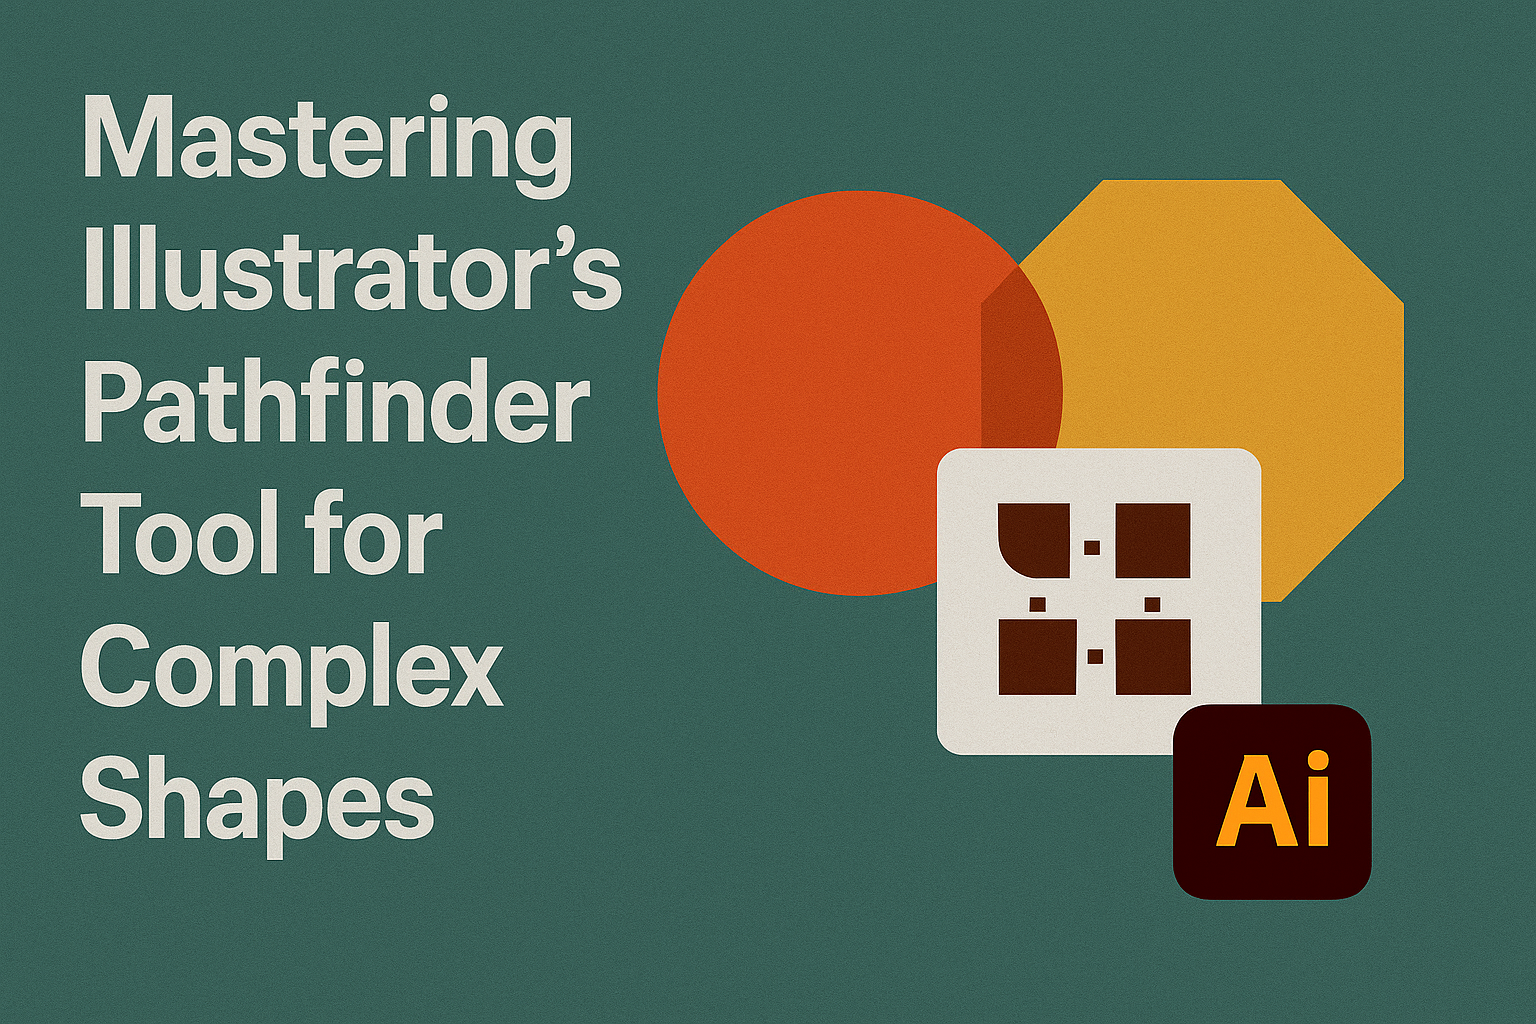
Understanding the Pathfinder Tool
The Pathfinder Tool in Adobe Illustrator is a powerful feature for creating and adjusting complex shapes. It provides users with several options to merge, subtract, or manipulate shapes to achieve desired results efficiently.
Exploring the Pathfinder Panel
The Pathfinder panel is the heart of many shape editing tasks in Illustrator. Users can open it by navigating to Window > Pathfinder or using the shortcut Shift + Ctrl + F9 on Windows or Shift + Command + F9 on Mac.
This panel is divided into two primary sections: Shape Modes and Pathfinders. Shape Modes allow for direct and simple path edits, while Pathfinders perform more complex shape interactions. Familiarity with this panel is key for any designer looking to enhance their workflow and precision in vector design. You can find more insights on using this feature in this tutorial.
Differentiating Between Shape Modes
Shape Modes are designed to simplify basic shape manipulation in Illustrator. The four main Shape Modes are Unite, Minus Front, Intersect, and Exclude. The Unite function combines multiple shapes into one cohesive form, ideal for creating unified graphics like a cloud from overlapping circles. Minus Front deletes the front object from the back, which can be useful for creative cutouts. Intersect retains only areas where shapes overlap, while Exclude removes overlapping areas completely. This functionality is explained further in this detailed guide.
Identifying Pathfinder Effects
Pathfinder Effects provide advanced options for transforming vector shapes in Illustrator. These effects include Divide, Trim, Merge, Crop, Outline, and Minus Back. Each effect serves a unique purpose, from dividing overlapping shapes into separate sections to trimming excess. Using effects like Divide can help create intricate designs by breaking shapes into distinct parts. Trim can clean up overlapping edges, while Merge combines contiguous shapes with similar attributes. Exploring these options enables a deeper level of creativity and efficiency in design work. For more tips, check out these tips and tricks.
Preparing Your Workspace
Optimizing your workspace in Adobe Illustrator makes using the Pathfinder tool easier and more efficient. This involves arranging tool panels and learning shortcuts to enhance your productivity.
Setting Up the Perfect Environment
Creating an ideal workspace in Illustrator starts with arranging panels. Keep the Pathfinder panel handy by dragging it to the side where you frequently work. To access it quickly, use Window > Pathfinder. This keeps it visible and easy to reach.
Adjust your Artboard and ensure it’s sized for your project. Having the layers panel open lets you manage complex designs with multiple shapes effectively. Arrange your tools thoughtfully, keeping the tools you often use close by to minimize distractions. This environment allows designers to focus more on creativity and less on searching for options.
Essential Shortcuts and Commands
Mastering essential shortcuts saves time and effort. The shortcut Shift + Ctrl + F9 (or Shift + Command + F9 on Mac) opens the Pathfinder panel. Knowing this helps ease the design process.
Familiarize yourself with common commands like Unite and Intersect. These functions quickly combine or modify shapes, allowing for efficient design workflows. Utilizing keyboard shortcuts such as Ctrl + Z to undo mistakes or Ctrl + G to group objects can significantly enhance productivity. Regularly practicing these shortcuts enables smoother and quicker design operations, making work in Adobe Illustrator more streamlined.
Creating Basic Shapes
Creating basic shapes in Adobe Illustrator sets the foundation for more complex designs. Techniques include combining multiple objects, trimming and merging elements, and applying effects to manipulate forms. Each of these methods can be easily mastered with the Pathfinder tool.
Combining Objects with Unite
The Unite function in Illustrator is a straightforward way to combine multiple shapes into one. By selecting the shapes you want to merge and then clicking the Unite option in the Pathfinder panel, you can create a single unified shape.
This method is particularly useful for constructing logos or icons that consist of multiple overlapping elements. For example, five circles positioned side by side can be combined to form a cloud shape, each circle merging seamlessly into one another.
Designers can also save time by reusing complex shapes created through the Unite function in future projects. This increases efficiency and maintains consistency across different designs. For a step-by-step guide, see how objects are combined using the Pathfinder tool.
Trimming and Merging Shapes
Trimming and merging shapes is crucial for designing intricate graphics. Illustrator’s Pathfinder tool provides precise control over this process. By using options like Minus Front or Intersect, shapes can be adjusted to remove unwanted parts or focus on overlapping areas only.
When trimming shapes, selecting the objects to keep and those to remove is important. This technique helps in crafting everything from basic symbols to more detailed images by cutting away excess parts.
Merging shapes effectively reduces the number of paths, making the final design cleaner. It also helps in managing complex artworks by reducing clutter. If interested in detailed methods of trimming, check the approach explained on shape manipulation.
Using Front Minus Back Effectively
The Front Minus Back tool is essential for creating unique cutouts within designs. This feature allows designers to subtract the form of one shape from another. It’s useful for projects requiring precise cutouts or when the negative space is integral to the design.
Select the shape in front, followed by the shape behind, and apply the Minus Back option in the Pathfinder panel. The top shape will disappear, leaving a cutout in the back shape that matches the silhouette of the front form.
This method is particularly handy for creating window effects, stencil designs, or any element where the interplay between filled and empty space enhances the artwork. For comprehensive details, explore the use of Front Minus Back.
Manipulating Complex Shapes
In Adobe Illustrator, the Pathfinder tool is essential for manipulating complex shapes effectively. By mastering specific functions like Divide, Minus Front, and outlining paths, users can transform their designs with precision.
Mastering the Divide Function
The Divide function is a vital feature in Illustrator for creating intricate designs. It lets users split overlapping shapes into separate pieces, which they can then manipulate individually. This function is useful for dissecting complex artwork into smaller components. Users can adjust colors or modify each piece with ease without affecting the other parts.
To use the Divide function, select the shapes to be divided. Then, apply the function via the Pathfinder panel found in the menu. This tool is perfect for breaking down multi-layered artworks.
Mastery of the Divide function involves practice. Experimenting with different shapes and layers, users can see firsthand how this tool can enhance their creativity.
Crafting Detailed Designs with Minus Front
The Minus Front command in Illustrator offers detailed manipulation of overlapping shapes. By subtracting the front shape from the one behind it, designers achieve precise cutouts. This results in clean, professional-looking designs.
To use this feature, select the front and back shapes. Then, apply Minus Front from the Pathfinder panel. This function is excellent for creating custom shapes and detailed patterns.
With practice, users will find Minus Front essential for achieving unique design ideas. This versatile tool helps in crafting highly detailed artworks with minimal effort, opening up exciting possibilities for designers.
Outlining Paths for Sophisticated Structures
Outlining paths is a technique used to refine complex shapes into well-defined structures. By turning strokes into filled objects, designers can manipulate these shapes more effectively. This allows for accurate adjustments and alignment in the design.
Illustrator makes outlining paths simple. To convert a stroke to a path, go to the Object menu, choose Path, and then Outline Stroke. This action transforms lines into editable shapes.
This method is crucial for maintaining precision in complex artwork. Designers looking to enhance their control over intricate designs will find outlining paths an invaluable skill. With these outlined shapes, it’s easier to manage and perfect every detail of the artwork.
Advanced Techniques
In Adobe Illustrator, mastering certain features of the Pathfinder tool can significantly enhance design capabilities. This section delves into techniques like exclusion, intersect effect, and common troubleshooting tips to elevate your creative process.
Employing Exclusion for Unique Outcomes
The Exclusion feature in the Pathfinder tool allows designers to create new shapes by eliminating overlapping areas between two shapes. This is especially useful for generating unique designs. Imagine having two circles overlapping partially; using exclusion, the overlapping portion disappears, leaving a ring-like shape.
Designers often use exclusion to create intricate logos or complex patterns. By experimenting with different shapes, one can achieve outcomes that are both visually appealing and functionally effective. Ensuring shapes are closed is important to avoid unexpected results.
Exploring the Intersect Effect
The Intersect effect is a feature that retains only the overlapping area of selected shapes. This technique is perfect for creating detailed and complex designs by combining small sections of larger shapes. For instance, if two overlapping squares are used, only the overlapping square area remains after applying the Intersect effect.
This method is ideal for projects that require intricate detailing, such as vector illustrations or logo designs. It allows designers to focus on specific areas without altering the entire structure. Using the Pathfinder panel’s Intersect feature in combination with aligning tools helps produce precise results.
Troubleshooting Common Issues
Common issues with the Pathfinder tool often include unexpected results or missing areas in shapes. These occur mostly when paths are not properly closed. Always ensure paths are complete before applying any Pathfinder operation to avoid these problems. Keyboard shortcuts, such as Shift + Ctrl + F9 for Windows or Shift + Command + F9 for Mac, open the Pathfinder panel quickly, helping troubleshoot these issues efficiently.
Another common problem is when the tool doesn’t respond correctly to layered objects. Ensuring shapes are on the correct layers and are grouped properly can prevent this. Practical steps like locking layers not being adjusted or working with individual copies of the design can help maintain clarity and order in complex projects.
Applying Effects for Professional Results
Creating professional illustrations in Adobe Illustrator involves more than just basic shapes. Using stylize and 3D effects, designers can add a polished touch to their creations, enhancing the depth and style of their work.
Adding Finishing Touches with Stylize
Stylize effects can bring an illustration to life by adding shadows, glows, and more. Drop Shadows add depth and make objects stand out, giving a 3D impression. These are adjusted through settings like opacity and blur, allowing for subtle or dramatic effects.
Outer Glows create a soft, glowing halo around shapes, often used to highlight or draw attention to specific areas. Users can customize the color and spread to match the overall design theme.
Feathers soften the edges of an object, making transitions smoother. This is especially useful when blending shapes into a background or creating more organic forms.
These effects are accessed through the Effect menu under Stylize. They can enhance illustrations by providing a finished look that is both professional and visually appealing.
Enhancing Illustrations with 3D Effects
3D effects transform flat illustrations into three-dimensional objects, adding realism and depth. Extrude & Bevel is a popular tool, which extends shapes into 3D space. Users can adjust the angle and depth for dynamic perspectives.
Revolve turns flat shapes into round 3D forms, like turning a circle into a sphere. Perfect for objects like wheels or bottles, this effect is fine-tuned through the 3D panel.
Rotate allows users to spin objects on different axes, changing how the light and shadows interact with the shape. This effect gives illustrations a realistic look, adding to their overall impact.
These 3D effects are found under Effect > 3D and are key for creating eye-catching designs that stand out in any professional setting.
Pathfinder in Practice
Illustrator’s Pathfinder tool is essential for artists and designers working with complex shapes. It helps combine, divide, and manipulate shapes efficiently. This section will explore creative projects using Pathfinder and offer tips to integrate this tool into everyday design workflows.
Project Examples to Inspire
One exciting project using the Pathfinder tool is creating intricate logos. By using the Unite tool, designers can effortlessly blend multiple shapes into seamless, flowing designs.
Another project involves designing patterned backgrounds. The Divide mode allows users to chop and separate overlapping patterns to create unique backgrounds.
Some designers use Minus Front to carve details out of shapes, perfect for icons or complex illustrations. For instance, making a sun icon with rays requires subtracting circles to form gaps between the rays.
These examples show how Pathfinder can transform ideas into polished designs that stand out.
Workflow Integration Tips
Integrating Pathfinder into daily workflows can boost efficiency. Start by organizing layers for better control over individual design elements.
Use keyboard shortcuts like Shift + Ctrl + F9 (Windows) or Shift + Command + F9 (Mac) for quick access to the Pathfinder panel. This saves time when making precise adjustments.
Another tip involves setting up a separate workspace that includes frequently used tools, like Pathfinder, to streamline the design process. Many users find that creating custom tool panels speeds up their projects.
Pathfinder also works best with closed paths, ensuring neat cuts and combines, which enhances the overall look of the design.