Mastering the Node Editing Tool in CorelDRAW is essential for creating precision vector art. This tool allows artists to manipulate nodes with ease, giving them full control over every curve. With the ability to edit each node individually, designers can achieve the exact shapes they envision.
The enhanced node editing features make manipulating paths more intuitive. Unique node shapes and vector previews help in quickly identifying and working with different node types. Users benefit from a streamlined workflow, enabling them to focus on creativity.
For anyone seeking to improve their design skills, understanding node manipulation is key. Using tools like the Shape Tool and the Node Editing Toolbar in CorelDRAW simplifies the process. This level of precision is vital for producing high-quality vector graphics.
Getting Started with Node Editing
Mastering node editing in CorelDRAW is key to creating precise vector art. Understanding how to use nodes and control handles helps designers achieve perfect shapes and lines. This guide covers the basics of vector graphics, CorelDRAW’s interface, and principles of node editing.
Understanding Vector Graphics
Vector graphics are images created using paths defined by mathematical formulas. Unlike raster images, which are pixel-based, vectors can be resized without losing quality. Shapes like lines and curves are made up of nodes and paths. Nodes are points that define the starting and ending points of paths, and they can be manipulated to modify the shape. This flexibility makes vectors ideal for logos, illustrations, and any design that requires scalability.
Overview of CorelDRAW’s Interface
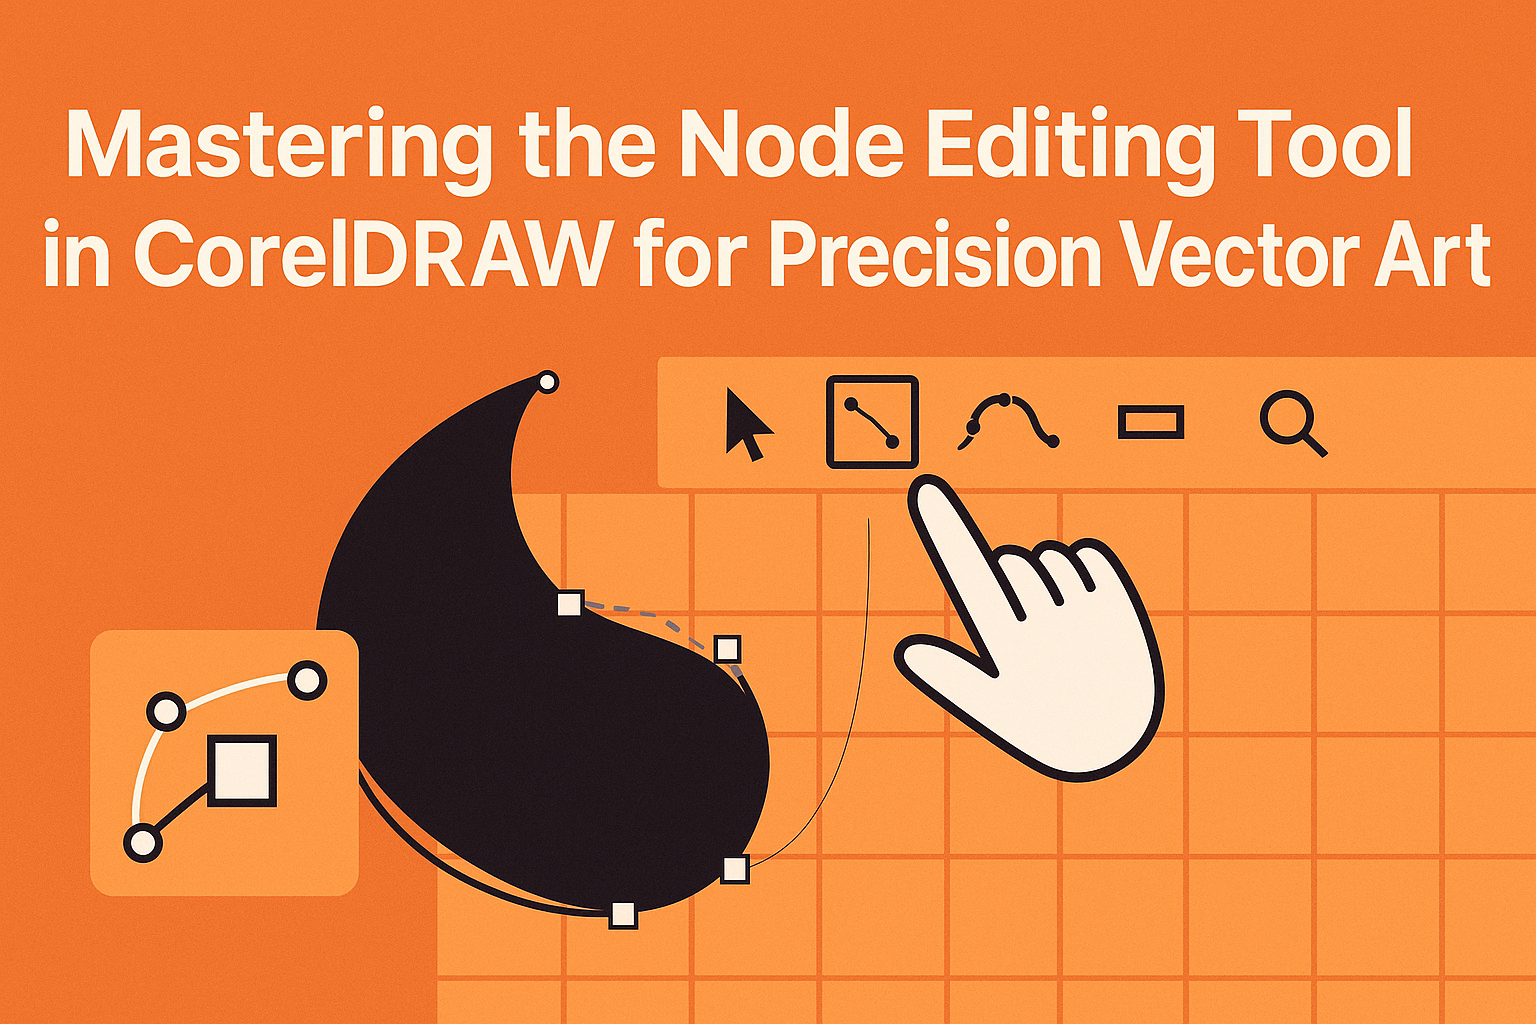
CorelDRAW’s interface is designed for ease of use, providing tools that are readily accessible. The Shape Tool is central for node editing, allowing users to select and modify nodes effectively. The toolbar contains various icons for quick access to functions like adding and removing nodes. To exit node editing mode, users can click “done” or right-click and select “exit” from the pop-up menu.
The interface is highly customizable, letting designers create a workspace that suits their workflow. Features such as vector previews help users see nodes and paths clearly against the background, enhancing precision. With practice, navigating the CorelDRAW interface becomes intuitive, allowing for efficient creation and manipulation of vector graphics.
Basic Principles of Node Editing
Node editing involves adding, adjusting, and removing nodes to alter shapes and paths. In CorelDRAW, different node types, such as cusp, smooth, and symmetrical, give designers control over curves and angles. The Shape Tool enables users to drag nodes, change their types, and move control handles to tweak curves and lines.
Users can also reverse start and end nodes, join different shapes, and manipulate multiple nodes at once for complex designs. Understanding how each node type functions and interacts is crucial for mastering node editing. This versatility lets designers create intricate, scalable vector art with precision and detail.
Essential Node Tools in CorelDRAW
CorelDRAW offers robust node editing tools that allow users to shape vector art with precision. From selecting nodes accurately to understanding different node types, each tool enhances the creative process.
Selecting Nodes with Precision
Selecting nodes accurately in CorelDRAW is crucial for detailed editing. The Shape Tool is central to this task. It enables users to click and drag to select multiple nodes simultaneously. For even finer control, users can zoom in on specific areas to make precise selections. The ability to select nodes accurately helps in manipulating curves and lines without affecting other parts of the artwork, resulting in more detailed and refined designs.
Advanced users can use shortcuts to toggle between different selection modes. By using simple key combinations, they can quickly refine their selections. This feature is especially helpful when working on complex vector images, where precision is key.
Adding and Deleting Nodes
CorelDRAW makes adding and deleting nodes straightforward and efficient. Using the Shape Tool, users can add nodes by double-clicking on curves. Conversely, nodes can be removed by selecting them and pressing the delete key. This flexibility allows users to adjust vector paths smoothly, making modifications to designs without starting from scratch.
Alongside adding and deleting, users can join or break nodes as needed. Joining nodes can simplify shapes, while breaking them allows for more complex designs. CorelDRAW’s intuitive interface supports these actions, making the process seamless and improving workflow.
Node Types and Their Functions
Understanding node types in CorelDRAW enhances user control over vector paths. Each node type—cusp, smooth, and symmetrical—serves a specific function. Cusp nodes allow for sharp angles, useful for corners. Smooth nodes create gentle curves, ideal for flowing designs. Symmetrical nodes keep curves balanced on either side, essential for symmetrical elements.
These node types can be identified easily thanks to unique shapes assigned to each type, which simplifies the process of selecting and editing specific nodes. Mastery of node types enhances manipulation capabilities, allowing users to achieve desired effects precisely and efficiently in their vector artwork.
Advanced Node Editing Techniques
Advanced node editing in CorelDRAW allows for precise adjustments to vector art. This includes manipulating Bezier handles for curves, cutting and joining paths seamlessly, and converting text to curves for detailed edits. Each technique offers control over design elements, enhancing the creative process.
Working with Bezier Handles
In CorelDRAW, Bezier handles are essential for adjusting curves with precision. By clicking on a node, users can extend these handles to refine the angle and curve tension. This creates smoother transitions between lines and shapes.
Many designers appreciate the visual feedback CorelDRAW provides. The software highlights node types as cusp, smooth, or symmetrical, making it easier to control and adjust. Understanding these differences helps users manipulate paths accurately, giving them more creative control.
Mastering Bezier handles involves practice, but the ability to create elegant curves is worth the effort. Adjusting these handles ensures design elements flow seamlessly, which is crucial for professional vector art.
Cutting and Joining Paths
Cutting and joining paths in CorelDRAW allow designers to modify shapes and create new forms. The Shape Tool is key for splitting a path into two. By selecting this tool, users can click on any part of a path to create a break, separating it into two distinct parts.
Joining paths, on the other hand, involves merging two nodes. Select the nodes at the end of each path, then use the Join option. This connection can create complex designs from simpler components.
These techniques are vital for tailoring paths to fit specific design needs. They offer flexibility and creativity, enabling designers to experiment with different forms without starting over.
Converting Text to Curves for Editing
Converting text to curves allows designers to edit text as a series of shapes. This process turns each character into vector outlines, which can be modified individually. To do this in CorelDRAW, select the text and use the Convert to Curves command.
Once converted, users can reshape each letter to create custom typography. This flexibility is perfect for logos and special text effects, where standard fonts don’t meet design needs.
Though it loses editability as text, this conversion enhances the creative possibilities. It allows designers to manipulate every aspect of the letterform, giving them complete artistic freedom.
Refining Shapes and Paths
In CorelDRAW, refining shapes and paths involves smoothing, aligning, and applying creative effects to nodes. This allows for precision and enhances the quality of vector art.
Smoothing and Straightening Paths
Smoothing paths can transform uneven or jagged lines into fluid curves. CorelDRAW provides tools that let users click on paths and gently adjust curves for a sleek appearance. They can use the Shape Tool to select and drag nodes or use the smooth node option to automatically refine paths.
Straightening paths involves setting angular points or cleaning up wavy lines. Designers can select specific nodes and use the straightening feature to maintain clean, precise lines. This is useful for design elements that require exact linear shapes. The combination of smooth and straight paths results in polished artwork with just the right touch of detail.
Aligning and Distributing Nodes
Aligning and distributing nodes is crucial for maintaining symmetry and balance in designs. Users can select multiple nodes and use alignment tools to snap them into position along axes or edges. This helps ensure that all elements of the design are uniformly placed.
Distribution helps in evenly spacing nodes along a path. Designers might want to spread nodes out or bring them closer for a consistent look. This is especially important when creating patterns or grids where uniformity is key. These tools enhance the artist’s control over the artwork’s structure and layout, making sure the design is cohesive.
Contouring and Blending for Effects
Contouring adds layers around shapes, creating depth and visual interest. Users select an object and apply contours by setting the depth and number of layers. This technique improves the richness and complexity of the design.
Blending different shapes merges multiple paths into a single fluid gradient. This technique involves selecting objects and applying the blend tool to create a natural transition between shapes. It’s often used to produce dynamic effects and transitions in vector art. By mastering these tools, designers can add professional touches to their artwork, elevating the overall quality and appeal.
Efficiency Tips for Node Editing
Mastering node editing can significantly boost productivity when working with vector art in CorelDRAW. Key strategies include using shortcuts to speed up tasks, customizing toolbars for quick access, and employing repeating techniques for uniformity.
Using Shortcuts for Faster Workflow
Using shortcuts can make node editing in CorelDRAW much more efficient. For example, many designers use the Ctrl key to quickly select multiple nodes without having to click individually. The Shift key can often be used to add or remove nodes from a selection.
Keyboard shortcuts like Ctrl+Z for undo and Ctrl+Y for redo are essential for quick corrections. Memorizing these shortcuts reduces the amount of time spent navigating through menus. By keeping one hand on the keyboard and the other on the mouse, artists can streamline their workflow and maintain momentum.
Customizing Toolbars for Node Editing
Customizing toolbars allows users to tailor their workspace according to their specific needs. CorelDRAW users often create custom toolbars featuring frequently used node editing tools like the shape tool and point reduction.
To do this, they go to the toolbar settings and drag their preferred tools into a new toolbar. This setup ensures that essential functions are always within easy reach and reduces the need for navigating menus every time. Some artists also resize or reposition their toolbars to better fit their workflow. Customization provides a personal touch that can significantly ease and speed up the process of vector designing.
Repeating and Cloning for Consistency
Repeating and cloning nodes can lead to consistent designs without much manual effort. CorelDRAW offers features like copy and paste that are perfect for duplicating elements precisely. Designers can use the Ctrl+D shortcut to duplicate selected items quickly.
This method is particularly useful when creating symmetrical designs or repeating patterns. By cloning nodes or paths, users can ensure that every element matches in structure and style, saving both time and effort. This is especially helpful in projects that require regularity and precision, such as logos or technical drawings.
Applying Node Editing to Real Projects
Mastering node editing in CorelDRAW can greatly enhance the quality of vector artwork. It allows for precise adjustments, whether you’re creating logos, typography, or detailed illustrations.
Creating Logos with Precision
When designing logos, precision is crucial for professional results. Node editing helps refine each curve and line, ensuring consistency and aesthetics. Designers can use the shape tool to add or remove nodes, making it easy to adjust complex paths. Assigning different node types like cusp or smooth helps in achieving sharp corners or fluid curves. For a guide on adding, removing, joining, and aligning nodes, refer to this CorelDRAW resource.
Designing Custom Typography
Custom typography can add a unique flair to projects. Using node editing, designers can manipulate each character for desired effects. By marquee-selecting multiple nodes, it’s possible to edit several elements simultaneously. This includes adjusting spacing and aligning characters for uniformity. The Corel Discovery Center offers a comprehensive tutorial on using the Edit Shape Tools in CorelDRAW.
Crafting Detailed Illustrations
For detailed illustrations, node editing provides control over every line and shape. Artists can enhance node visibility against backgrounds using redesigned nodes and handles, as described in the Enhanced node editing tutorial. By identifying cusp, smooth, and symmetrical nodes, artists can fine-tune the illustration’s complexity, ensuring that details remain crisp. This method helps create intricate and visually appealing artwork with precision.