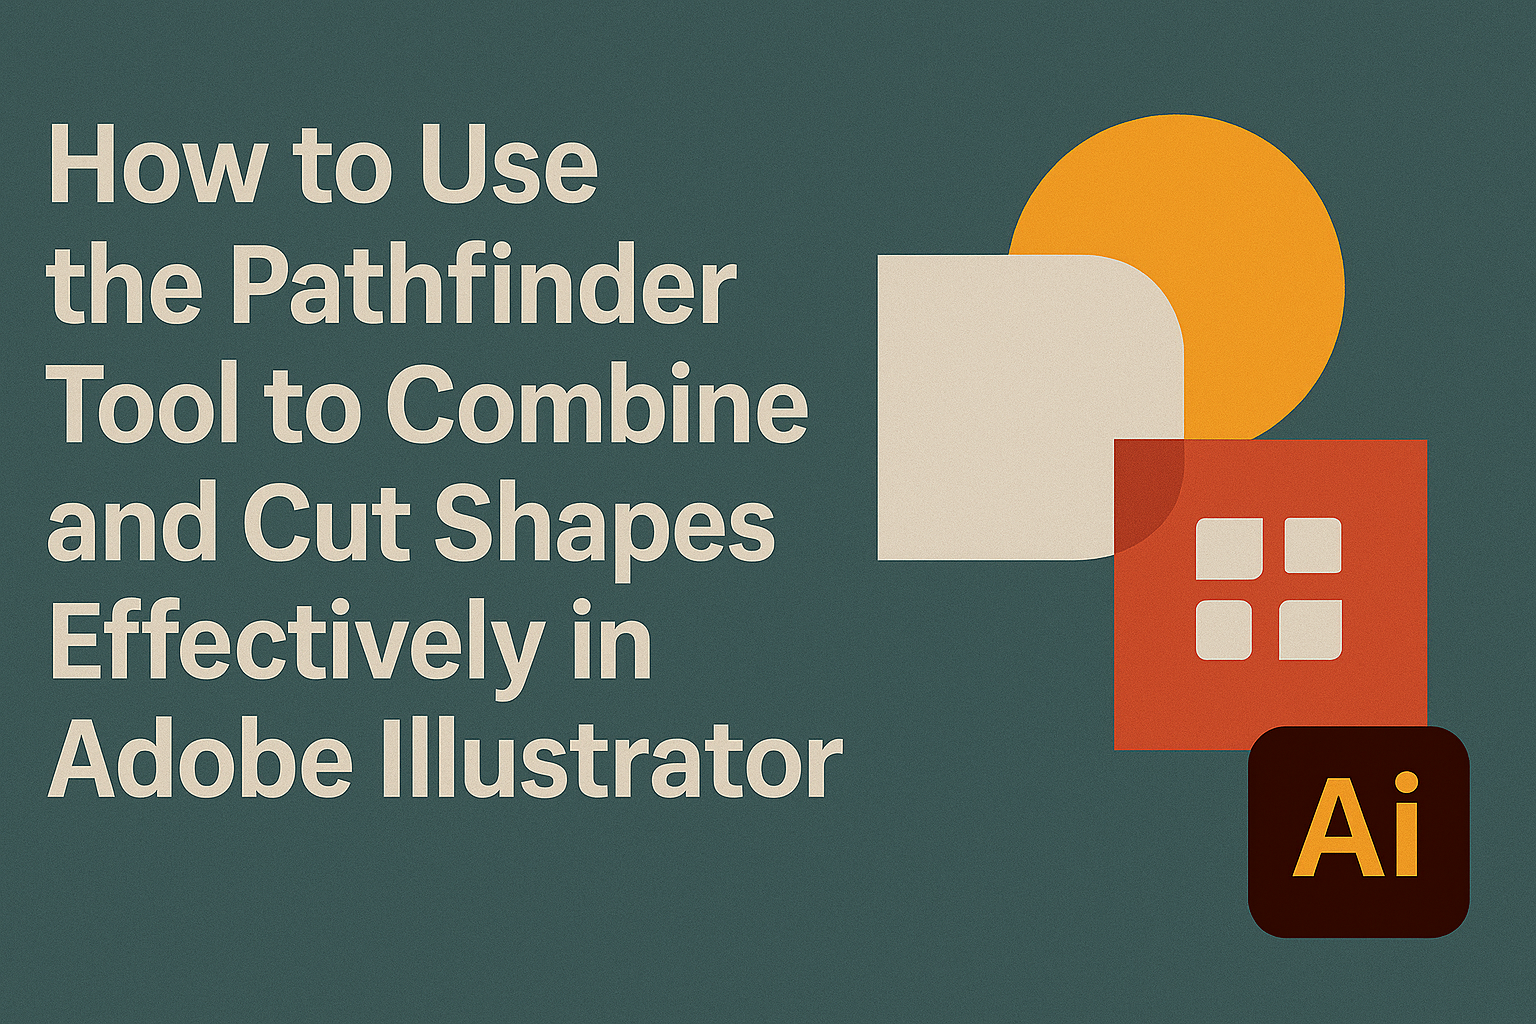
The Pathfinder Tool in Adobe Illustrator is a powerful feature that allows users to combine and cut shapes easily.
With this tool, designers can create unique designs by merging multiple shapes or dividing them into new forms. Whether she wants to create logos, icons, or intricate designs, mastering the Pathfinder Tool can elevate her artwork.
Using the Pathfinder Tool can transform basic shapes into complex graphics in just a few clicks.
It offers various options such as “Unite” to merge shapes and “Minus Front” to cut one shape from another. This flexibility enables designers to experiment and unleash their creativity like never before.
As users explore the different functions of the Pathfinder Tool, they will discover new ways to enhance their design projects.
With practice, anyone can learn how to effectively combine and cut shapes, making their work more visually appealing and professional.
Getting to Know the Pathfinder Tool
The Pathfinder Tool in Adobe Illustrator is essential for combining and cutting shapes effectively. Understanding its features can enhance creativity and streamline the design process.
Overview of the Pathfinder Panel
The Pathfinder panel includes tools that enable users to manipulate shapes in various ways.
It features two main sets of commands: Shape Modes and Pathfinders.
Shape Modes allow for combining or dividing shapes to create new forms. The options include commands like Unite, which merges shapes, and Minus Front, which subtracts one shape from another.
Pathfinders offer more complex operations. These can manage intersections and outlines. Knowing how to use these features can help designers produce intricate designs quickly.
Accessing the Pathfinder Tool
Accessing the Pathfinder Tool is straightforward. Users can find it under the Window menu by selecting Pathfinder.
There’s also a quick keyboard shortcut: Shift + Control + F9, which opens the panel instantly.
Once the Pathfinder panel is open, users will see all available options laid out clearly.
By selecting the desired shapes first, they can click on any command to see real-time changes.
Experimenting with different settings in the panel can help refine skills and master shape manipulation. This exploration often leads to discovering new design possibilities.
Combining Shapes with Pathfinder
The Pathfinder Tool offers users a simple way to merge shapes. Understanding how to use shape modes and create compound shapes can enhance design skills and streamline workflows.
Using the Shape Modes
Shape modes are essential features in the Pathfinder Tool. They allow users to combine multiple shapes into one, making design tasks easier.
There are several modes to choose from:
-
Unite: Combines selected shapes into one single shape. This can be done by selecting the shapes and clicking the Unite button in the Pathfinder panel.
-
Subtract: Removes the top shape from the bottom shape. This is useful for creating cut-out effects.
-
Intersect: Keeps only the area where the selected shapes overlap. This helps in forming complex designs.
-
Exclude: Removes the overlapping sections of shapes, leaving only the non-overlapping parts.
Understanding these options helps in creating unique designs effectively.
Creating Compound Shapes
Creating compound shapes allows for more complex designs. A compound shape can contain multiple paths or fill types that work together.
To create a compound shape:
-
Select the Shapes: Use the selection tool to choose the desired shapes.
-
Use the Pathfinder Panel: Click on the chosen mode, such as Unite or Minus Front, to see how the shapes interact.
-
Adjust as Needed: After combining, users can still adjust and edit the shape further to refine their design.
This technique is particularly helpful when designing logos or illustrations, as it provides flexibility and control over shape combinations.
Cutting and Subtracting Shapes
The Pathfinder tool is a powerful feature in Adobe Illustrator for cutting and subtracting shapes. This section covers how to use the tool effectively to create unique designs.
Subtracting Front Shapes
To subtract a shape from another using the Pathfinder tool, first, select the two shapes.
Place the shape to be subtracted (the front shape) on top of the base shape.
With both shapes selected, use the Minus Front option in the Pathfinder panel. This action removes the area of the base shape that overlaps with the front shape.
This method works well for creating cut-out effects. It’s simple and effective, making it easy to design custom shapes for logos or graphics. Remember, once you perform this action, the original shapes cannot be recovered, so make sure to work on copies if needed.
Dividing Objects into Individual Shapes
Another useful function of the Pathfinder tool is dividing shapes into individual pieces.
To do this, select the shapes you want to divide and then choose the Divide option in the Pathfinder panel. This option separates the selected shapes into distinct pieces.
After performing the division, the separated shapes can be moved and edited individually.
This approach is great for creating complex designs from simpler shapes. Designers often use this function to build intricate patterns or to prepare designs for laser cutting.
Trimming and Merging Shapes
Trimming involves cutting away parts of overlapping shapes without losing their original boundaries.
To achieve this, select the overlapping shapes and use the Trim option in the Pathfinder panel. This command removes overlapping areas while keeping the non-overlapping sections intact.
Merging shapes goes a step further. By selecting multiple shapes and using Unite, the designer can create a single, cohesive shape.
This is particularly useful when working on logos or illustrations that require smooth and continuous lines. Both these functions help improve design efficiency and precision.
Refining Your Design
Once shapes are combined or cut using the Pathfinder Tool, it’s time to refine the design. This process enhances the overall appearance and ensures that the final output looks polished. Two important steps are cleaning up paths and adding final touches.
Cleaning Up Paths
After using the Pathfinder Tool, leftover points and edges may remain in the design.
To clean up these paths, it’s useful to zoom in closely on the shapes. This allows for easy identification of unnecessary points.
Using the Direct Selection Tool, the designer can select individual anchor points. These points can then be deleted to smooth out the shape.
Additionally, the Smooth Tool can help eliminate any jagged edges, creating a cleaner look.
Regularly grouping shapes with Ctrl + G or Command + G helps maintain order in the design. By regularly checking for imperfections, the result can be a refined and accurate representation of the idea.
Adding Final Touches
The final touches can make a big difference in the overall quality of the design.
One vital step is adjusting colors and gradients to achieve the desired aesthetic.
Swatches can be used to save time when applying consistent colors.
Adding a subtle drop shadow or stroke can give depth to your combined shapes.
This can be done through the Appearance Panel, which allows adjustments without altering the vector paths.
Finally, reviewing alignment is crucial for a polished look.
Using guides and the Align Tool ensures that all elements are perfectly positioned.