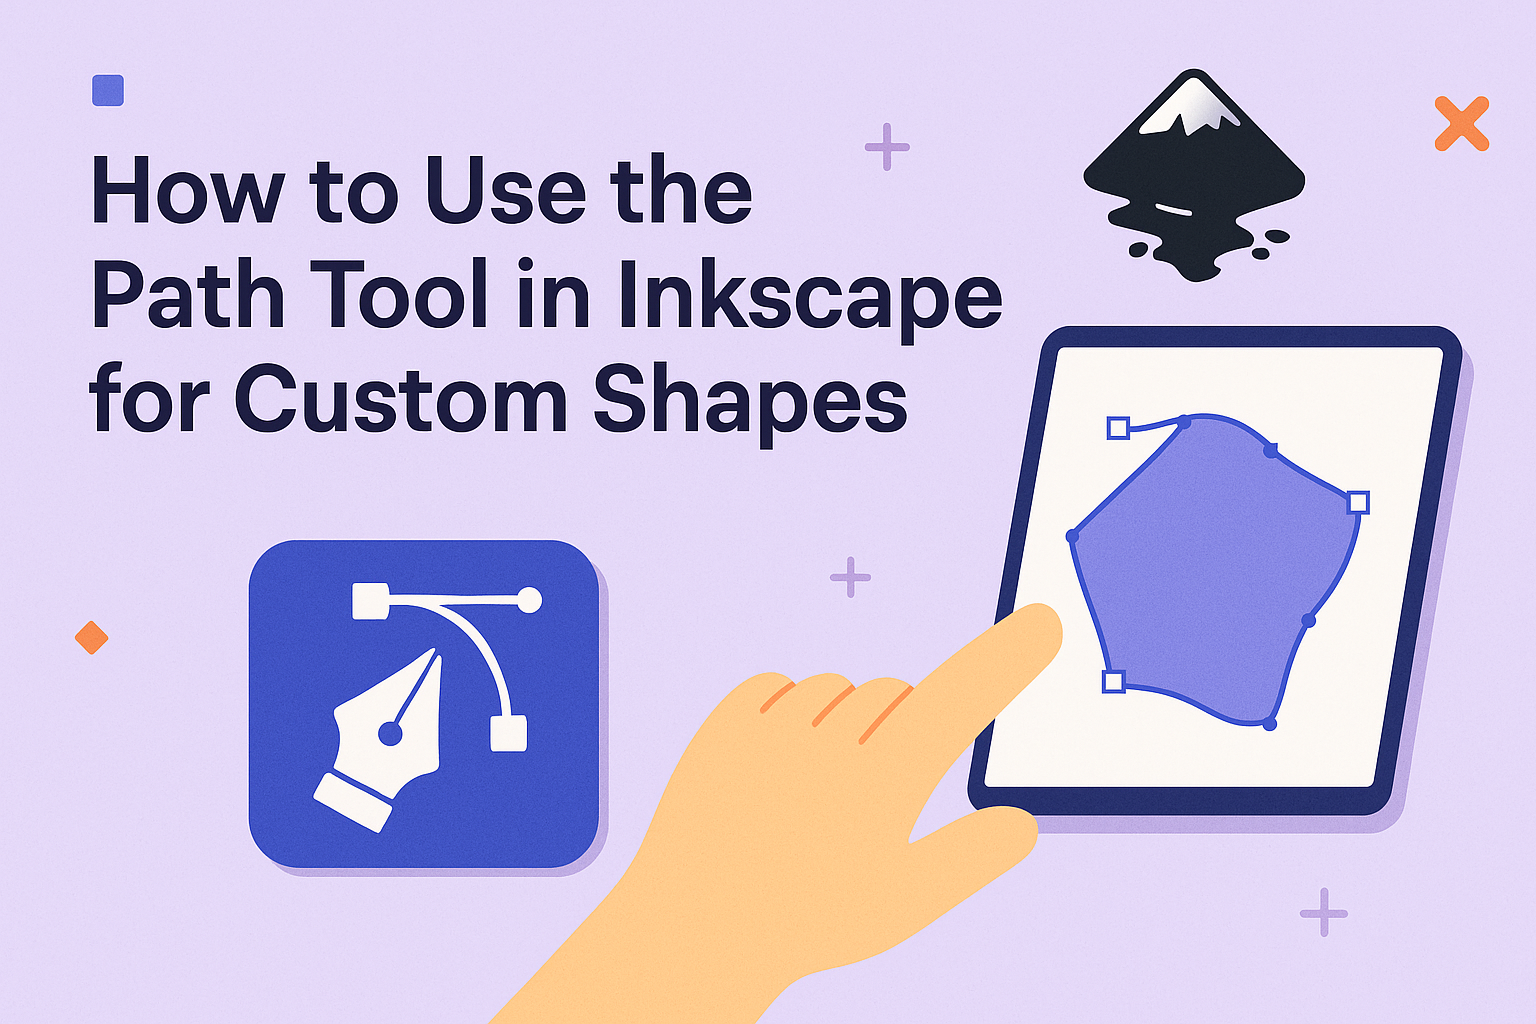
Creating custom shapes in Inkscape is an exciting way to elevate your design projects. The Path Tool is one of the most powerful features in Inkscape, allowing users to create intricate and unique designs with ease. To use the Path Tool for custom shapes, simply select your desired shapes and engage the tool to modify their paths.
This tool opens up endless possibilities for creativity, whether you’re designing intricate logos or simple patterns. By learning to manipulate paths, designers can adjust and combine shapes to fit their creative vision perfectly. This flexibility makes the Path Tool essential for anyone looking to customize their designs.
Exploring the Path Tool provides a deeper insight into how shapes interact and transform. By mastering it, users can achieve professional-level results with relatively simple steps. The tool’s versatility offers new dimensions to digital artistry, enhancing both technical skills and artistic expression.
Getting Started with Inkscape
Getting started with Inkscape involves familiarizing yourself with its interface, installing the software, and setting up your document for design work. Each of these steps is crucial for a smooth creative process.
Understanding Inkscape’s Interface
Inkscape’s interface is user-friendly but packed with tools. The menu bar at the top gives access to various design actions. Below that, the toolbar offers quick access to tools like the Pen and Rectangle tools.
On the left, the toolbox provides drawing and editing tools. The right side often displays the layers and object properties. The status bar at the bottom shows real-time feedback.
Familiarizing yourself with these areas will make it easier to navigate your projects.
Installing and Opening Inkscape
Installing Inkscape is straightforward. First, visit Inkscape’s official website to download the latest version. The software supports Windows, macOS, and Linux.
After downloading, run the installer and follow the prompts. The process involves selecting your language, agreeing to terms, and choosing an installation directory. Once installed, you can open it from your applications menu.
Opening Inkscape for the first time might feel overwhelming, but just take a moment to explore.
Setting Up Your Document
Setting up a new document is an important step. When you start Inkscape, you’ll see a blank canvas. To adjust the document settings, go to File > Document Properties. Here you can select the size of your canvas, set the units (like inches or pixels), and choose the page orientation.
These settings can be adjusted to fit your project’s needs. This allows for precision in designs and helps in planning how your work might be printed or displayed online.
Exploring the Path Tool
The Path Tool in Inkscape is essential for creating and customizing vector shapes. This section will explain how to select the Path Tool and its basic functions.
Selecting the Path Tool
In Inkscape, selecting the Path Tool is straightforward. Users can find it in the toolbox on the left side of the screen, represented by an icon that looks like a fountain pen or a Bezier curve. Alternatively, they can activate it using the shortcut key F2. This tool is vital for editing vector graphics.
When the tool is active, any existing paths in the drawing can be clicked on and selected. It becomes possible to see and manipulate the nodes and control handles of the path. By interacting with these nodes, users can reshape and fine-tune paths, allowing precise customization of images and designs.
For those new to Inkscape, understanding how to select and activate this tool is the first step to mastering vector graphic editing. Learning to access the Path Tool efficiently can significantly enhance design workflow.
Basic Path Tool Functions
The Path Tool offers several basic functions that are crucial for designing and editing shapes. Once a path is selected, users can modify it using various options. Nodes can be moved, deleted, or added. Clicking on a node reveals handles that can be adjusted to change the curvature of the path.
Those wishing to combine or separate paths will find functions like “Join” and “Break Apart” useful. These options facilitate more complex designs by merging paths or splitting them into separate segments. Another helpful function is “Convert to Path,” which allows users to transform shapes into editable paths. This capability is discussed in Logos By Nick.
By experimenting with these functions, users can develop unique custom shapes with ease. The flexibility offered by the Path Tool makes it an indispensable asset for any Inkscape project.
Creating Basic Shapes with the Path Tool
Using the Path Tool in Inkscape allows for a lot of creativity. Through it, one can easily draw straight lines, form curves, and combine both for intricate designs. This tool is essential for those looking to craft detailed and unique shapes.
Drawing Straight Lines and Polygons
The Path Tool is perfect for creating straight lines. To begin, click on the canvas where the line should start. Click again where it should end to form a line segment. For polygons, continue clicking to add more points.
Once the shape is complete, press Enter to finalize. Each click creates a node, and these nodes form the polygon’s corners. Polygons like triangles or rectangles are simple and quick to make using this method.
If adjustments are necessary, select the nodes with the Node Tool. This tool can be used to move, add, or delete nodes as needed. This process grants flexibility in adjusting shapes to fit specific design needs.
Creating Curves and Arcs
To create curves, the process starts similarly to drawing lines. Begin by placing the first point. Then, click to add another point while dragging the mouse. This action will curve the line between the nodes.
To form smooth arcs, continue to adjust the curve by dragging the handles that appear on the nodes. These handles alter the curve’s angle and depth. Learning to manipulate these handles effectively is key to perfecting the desired shape.
The curves’ flexibility allows the creation of anything from a simple arc to a complex wave. Practice and experimentation can vastly enhance one’s skills in creating fluid shapes.
Combining Lines and Curves for Complex Shapes
Complex shapes are made by combining straight lines and curves. Begin by sketching the desired shape’s basic outline using straight lines. Then, add curves to refine the design.
To connect these elements seamlessly, pay attention to the nodes’ placement. Use the Node Tool to align and adjust them carefully. The effective combination of lines and curves can transform simple designs into intricate artwork.
Incorporating these techniques allows for dynamic and interesting shapes. The ability to combine and refine these elements is crucial for those looking to push their creative boundaries using the path tool.
Modifying Paths and Shapes
Learning how to modify paths and shapes in Inkscape is crucial for creating detailed custom designs. This involves adding and deleting nodes, adjusting node handles for smooth curves, and converting nodes between different types.
Adding and Deleting Nodes
Using the Node tool in Inkscape, users can easily add or remove nodes to reshape their creations. This can be achieved by double-clicking on a path segment to insert a new node. Removing nodes is just as straightforward. Select the nodes to be deleted and press the delete key. These basic operations allow for the customization of any shape or line. For more precision, users may want additional node options found in Inkscape.
Adjusting Node Handles for Smooth Curves
Node handles are essential for refining curves and paths. By clicking and dragging on a node’s handles, users can achieve smoother transitions and shape contours. This adjustment gives the designer control over the path’s bend and tension. Manipulating the node handles can create elegant curves without distorting the image. Paths can be further enhanced by modifying path segments, which can be done by adjusting the handles precisely for the desired effect.
Converting Nodes from Corner to Smooth
Converting nodes from corner to smooth helps in creating gentle curves and refined edges. Select a node and use the menu to switch its type. This change smooths out sharp angles and aligns sections seamlessly. Understanding this conversion improves visual consistency across shapes. Inkscape is user-friendly, so switching node types is a simple process that enhances designs. For more guidance, users can explore node tool options available within the software.
Advanced Path Tool Techniques
Inkscape offers advanced path tools that give users the ability to create intricate designs. Key techniques include the path effect editor and boolean operations, both essential for manipulating and refining shapes.
Using the Path Effect Editor
The Path Effect Editor in Inkscape is a powerful tool for adding dynamic effects to paths. Users can create unique designs by applying effects such as Lattice, Bend, and Stitch, which alter the appearance of the path without changing its geometry.
To use the Path Effect Editor, select a path and navigate to the Path menu, then choose Path Effects. From there, users can apply various effects and adjust their settings. These effects enable creators to transform simple shapes into complex and aesthetically pleasing designs that would be challenging to draw manually.
Boolean Operations with Paths
Boolean operations allow users to combine or subtract shapes to form new complex designs. These operations include Union, Difference, Intersection, Exclusion, and Division, and they help in refining and merging shapes into a cohesive whole.
To perform a boolean operation, select two or more paths, then go to the Path menu and choose the desired operation. For instance, using Union merges multiple paths into one, while Difference subtracts the top path from the bottom. These operations are crucial for users needing to create shapes with precise contours and details.
For more detailed guides on operations, the Inkscape tutorial: Advanced is a valuable resource. It explains various operations, including node editing and path manipulation, essential skills for users aiming to master Inkscape.
Styling Paths and Shapes
Styling paths and shapes in Inkscape involves adjusting fill and stroke properties, customizing stroke styles, and applying various filters and effects. These techniques allow users to create visually appealing designs that stand out.
Applying Fill and Stroke Properties
Inkscape lets users easily change both fill and stroke properties. Fill refers to the interior color of a shape, while the stroke is the color and width of its outline. To change these, one can use the Fill and Stroke panel, which provides a variety of options.
Fill Options:
- Flat Color: A solid color applied to the shape.
- Gradients: Smooth transitions between colors.
- Patterns: Repeated designs filling the shape.
Stroke Options:
- Color: Choose from a variety of hues.
- Width: Adjust thickness for emphasis.
- Dashes: Create dashed lines for a unique look.
Each setting allows for fine control, enabling the creation of custom designs that meet specific needs.
Customizing Stroke Style
Customizing stroke style in Inkscape includes altering width, dash patterns, and joins. Users can modify these to enhance their artwork.
-
Width: Changes in stroke width can make lines appear bold or subtle. This is useful for highlighting certain elements.
-
Dash Patterns: Using dashes gives lines a different rhythm. Options include small dots to longer dashes. Adjusting gaps between dashes can also add variation.
-
Line Joins and Caps: These control how lines meet or end. Choices like round, square, or bevel can change a design’s overall look.
Through these settings, users can achieve a wide range of artistic effects.
Adding Filters and Effects
Inkscape offers various filters and effects to enhance designs. These can alter the appearance and depth of paths and shapes.
Common Effects:
- Blur: Applied to soften edges and create a dreamy look.
- Shadow: Adds depth and makes elements stand out.
- Bevel: Gives a 3D appearance to shapes.
To use filters, users can select an object and explore options in the Filters menu. Each filter can be adjusted to fit the desired style. Creative use of these effects leads to more dynamic and engaging visuals.
Saving and Exporting Your Custom Shapes
Creating custom shapes in Inkscape is just the beginning. To make sure your work is preserved and easily shared, it’s important to save and export correctly. This includes knowing which file formats to use for different purposes and tips for managing files in Inkscape.
Exporting as PNG or JPEG
To export your custom shapes as images, PNG and JPEG are popular choices. Begin by selecting your shape and navigating to File > Export PNG Image. PNG is ideal for preserving transparency and ensuring high quality.
For JPEG exports, which don’t support transparency, you would export as PNG first, then use another tool to convert to JPEG. Make sure to adjust the resolution and size as needed by setting the DPI (dots per inch) and dimensions for the best results.
Saving as SVG for Web Use
SVG is a preferred format for web graphics because of its scalability and small file size. To save your work as an SVG, go to File > Save As and choose “Inkscape SVG” or “Plain SVG”.
“Plain SVG” is more compatible with various web platforms and software. Ensuring your SVG is clean, with minimal unnecessary elements, will help it load more quickly on websites. Simplify paths and group objects to maintain a small file size.
Inkscape File Management Tips
Effective file management is key to keeping your projects organized in Inkscape. Always save your working files with descriptive names and versions, using File > Save As. For complex projects, consider keeping a backup by saving multiple versions.
It’s also useful to categorize your files in folders based on project or client name. This ensures easy retrieval later. Taking advantage of cloud storage can provide an additional layer of security, preventing potential data loss from local storage failures.
Tips for Efficient Path Tool Use
Using the Path Tool in Inkscape can greatly enhance the precision of custom shapes. Here are some friendly pointers to get the most out of it.
Plan your path. Before starting, visualize or sketch the shape you want. This preparation can save time when placing nodes and adjusting curves.
Use shortcuts. For quick actions, keyboard shortcuts are your friend. Control + Shift + 7 opens the Path Effects menu, making it easier to apply effects swiftly.
Master the Node Tool. The Node Tool is essential for editing paths. Click on a node to adjust its position or use the handles to refine curves. Remember, small adjustments can make a big difference in shape clarity.
Reduce unnecessary nodes. Fewer nodes result in smoother paths and are easier to edit. Use the Simplify option under Path > Simplify to tidy up your paths.
Experiment with Path Effects. Try different effects like Roughen for unique textures. It’s simple to explore these through the Path Effects menu. Effects can transform basic shapes into creative designs efficiently.
Practice with different drawing methods. Inkscape has multiple path drawing tools, like the Pencil Tool which creates freehand Bezier curves. Practicing with different tools helps in finding the most comfortable method for each project.
Helpful Keyboard Shortcuts for the Path Tool
Using keyboard shortcuts in Inkscape can make working with the Path Tool faster and more efficient. Shortcuts reduce the time needed for navigating menus and allow users to focus on design work.
One important shortcut is for creating paths using the Pencil Tool. The P key or F6 activates the Pencil Tool. This tool provides flexible drawing options for creating custom shapes quickly.
To manipulate nodes, the N key opens the Node Tool. This tool is essential for fine-tuning paths and can edit shapes, adjust curves, and move handles. Mastering this tool is crucial for detailed design work.
Switching between view modes is simple with some key combinations. Using Ctrl + arrow keys helps in scrolling around the canvas easily. This allows users to move without reaching for the mouse, speeding up the design process.
Other useful shortcuts include converting text to paths. This can be done by selecting the text and pressing Ctrl + Shift + C. Converting text is helpful for further customization and ensures the text can be manipulated as a path.
Users visiting this keyboard and mouse reference page can find a list of more shortcuts. This includes tips for editing fills and path effects, enhancing the capabilities of the Path Tool. Embracing these shortcuts can significantly enhance productivity and creativity.