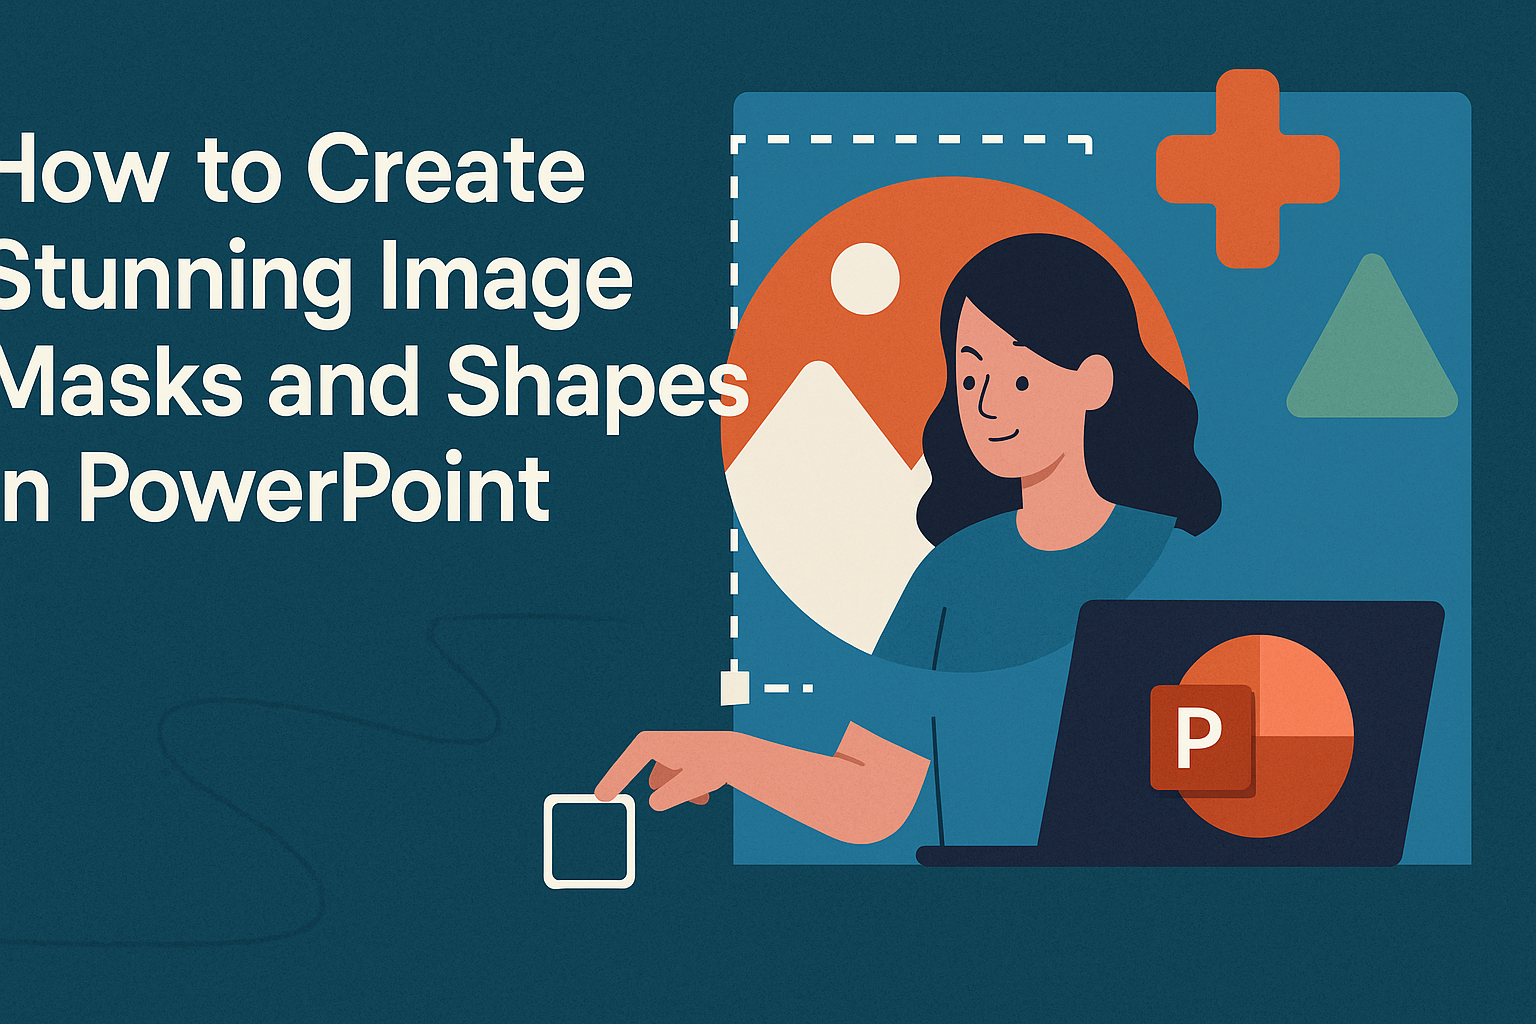
Creating stunning image masks and shapes in PowerPoint allows anyone to elevate their presentations visually. By learning how to mask images, users can customize their visuals and focus the audience’s attention on key points. This skill can make any PowerPoint presentation stand out and engage viewers more effectively.
Whether it’s fitting a photo into a unique shape or crafting a dynamic design, mastering these techniques can impress audiences and showcase creativity. People often overlook the power of masking images to enhance presentations. With the right steps, anyone can transform ordinary slides into eye-catching visuals.
This blog post will guide readers through the process of creating beautiful image masks and shapes. It will cover essential tools and techniques that are simple yet effective, empowering users to take their presentation skills to the next level.
Understanding Image Masks and Shapes
Image masks and shapes are essential tools in PowerPoint for enhancing visual presentations. They allow users to create dynamic and appealing images that fit specific designs. Understanding the basics of these tools opens up various creative possibilities.
The Basics of Image Masks
Image masks in PowerPoint enable users to shape pictures more creatively. A mask acts as a container that allows an image to show only through a specific shape.
To create an image mask, one must first insert an image onto a slide. Next, a shape is added on top of the image.
Using the “Merge Shapes” feature, the user can subtract the shape from the image. This process creates a unique visual effect, making the image fit seamlessly into the design.
By mastering image masks, users can improve their slides, making them more engaging.
The Versatility of Shapes in PowerPoint
Shapes in PowerPoint are versatile tools that add structure and creativity to presentations. Users can choose from basic geometric shapes, arrows, and even custom shapes. Each shape can enhance the layout and visual appeal of a slide.
Adding shapes is straightforward. Users can select the desired shape from the Insert tab, then resize and position it as needed.
Furthermore, users can fill shapes with colors, textures, or even pictures to make them visually interesting.
Using shapes effectively can clarify information and guide the audience’s focus. Whether for highlighting key points or creating complex designs, shapes play a crucial role in effective presentations.
Getting Started with PowerPoint
Starting with PowerPoint is easy and fun. Understanding how to open the program and navigate the interface helps users find their way around. Also, knowing the essential tools will boost creativity and enhance designs.
Opening and Navigating the Interface
To start PowerPoint, users need to click on the application icon on their computer. After opening, the interface displays a blank slide.
On the left, there’s a slide thumbnail pane. This area allows quick navigation between slides.
The ribbon at the top of the screen contains tabs like Home, Insert, and Design. Each tab has specific tools for different tasks.
For example, the Home tab includes fonts and alignment tools, while the Insert tab allows the addition of pictures and shapes.
Users can also find a variety of templates right on the start screen. These templates can save time and provide inspiration for presentation designs.
Essential Tools for Design
PowerPoint offers many tools to help users create stunning designs. The Insert tab is crucial. Users can add images, charts, shapes, and videos easily.
Shapes and Clip Art can be inserted to enhance visual appeal. After adding shapes, users can customize colors and effects through the Format options.
Animations are another important tool. They bring slides to life by adding movement to text and images.
The Transitions tab helps users choose how to move from one slide to the next.
Lastly, the Design tab allows selection of themes and layouts. It helps users coordinate colors and fonts, setting the overall feel of the presentation.
Designing with Shapes
Creating engaging designs in PowerPoint starts with knowing how to use shapes effectively. This includes inserting basic shapes, combining them for custom designs, and mastering the art of layering and grouping. Each of these techniques enables users to enhance their visual presentations.
Inserting Basic Shapes
PowerPoint offers a variety of basic shapes that can add interest to any slide. To insert a shape, users should navigate to the “Insert” tab and click on “Shapes.” Here, they will find options like rectangles, circles, lines, and arrows.
Once a shape is selected, it can be drawn directly on the slide by clicking and dragging. Users can also adjust the size and position easily.
Shapes can be customized using the “Shape Format” tab, allowing changes in color, outline, and effects. These tools help to create a polished and professional look.
Combining Shapes for Custom Designs
Combining shapes allows for the creation of unique designs. Users can select multiple shapes by holding the “Shift” key and clicking on each one.
After selecting, they can use the “Shape Format” tab to find the “Merge Shapes” option. This feature includes choices like “Union,” “Combine,” “Fragment,” “Intersect,” and “Subtract.”
For instance, using “Subtract” will cut out parts of one shape from another. This process opens up numerous creative possibilities for making logos, icons, and other visual elements.
Layering and Grouping Shapes
Layering shapes brings depth and complexity to designs. Users can right-click a shape and use the “Send to Back” or “Bring to Front” options to manage layers. This is key for creating visually appealing compositions.
Grouping shapes is another handy technique. By selecting multiple shapes and pressing “Ctrl + G” or right-clicking and choosing “Group,” users can move and resize their creations as a single unit.
This maintains the arrangement while simplifying editing and positioning. Using these methods, they can refine their designs efficiently and effectively.
Creating Image Masks
Creating image masks in PowerPoint allows users to customize how images appear in their presentations. This technique can enhance visual appeal and capture attention. Understanding how to implement shapes and adjust images within those masks is key for effective design.
Using Shapes to Mask Images
To mask an image with a shape, users first need to insert the desired image onto the slide. Next, they should add a shape by selecting “Insert” and choosing from the shapes available.
After placing the shape over the image, he or she can right-click the shape and choose “Format Shape.”
In the Format Shape pane, selecting “Fill” and then “Picture or texture fill” allows the mask to take effect. Users can then adjust the shape’s size and position as needed.
It’s important to experiment with different shapes to find the one that best fits the image. This technique helps create visually striking presentations.
Adjusting Images within Masks
After creating the mask, users can adjust how the image fits within it. Selecting the masked image allows them to access the “Format” tab.
Here, users can find the “Crop” option. By clicking on the dropdown menu, they can choose “Crop to Shape” and select a specific shape to refine the mask further.
Users can also click and drag the handles around the image to zoom in or out and adjust the aspect ratio. This allows for better alignment and focus on key parts of the image.
Proper adjustments ensure that the image complements the overall design of the slide, making it more engaging for the audience.
Advanced Techniques
Exploring advanced techniques in PowerPoint can elevate image masking and shaping to a new level. Specific methods allow for unique designs and personalized adjustments that make presentations stand out.
Applying Effects to Shapes and Masks
To enhance shapes and masks, users can apply various effects that add depth and interest. One common approach is to use shadows, which creates a three-dimensional look.
To do this, select the shape, go to the Format Shape pane, and find the Shadow options. Users can adjust parameters like transparency and distance to achieve the desired effect.
Another popular technique is using glow effects. This adds a soft halo around the shape, making it pop against the background.
Go to the Glow options in the same pane to customize the color and size.
Combining these effects can create stunning visuals that capture attention.
Custom Image Cropping
Custom image cropping allows users to fit images within any shape, enhancing design creativity. By using the “Crop to Shape” feature, one can easily adjust images to match the selected shape.
To start, insert the image and select it. Then, go to the Format tab, click Crop, and choose Crop to Shape.
Selecting a shape like a star or heart transforms the image instantly.
For more advanced adjustments, right-click the cropped image and select Format Picture. Here, users can refine the image’s size, position, and scaling options.
These steps enable more personalized design, making presentations more engaging and visually appealing.
Practical Applications
Using image masks and shapes in PowerPoint can add a creative touch to presentations. This technique is especially useful for creating engaging infographics and enhancing photo presentations. These applications not only improve visual appeal but also aid in conveying information effectively.
Creating Infographics
Infographics benefit greatly from the use of image masks. They help organize complex information into understandable visuals.
- Start by inserting shapes that correspond to the data being represented.
- Use masks to reveal specific parts of images within these shapes.
This method highlights crucial data points. For example, a pie chart can use a masked image of an apple to indicate sales figures for different apple varieties.
Incorporating contrasting colors and fonts with masked images can enhance visual hierarchy. Clear images within defined shapes make the infographic more cohesive and easier to understand.
Enhancing Photo Presentations
Photo presentations can be elevated using masking techniques. This approach allows images to fit specific shapes, adding a unique style.
- Begin by selecting impactful photos relevant to the message.
- Use shapes like circles or custom outlines to crop these images.
Doing so leads to a modern and professional look. For instance, photos of team members can be masked into circles to create a cohesive team slide.
By layering text over masked images, important information stays visible while still being visually appealing. This technique draws attention and keeps the audience engaged throughout the presentation.
Final Touches
After creating beautiful image masks and shapes, it’s essential to give those designs a polished look. This involves aligning and distributing elements properly and ensuring a professional appearance on the slides.
Aligning and Distributing Elements
Aligning elements helps create a clean and organized layout. It draws attention to important information and makes slides easier to read.
To align objects:
- Select the Objects: Click and drag to select the shapes or images.
- Use the Format Tab: Go to the “Format” tab in the toolbar.
- Choose Align Options: Select “Align” to find options like Align Left, Align Center, or Align Right.
To distribute objects evenly:
- Select Multiple Objects: Click on the shapes or images you want to distribute.
- Distribute Horizontally or Vertically: Again, use the “Format” tab and select “Align” followed by “Distribute Horizontally” or “Distribute Vertically.”
These steps ensure that elements are not just placed haphazardly, leading to a more cohesive design.
Tips for Professional Looking Slides
A polished slide can greatly enhance the viewer’s experience. A few simple tips can make a big difference in presentation quality.
-
Consistent Color Scheme: Stick to a 2-3 color palette that complements the images. This helps maintain visual harmony.
-
Font Choices: Use clear, legible fonts. Mixing no more than two font types can keep slides professional.
-
Whitespace: Don’t overcrowd slides. Leave enough whitespace around elements to make content stand out.
-
Review Alignment and Size: Ensure all objects are aligned and proportionally sized. This reduces distractions and improves clarity.