Creating mirrored designs in GIMP can be both fun and easy with the symmetry painting tool. This tool allows artists to replicate patterns with precision, making beautiful artworks faster. Whether you’re working with pixel art, patterns, or seamless tiles, mastering this feature opens up a world of artistic possibilities.
The symmetry painting tool is versatile, supporting a range of brush-based tools such as the pencil, paintbrush, and eraser. Beginners and experienced users alike can enjoy experimenting with different symmetrical styles, whether it’s mirror symmetry or tiled patterns. Exploring the variety of settings can lead to unique and intricate designs.
For those looking to take their art to the next level, GIMP’s symmetry painting feature is a valuable asset. It’s not just about mirroring images but enhancing creativity through experimenting with symmetry. As users navigate this tool, they can find many creative ways to express their artistic visions.
What Is GIMP’s Symmetry Painting Tool?
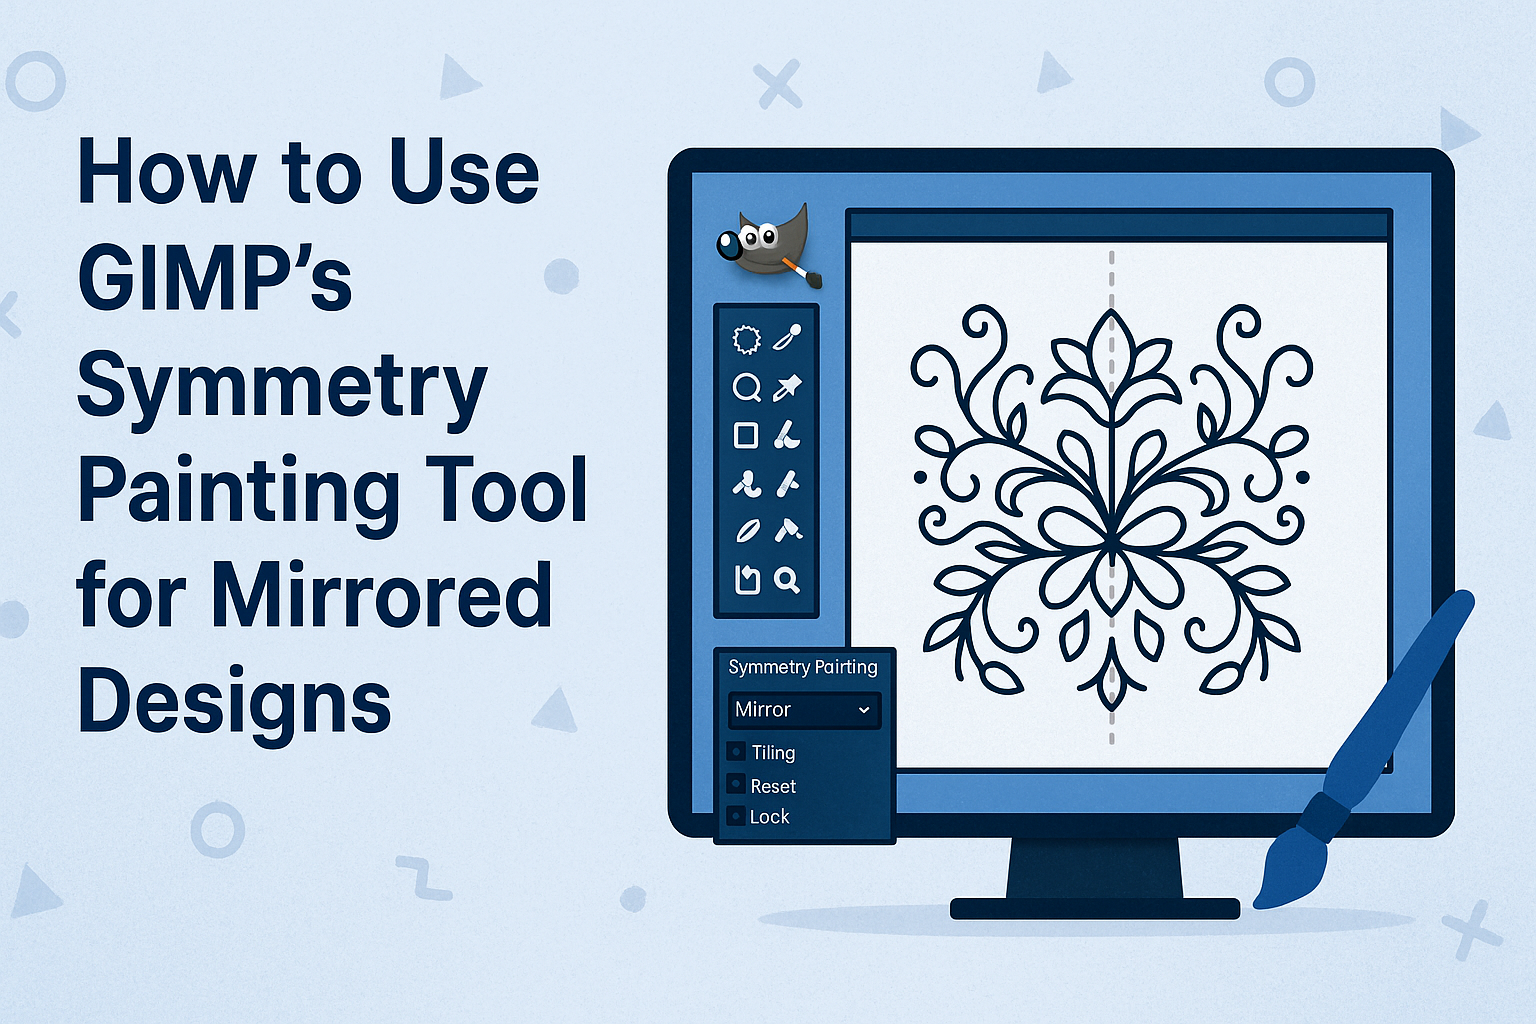
GIMP’s Symmetry Painting Tool makes it easy to create mirrored designs. It allows artists to reflect their brush strokes across an axis, providing symmetry while they draw.
Several types of symmetry settings can be used. Mirror, Tiling, Mandala, and Snowflake are among the choices. Each mode adds a unique aspect to your artwork. Users can explore these options to see which style fits their project best.
Accessing this tool is simple. Navigate to Windows > Dockable Dialogs > Symmetry Painting. This opens a dialog where settings can be configured. It’s a useful feature for those looking to enhance designs with balance and symmetry.
The tool supports different art forms. From intricate patterns to simple shapes, it’s versatile. Whether a beginner or experienced artist, it’s easy to incorporate into digital art projects.
GIMP is free and open-source, offering accessibility for everyone. Designers can benefit from using the Symmetry Painting Tool without any cost, making it a fantastic resource for personal and professional use.
Getting Started with Symmetry Painting
Symmetry Painting in GIMP is a fantastic way to create mirrored designs, perfect for mandalas and other symmetrical art. This section guides the reader through opening GIMP, creating a new file, and locating the Symmetry Painting tool.
Launching GIMP and Opening a New File
First, start by launching GIMP on your computer. If it’s already installed, you might find it on your desktop or by searching for it in your applications folder. Double-click the icon to open the program.
After GIMP loads, create a new file. Click on File in the top menu, then select New. A dialog box appears, allowing you to set dimensions for your canvas. Common sizes like 1920×1080 pixels or 8.5×11 inches are available. Choose a size that suits your project, and hit OK. Your blank canvas is now ready for creating mirrored designs using the Symmetry Painting tool.
Finding the Symmetry Painting Tool
Once your file is open, locate the Symmetry Painting tool. To do this, navigate to the Windows menu at the top of the screen. Move to Dockable Dialogs, then select Symmetry Painting. This action opens the Symmetry Painting dialog, which you need for setting up mirrored designs.
In this dialog, choose from different symmetry types like Mirror, Tiling, or Mandala. These options decide how your brush strokes replicate across the canvas. Adjust the settings to match your artistic needs. For additional help, GIMP’s Symmetry Painting documentation offers valuable details about each option. Let your creativity flow as you experiment with these symmetry settings!
Exploring Symmetry Options
GIMP’s Symmetry Painting tool offers various options that allow users to create mirrored designs. These options include mirror, mandala, and tiling, each providing unique ways to explore symmetry and create stunning effects in digital art.
Mirror
The Mirror option in symmetry painting is perfect for creating consistent and reflective artwork. It allows users to paint on one side of the canvas, automatically replicating the strokes on the opposite side. This technique is particularly useful for creating symmetrical objects or scenes, like faces or buildings.
To use the mirror option, access the Symmetry Painting dialog through the menu. Select the desired axis, either horizontal or vertical, for the reflection. This setting gives artists control over their compositions, enabling them to focus on detail while maintaining symmetry.
Mandala
The Mandala option allows artists to create intricate circular patterns with multiple lines radiating from a common center. It’s great for designing mandalas or other radial patterns, offering more complexity compared to simple mirroring.
Set the number of segments to determine how many times the pattern repeats. By adjusting this, unique circles or flower-like designs can be made. This feature unlocks creative possibilities for those interested in patterns and symmetry beyond the basic mirror effect.
Tiling
Tiling in symmetry painting replicates a design across the canvas, creating a seamless pattern. This option is ideal for making backgrounds or textures that need to repeat without visible seams. Artists can manage the spacing and alignment of tiles by configuring the tiling interval on both the X and Y axes.
By using tools like the pencil, paintbrush, or airbrush, various effects can be achieved. Whether creating a subtle background or a bold texture, the tiling option enhances digital artwork with symmetry that fills larger spaces efficiently. For more on tiling and other symmetry options, visit the GIMP Symmetry Painting Dialog.
Creating Your First Symmetrical Design
Creating a symmetrical design in GIMP involves setting up your workspace, activating the right tool, and selecting the type of symmetry you want. Each of these steps is essential for a smooth workflow and a successful design.
Setting Up the Canvas
Before beginning with symmetrical designs, it’s important to make sure your canvas is properly set up. Open GIMP and create a new image by selecting File > New. Choose the dimensions you want for your project. A square canvas might be ideal for symmetry, like 800×800 pixels.
Next, configure the background. You can choose transparent, white, or any color that complements your design. Keep the resolution high if you plan to print the design, typically 300 DPI.
For better organization, consider adding guides. They help align your elements neatly. Go to Image > Guides > New Guide and add horizontal and vertical guides at 50%. This creates a crosshair at the center of the canvas where symmetry can originate.
Activating the Tool
To activate the symmetry painting tool, navigate to Windows > Dockable Dialogs > Symmetry Painting. The Symmetry Painting dialog should appear, allowing you to manage various symmetry settings.
Ensure the symmetry painting option is active. GIMP will show an icon or checkbox to confirm this. Once activated, choose a paint brush and adjust the size and color to your needs. Brushes can be selected from the Toolbox or Tool Options. Try different brushes to see how each affects the design.
Test the tool by drawing on the canvas. If the dialog is properly configured, you’ll see mirrored strokes on the opposite side. This confirms the tool is active and working as expected, providing instant visual feedback on your design.
Choosing the Symmetry Type
Selecting the right symmetry type is crucial for achieving the desired effect in your design. GIMP offers several options. These include Mirror, Tiling, Mandala, and other symmetry forms, each suited to different styles.
Experiment with the Mirror symmetry for straightforward reflection. This is perfect for creating mirrored halves. Mandala mode is great for radial designs, like kaleidoscopes. Toggle between options in the Symmetry Painting dialog.
Once you’ve chosen a type, adjust the settings for more control. Experiment with different forms and combinations to see what works best for your design concept.
Advanced Techniques and Tips
Exploring advanced features in GIMP’s Symmetry Painting can greatly enhance mirrored designs. This involves working with layers for intricate creations, using color and gradients creatively, and mastering brush dynamics for unique effects.
Using Layers for Complex Designs
Utilizing layers allows artists to add depth and complexity to their mirrored designs in GIMP. Layers can be manipulated to blend or highlight certain elements, making it possible to manage different components without affecting the entire image.
Layers offer flexibility in experimenting with different styles. Artists can use multiple layers to apply various symmetry effects. For example, one layer can employ horizontal symmetry while another uses vertical symmetry. This technique enables a combination of different mirrored effects in one design.
Organizing layers and naming them properly can save time. When changes are needed, a user can easily identify which layer to edit without scrambling through each one. Applying layer masks lets users seamlessly combine or erase parts of a design.
Incorporating Color and Gradients
Color and gradients can transform a mirrored design from simple to stunning. By adjusting the color schemes, users can set the mood of their artwork. Bright and vibrant colors bring energy, while muted tones can create a calm and serene effect.
Gradients are especially useful for adding depth and dimension. Users can apply linear or radial gradients to create a sense of lighting or shadow, enhancing the three-dimensional feel of the pattern. Careful blending of colors helps in achieving smooth transitions, which can be done by adjusting opacity levels.
Experimenting with contrast and complementary colors can make certain areas stand out. This technique draws the viewer’s attention to specific parts of the design. Exploring the color wheel in GIMP allows users to find perfect matches and combinations.
Mastering Brush Dynamics
Brush dynamics provide users with more control and creativity in their mirrored designs. In GIMP, users can adjust settings like size, angle, and opacity to mimic real painting techniques. This adds texture and a hand-painted feel to the digital artwork.
Creating custom brushes can refine the uniqueness of a design. Users can craft brushes tailored for specific patterns or effects, making their work distinct. Playing with dynamic settings such as jitter can lead to interesting random effects that enhance the artistry.
Utilizing pressure sensitivity, if available, is another way to add depth. This technique allows artists to create strokes that vary in width or opacity.
Saving Your Symmetrical Artwork
When your symmetrical design is complete, it’s time to think about saving and exporting it. Choosing the right file format ensures that your work remains high-quality and compatible with other tools. Proper exporting techniques help in sharing your artwork efficiently.
File Formats and Compatibility
GIMP supports multiple file formats, each with unique advantages. For frequent editing, saving in XCF format is ideal. It preserves layers and other elements, ensuring flexibility.
For sharing or printing, formats like JPEG and PNG are commonly used. JPEG is perfect for photographs and complex images due to its compression techniques, though it may reduce quality. PNG supports transparency and offers better quality for designs with sharp edges and text.
When considering compatibility, TIFF is a solid choice. It works well across different platforms and retains high image quality, though file sizes are larger.
Exporting Your Design
Exporting your design is crucial for sharing or using it in various applications. In GIMP, you can quickly export by going to File > Export As. This opens options to choose your desired format.
When exporting, it’s important to adjust settings like resolution and compression to maintain quality. For web use, lower resolution and smaller file sizes optimize loading times. Meanwhile, prints benefit from higher resolution and less compression to ensure clarity.
Users can also export layers individually if they wish to edit them separately later. This is useful for creating animations or different design elements for web development.
Troubleshooting Common Issues
GIMP’s Symmetry Painting Tool is a fantastic feature, but like any tool, users might face some issues. This section offers practical solutions to common problems such as the tool not working correctly and challenges with canvas size.
Tool Not Working as Expected
If the symmetry tool is not functioning properly, there are a few steps to try. First, check if the symmetry line is visible. This line is crucial for determining where the symmetry will occur. If the line is missing, try adjusting its position or resetting the tool settings.
Another common problem is the tool working only on one side of the canvas. Ensure that the symmetry type is correctly set in the dialog. The options should match the desired type of symmetry, like horizontal or vertical. Users can access these settings through the menu by selecting “Windows” then “Dockable Dialogs,” followed by “Symmetry Painting.” For more tips, visit how to use Symmetrical Painting Function in GIMP.
Problems with Canvas Size
Canvas size can also pose challenges when using the symmetry painting tool. If the canvas is too small, it might not accommodate symmetrical designs properly. Enlarging the canvas can resolve this by providing more space for painting.
Users should also check the aspect ratio to ensure the design symmetry isn’t distorted. Resizing the canvas is done by selecting “Image” then “Canvas Size” from the menu. Adjust the size to suit the desired design and symmetry needs. If issues persist, GIMP documentation provides further guidance on adjusting settings for optimal results.