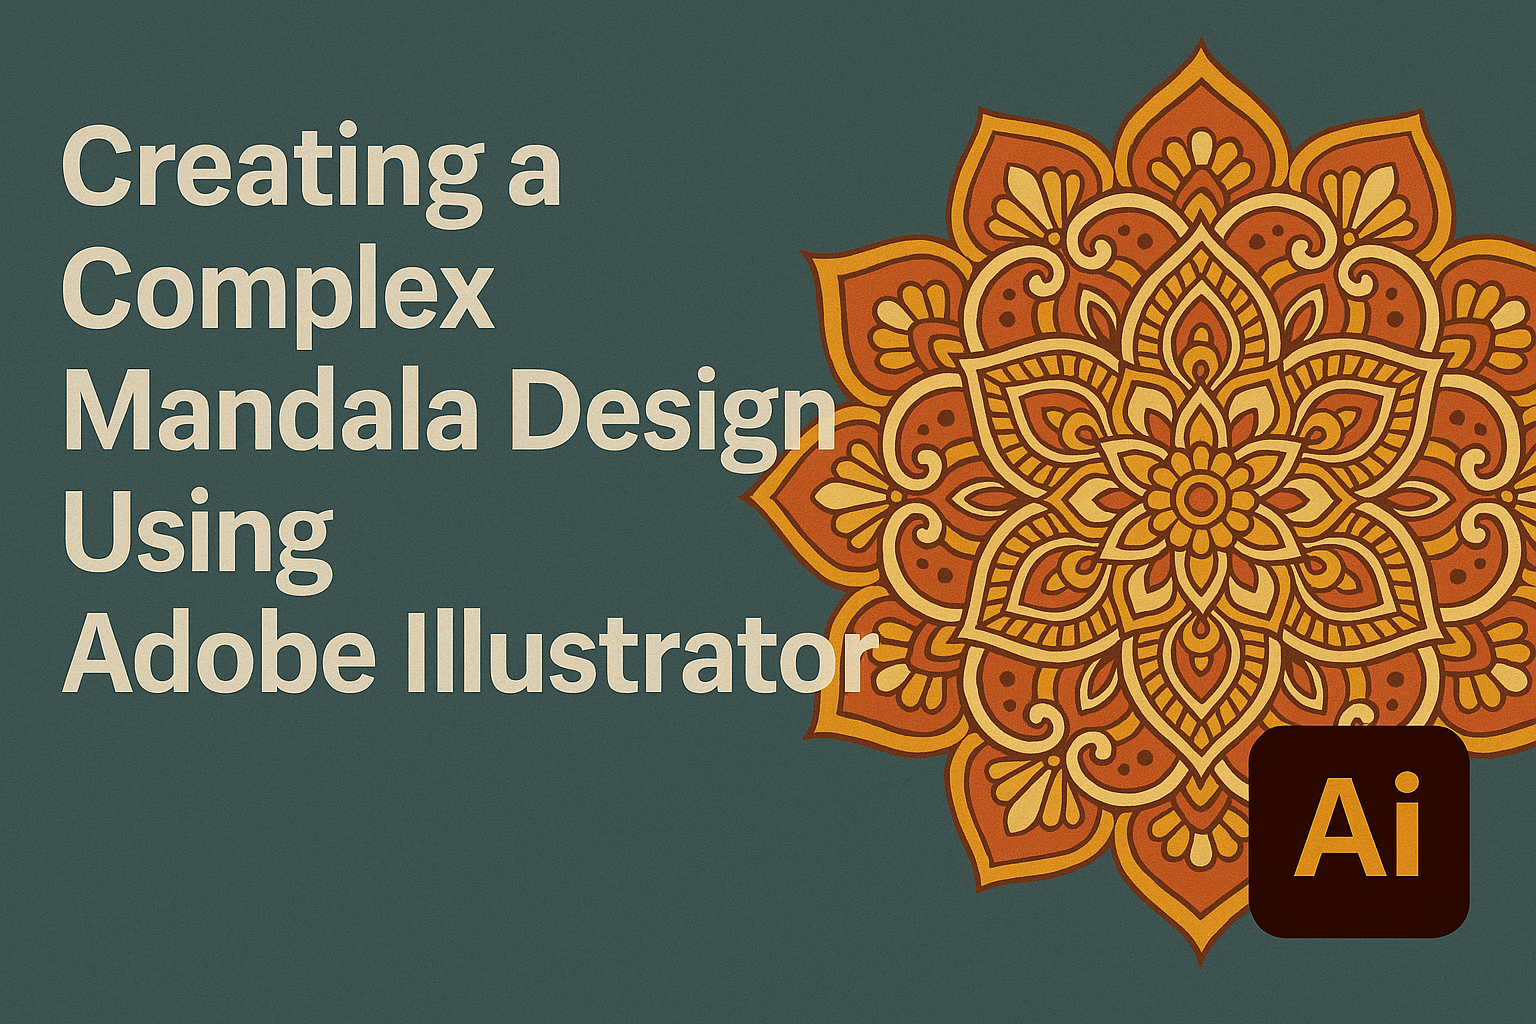
Creating a complex mandala design in Adobe Illustrator might seem challenging, but it can be a rewarding and enjoyable process. By using tools such as the Polygon tool, Smart Guides, and Pathfinder, anyone can craft a detailed and intricate mandala pattern. Designers of any experience level can unlock their creativity by experimenting with shapes and symmetry.
The mandala’s design is often inspired by spiritual and cultural motifs, making it a unique artistic expression. A carefully constructed mandala combines symmetry and pattern repetition, capturing the viewer’s attention with its beauty. This process also encourages designers to explore their creative boundaries.
Illustrator makes the creation of mandalas accessible and efficient, allowing for precise control over each element. From beginners trying out new techniques to experienced designers refining their craft, these steps can refine their skills. Explore complex mandala patterns and see how simple techniques can produce stunning results.
Understanding Mandala Art
Mandala art is a fascinating form of creativity that is often associated with balance and unity. These designs feature complex geometric patterns that radiate from a central point, forming a symmetrical and organized structure. People have used mandalas for centuries as a spiritual symbol in various cultures.
Mandalas are known for their intricate patterns, which can include circles, triangles, and other shapes. These elements are often repeated, creating a mesmerizing effect. Many artists find joy in the process of designing mandalas, as it can be both relaxing and satisfying.
Creating mandalas can be both an artistic and meditative activity. By focusing on repetitive patterns and symmetry, artists can tap into a sense of calm and concentration. The balance in mandalas is often seen as a reflection of harmony in life.
The use of color in mandala art is significant, playing a major role in its visual impact. Many artists choose vibrant and contrasting colors to highlight different sections and shapes. The choice of color can also convey various emotions and meanings, adding another layer to the artwork.
People are often drawn to mandalas for their beauty and depth. They are used in various applications, from decorative pieces to tools in therapy and meditation. Whether simple or complex, mandalas offer endless possibilities for artistic exploration.
Setting Up Adobe Illustrator
Getting ready to create a mandala in Adobe Illustrator involves a few essential steps. Customize the workspace to fit your needs, start a new document with the right settings, and use templates to achieve perfect symmetry. Each of these steps helps streamline your design process.
Workspace Customization
Adobe Illustrator allows users to customize their workspace for efficiency. Adjusting the layout makes it easier to access frequently used tools. Panels can be dragged and rearranged to suit individual preferences. Users can create new toolbars or modify existing ones to include the most necessary tools for mandala creation.
A custom workspace setup saves time and effort, ensuring all essential features are easily accessible. This tailored environment can improve both workflow speed and design quality.
Creating a New Document
Starting with a new document is crucial for any mandala project. Use the “File” menu and select “New,” configuring the dimensions to fit the desired output, such as a square setup. This format is ideal for mandalas, allowing for uniform designs. Setting a high resolution can also ensure quality detail goes into the artwork.
Other important settings include choosing the correct color mode. The RGB mode is suitable for digital artwork, while CMYK is better for print. Adobe Illustrator provides options for both, so select based on the final design usage.
Using Templates for Symmetry
Templates simplify creating symmetrical designs by offering a structured base to work from. Illustrator includes templates to help achieve symmetry in mandala patterns. These templates can be accessed from the main screen under the “Templates” section and are often found in categories related to symmetry or pattern.
Symmetrical templates ensure that each part of the mandala mirrors the others perfectly. This uniformity is crucial, as symmetry is a defining feature of mandalas. They aid in maintaining consistency, allowing the designer to focus on adding creative details instead of worrying about balance.
Using these templates effectively can prevent mistakes and reduce the time spent on adjustments. Such templates take the guesswork out of achieving proper alignment and symmetry in complex mandala designs.
Basic Tools and Techniques
Creating a complex mandala design in Adobe Illustrator involves mastering key tools that help in forming intricate patterns. The subsections below provide insights into using essential tools like the Pen and Brush tools, the Shape Builder tool, and Pathfinder operations.
Pen and Brush Tools
The Pen and Brush tools are crucial for producing unique shapes and lines in mandala designs. The Pen tool allows users to create precise, custom paths by plotting anchor points. This tool is vital for crafting curves and angles needed in complex mandala patterns. By adjusting the handles on these points, users can form smooth lines or sharp corners effortlessly.
In contrast, the Brush tool offers a more freeform drawing approach. With a variety of brush styles available, it helps in adding artistic flair. This tool is great for adding texture and personality to designs. Users can even create custom brushes to replicate specific styles or patterns. Both tools, when used together, offer a balance of precision and expression, allowing for intricate and creative designs.
Shape Builder Tool
The Shape Builder tool simplifies combining multiple shapes into one cohesive design. This tool is particularly helpful in mandala creation, where various geometric shapes form the final pattern. By selecting overlapping shapes, users can merge, subtract, or intersect them to create complex forms.
This tool empowers designers to experiment without altering the original shapes permanently. The flexibility to undo actions and try different combinations makes it a powerful asset in the design process. Using this tool, designers can focus on exploring creative possibilities without the frustration of starting over. For those aiming to achieve detailed and unique mandala patterns, the Shape Builder tool is indispensable.
Pathfinder Operations
Pathfinder operations are essential for managing complex shape interactions. These operations provide various options to combine, divide, and alter shapes, making them invaluable in mandala design. The Unite function merges selected shapes, while Divide breaks them apart, giving creators more control over their designs.
The Intersect function isolates the overlapping portions of shapes, perfect for introducing intricate details. The Minus Front function subtracts the top shape from the bottom one, allowing for creative layering effects. Mastering these operations is key to achieving the detailed patterns characteristic of mandalas. With Pathfinder, designers have the tools to transform simple shapes into a complex tapestry of forms.
Designing the Mandala Core
Creating the core of a mandala in Adobe Illustrator involves careful planning and artistic creativity. This part focuses on the centerpiece, the use of geometric shapes, and effective layer management techniques.
Centerpiece Creation
The centerpiece of a mandala acts as the focal point. To start, artists often choose a simple shape such as a circle. This sets a balanced foundation. Circles can be layered or filled with patterns to add complexity.
Tools like the ‘Ellipse Tool’ in Illustrator make shape creation easy. Adjusting the stroke weight or color can provide unique effects. Designers might add bold colors or intricate patterns to draw attention to the design’s center.
Symmetry is important in mandalas. Using the ‘Reflect’ feature can duplicate design elements across the axis. This ensures balance and harmony.
Incorporating Geometric Shapes
Geometric shapes like squares, triangles, or hexagons add detail and intricacy to mandala designs. Selecting shapes with varying sides can mix simplicity with complexity.
The ‘Polygon Tool’ in Illustrator helps create these shapes easily. Designers often adjust size and angle for desired symmetry. Smart Guides in Illustrator assist in aligning these shapes correctly.
Repeating patterns can emerge by rotating these shapes around the center. This creates a captivating rhythm and flow within the design. Artists should experiment with layering different shapes to add depth and dimension.
Layer Management
Efficient layer management is key to maintaining an organized and visually appealing design. Artists begin by naming layers in Illustrator for easy identification. This helps in keeping track of individual elements.
Grouping related elements can simplify complex patterns. It makes moving or modifying sections easier without affecting the entire design. Using locked layers prevents accidental changes and preserves design integrity.
Layers can be rearranged to control the stacking order, affecting which elements appear on top. Using layer masks allows for non-destructive editing, giving designers the flexibility to try different looks without losing original elements.
Adding Complexity with Patterns
Creating complex mandala designs in Adobe Illustrator involves using patterns to add depth and intricacy. By crafting custom patterns and effectively applying them to various shapes, designers can enhance the visual appeal of their mandalas. Additionally, utilizing Illustrator’s pattern swatches and libraries can simplify this process.
Creating Custom Patterns
Designers start by using Illustrator tools to create unique patterns. The Shape Tool can draw basic geometric forms, which can then be combined into more elaborate designs.
Lines, circles, or other shapes can align to form repeating units. Applying colors and gradients further enhances these patterns, creating an eye-catching effect.
Experimenting with symmetry and repetition helps ensure that the custom patterns are both intricate and harmonious, making them ideal for mandalas.
Applying Patterns to Shapes
Once custom patterns are ready, they can be applied to shapes within the mandala design. This is done by selecting a shape and choosing the Pattern Fill option in the Appearance panel.
Designers should ensure patterns align correctly with the shape’s lines and curves. This might require adjusting the pattern’s scale and orientation.
By layering patterns, designers can add dimension and detail to the mandala, making it more intricate and visually engaging.
Pattern Swatches and Libraries
Illustrator offers a variety of pattern swatches and libraries, making it easier to incorporate complexity into designs. These pre-made patterns can be accessed through the Swatches Panel.
Users can blend these patterns with custom-designed ones, providing additional richness to the mandala.
Exploring different pattern libraries allows for experimenting with various textures and motifs, broadening the design possibilities without needing to create each element from scratch. Utilizing these resources efficiently aids in creating vibrant, detailed mandalas.
Color Theory and Application
Color theory in mandala design is essential for creating visually appealing and harmonious art. By understanding how colors interact, one can bring depth, emotion, and expression to the design, while techniques like gradients help enhance the overall look.
Selecting a Color Palette
Choosing the right color palette is the first step in applying color theory. It often involves considering the mood or message the artist wants to convey. For example, cool blues and greens can give a sense of calm, while reds and oranges add energy. Tools like Adobe Color can assist in generating palettes. Harmonious combinations include complementary colors (opposites on the color wheel), analogous colors (next to each other), and triadic schemes (three evenly spaced colors).
Coloring Techniques
Various techniques can be used to apply color to mandala designs, each offering unique results. One common method is using the Paint Bucket tool in Adobe Illustrator for large areas, while the Brush tool helps with detailed sections. Layers allow colors to be added without affecting other parts of the design. It’s beneficial to lock the outlines of the mandala so the artist can freely apply color.
Gradients and Transparencies
Gradients and transparencies add dimension and complexity to mandala designs. By blending two or or more colors smoothly, gradients create a sense of depth. In Adobe Illustrator, the Gradient tool allows for linear and radial gradients, offering flexibility in how colors transition. Transparencies enable one to see colors beneath, creating a layered effect. Adjusting opacity levels can soften the appearance, providing a subtle, glowing finish to the mandala.
Detailing and Embellishments
Creating complex mandalas in Adobe Illustrator involves focusing on fine details and unique embellishments. It includes varying line thickness and using advanced techniques to enhance intricacy. Effects and filters can also add depth and creativity to the design.
Line Work and Stroke Variation
Line work is essential in mandala design. Varying stroke width can create a sense of depth and make different parts of the design stand out. Use the Width Tool in Illustrator to adjust the line thickness, creating contrast and visual interest.
Experiment with dashed and dotted lines to add different textures. The Stroke Panel offers various options like caps, corners, and dashed line settings, allowing for personalized touches. This helps in achieving a more dynamic look.
Use a mix of thin and thick lines to highlight the main elements of your mandala. Line weight can guide the viewer’s eyes to the focal points, emphasizing the intricate patterns.
Intricate Detail Techniques
Adding intricate details requires precision. The Pen Tool is great for drawing custom shapes and curves, perfect for mandalas. Use it to develop unique motifs that repeat throughout the design.
Incorporate small geometric shapes like triangles or circles for added complexity. Align these elements symmetrically using Smart Guides to maintain balance.
Utilize layers to manage different parts of the mandala. It helps in keeping the design organized and makes it easier to edit specific areas. Adjust opacity to create a sense of depth and layering, making the mandala more captivating.
Using Effects and Filters
Effects and filters in Illustrator can transform a mandala from simple to stunning. The Transform Effect can duplicate and rotate elements seamlessly, saving time and ensuring precision. This is particularly useful for achieving symmetry.
Explore the Distort & Transform and Stylize options to add effects like glow or shadow. These can give your mandala a three-dimensional feel, enhancing its visual appeal.
Filters like Feather can soften edges, creating a subtle transition between elements. This smoothness adds a professional touch to the final design, making the mandala appear polished and complete.
Exporting Your Mandala Design
Exporting your mandala design in Adobe Illustrator involves choosing the right file formats and setting up options for web and print use. These choices ensure that your design retains its quality whether viewed on digital platforms or printed on paper.
File Formats and Uses
Adobe Illustrator offers several file formats suitable for exporting mandala designs. The most common are AI, EPS, and PDF for high-quality print. These formats preserve vector details, making them ideal for resizing without loss of quality.
For digital use, consider exporting as PNG or JPEG. PNG is great for transparent backgrounds, while JPEG files are smaller and suitable for web use where high detail isn’t the priority. SVG is also an excellent choice for the web, maintaining crispness on scalable designs.
Each format serves a particular purpose. Therefore, it’s important to decide based on how you plan to use or share your design. Keep multiple versions saved in different formats for flexible use across platforms.
Export Options for Web and Print
In Illustrator, exporting settings are crucial for maintaining design quality. When exporting for the web, set the resolution to 72 dpi, which is standard for digital displays. Make sure to choose RGB color mode since it aligns with web standards.
For print options, set the document to 300 dpi for clear and detailed images. Use CMYK color mode for accurate color representation in printing. The Bleed settings are important when a design stretches to the edge of a print, preventing unwanted edges from appearing.
Illustrator’s dialog boxes during export allow fine-tuning of these settings. Paying attention to these details ensures the exported version meets industry standards for both digital and print formats.