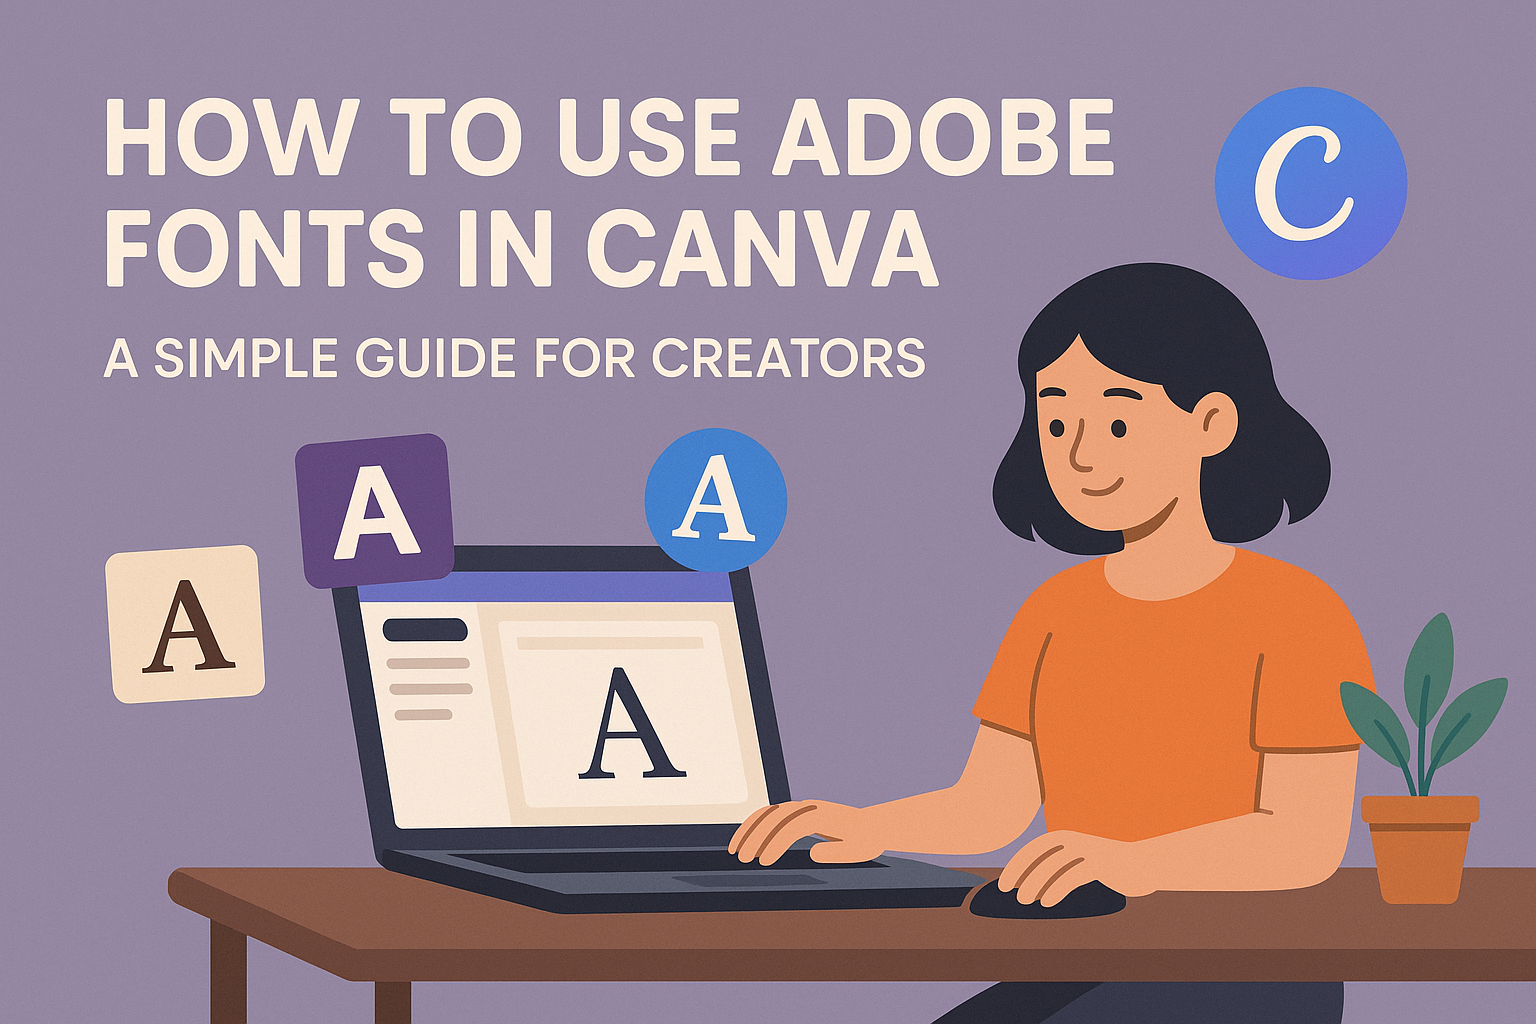
Graphic design is a world full of colors, shapes, and creativity. For those using Canva, adding a personal touch with unique fonts can make all the difference.
Many designers wonder about incorporating Adobe Fonts into their Canva projects. Yes, you can easily upload Adobe Fonts to Canva to give your designs a fresh, professional edge.
The process is straightforward. By downloading the desired fonts from Adobe, users can integrate them into their Canva projects.
This allows for more creative flexibility and personalization. For anyone craving more variety and style, this feature is perfect for expanding their design toolkit with over 14,000 fonts available for use.
Incorporating Adobe Fonts not only saves time but also ensures that design projects stand out. This compatibility between Adobe Fonts and Canva offers endless possibilities for novices and experienced designers alike.
It’s an exciting way to enhance visual projects with a stylish and professional touch.
Understanding Adobe Fonts
Adobe Fonts offer a massive library of stylish and professional typefaces. These fonts can elevate any design project, providing unique styles and flexibility while creating graphics or documents.
Whether for personal or commercial use, Adobe Fonts bring creativity to life.
What Are Adobe Fonts?
Adobe Fonts are a collection of typefaces designed by experts. They offer an extensive range of styles, including serif, sans-serif, script, and more.
Users can find fonts suitable for any project, whether for digital posts, printed materials, or branding.
With Adobe Fonts, there’s no need to worry about technical issues like font licensing, as these are already covered. Access to Adobe Fonts is available through Adobe Creative Cloud, making it convenient for those who already use Adobe’s suite of tools.
They enable users to maintain brand consistency by providing a variety of typographical choices.
Benefits of Using Adobe Fonts in Canva
Using Adobe Fonts in Canva allows designers to access a wider range of typefaces, enhancing their creative projects. This feature empowers users to match fonts with their project’s theme or style, adding more personalization.
Adobe Fonts are recognized for their high quality, ensuring your designs look professional.
In Canva, Adobe Fonts can be easily integrated, giving users flexibility in designing. This integration helps in aligning with brand guidelines and brings a cohesive look to presentations, social media graphics, or marketing materials.
Combining the strengths of both tools, users can produce visually appealing and unique designs effortlessly.
Setting Up Your Accounts
To start using Adobe Fonts in Canva, one needs to set up accounts on both platforms and connect them.
Creating an Adobe Account
To begin, navigate to the Adobe website and click on the “Sign Up” button. Fill in the required details such as name, email address, and create a password.
It’s important to use a valid email as Adobe will send a verification link to confirm the account.
After creating the account, explore the Adobe Creative Cloud platform. This is where users can access Adobe Fonts along with a variety of other tools.
If they plan to use specific fonts available in Adobe Fonts, they should note that some might require a subscription.
Signing Up for Canva
Visit the Canva website to create an account. Users can sign up using an email address or link an existing Google or Facebook account for convenience.
Once the account is set up, Canva might prompt to choose between a free or Pro account.
A Pro account provides more features, including the ability to upload custom fonts. Knowing this can help users make an informed choice if they plan to integrate Adobe Fonts into their designs. Once the account is active, they are ready to proceed with the integration.
Linking Adobe Fonts to Canva
Users must have a Canva Pro account to use Adobe Fonts. Begin by accessing Canva’s “Brand Kit” in the account settings.
Here, look for the option to upload fonts, which is necessary when working with external font libraries like Adobe Fonts.
Before proceeding, ensure the desired fonts from Adobe Fonts are downloaded to the computer. In Canva, use the “Upload a font” feature to import these fonts into the platform.
Follow any on-screen instructions, and soon the fonts will be part of the font options in Canva, ready for use in any design project.
Selecting the Right Font
Choosing the right font for your Canva design can make a significant difference in how your project is perceived. The right font sets the mood and enhances readability.
Understanding different font categories and knowing how to pair them effectively is key to creating appealing visuals.
Exploring Font Categories
Fonts fall into several categories, including serif, sans-serif, script, and display. Serif fonts, like Times New Roman, have small lines at the end of each stroke and are often seen as traditional and elegant.
Sans-serif fonts, such as Arial, do not have these lines and offer a clean, modern look. Script fonts mimic handwriting and can add a personal touch. Display fonts are unique and are used for headlines to grab attention.
Choosing the right category depends on your design’s purpose and audience. For formal projects, serif fonts might be suitable, while sans-serif works well for a more sleek, modern design.
Considering the mood and tone of your project will help in selecting the most appropriate font category.
Considering Font Pairings
Font pairing involves selecting two or more fonts that complement each other. A common technique is pairing a serif font with a sans-serif font.
For instance, use a sans-serif font for the body text and a serif font for headings to create contrast and maintain readability. Mixing script fonts with simple sans-serif fonts can add elegance without overwhelming the reader.
It’s crucial to ensure that paired fonts share similar characteristics such as stroke weight and character width. This helps in creating a cohesive look.
Experimenting with different combinations can lead to interesting results. Recognizing when two fonts work well together can elevate the visual appeal of your design and convey the intended message effectively.
Using Adobe Fonts in Canva Designs
Integrating Adobe Fonts into Canva designs can enhance creativity and give a unique flair to any project. This process is straightforward and allows for custom text adjustments.
From adding text to adjusting font styles and colors, here’s how users can effectively incorporate Adobe Fonts in their Canva works.
Adding Text to Your Canva Project
To use Adobe Fonts in a Canva project, start by opening Canva and creating a new design or selecting an existing one.
Users can click on the Text button on the side panel to add a text box. Once there, they can choose between options like “Add a heading” or “Add a subheading.”
After adding the text, users should click on the font dropdown menu and select the “Upload a font” option. This step is crucial because it allows them to navigate their files and choose the Adobe Font they wish to use.
For smooth use, ensuring that the font file is compatible with Canva is key.
Customizing Font Styles
Customizing font styles in Canva using Adobe Fonts adds personality to each design. Once the text is placed on the design, users can explore style options located in the top panel of Canva.
Features like bold, italic, and underline are just a click away.
In addition to basic styles, Canva offers adjustments such as letter spacing and line height. These can significantly change the overall look and feel of the text.
Using these tools can help to create a design that truly stands out.
To make the most of these options, users should experiment with different combinations to see what works best for their specific project.
Adjusting Font Size and Color
Adjusting font size and color can help emphasize specific areas of a design. In Canva, this process is simple.
Users can select the text box and use the size dropdown menu to choose the appropriate font size for their text.
When it comes to color, Canva provides a palette that allows for choosing from pre-set colors or customizing unique shades.
Users can click on the color picker tool and find the exact hue they desire to match their design scheme.
Handy features like opacity adjustment can also help to achieve the desired text effect. These tools make it easy for anyone to customize text to fit their design needs effectively.
Advanced Font Features
Adobe Fonts in Canva come with a range of advanced features that enhance design possibilities. Users can explore different font variations and add creative effects to make their text stand out.
Utilizing Font Variations
Font variations offer designers a way to experiment with different styles while maintaining brand consistency. Adobe Fonts provides access to a variety of weights and styles such as bold, italic, and light.
These variations allow for flexible design options. For instance, using bold for headlines can make them stand out, while lighter styles might be perfect for longer text to ensure readability.
Designers should be sure to choose font weights and styles that best suit the vibe of the design.
By understanding different variations, users can personalize their designs more effectively, making each project unique.
Accessing these options in Canva is straightforward. After selecting a text box, users can easily choose their desired font variations from the dropdown menu.
Adding Effects to Text
Adding effects to text can transform ordinary designs into something special. Canva offers several options to modify and enhance text appearance.
Users can apply shadows, outlines, and even gradient fills to give their text a distinct look.
Shadows can create depth, while outlines offer a different dimension. Additionally, effects like gradient fills can add color transitions that elevate the visual appeal of the text.
Users might explore combining different effects to see which combinations work best for their particular design.
These tools are easy to apply. By selecting the text and using the options in the text editor, users can experiment and find the perfect effects to match their creative vision.
Managing Your Font Library
Managing your font library in Canva allows for creativity and efficiency. Users can add new fonts and organize them for easy access during design projects.
Adding New Fonts to Your Collection
Adding new fonts to Canva is simple. First, users should select the text element in their project that requires a new font. Then, they need to click on the font dropdown menu in the text editor panel.
At the bottom of this list, an option appears to Upload a Font.
This process involves selecting the appropriate font file from your device. It’s important to ensure the font is properly licensed for personal or commercial use.
The uploaded fonts become part of the Canva library, allowing designers to maintain their unique style across different projects. This functionality helps streamline design tasks by integrating personal or preferred fonts effortlessly.
Organizing Fonts in Canva
Organizing fonts in Canva helps keep the design process neat and efficient. Once fonts are uploaded, Canva provides several features to categorize and manage them.
Users can create folders or label fonts based on their style or usage.
Additionally, Canva’s search functionality within the font menu aids in locating specific fonts quickly. This feature is particularly useful for those who work with numerous font styles.
By organizing fonts effectively, users can save time and make the design process smoother.
Keeping the font library well-arranged ensures that the right font is always at your fingertips.
Legal Considerations
When using Adobe Fonts in Canva, it’s important to understand the legal aspects of font licensing and how to avoid copyright issues. This will ensure that designs are both creative and legally compliant.
Understanding Font Licensing
Font licensing can be a bit tricky, but it’s crucial for any designer to grasp. Most fonts come with specific licensing agreements that define how they can be used.
Adobe Fonts, for example, typically allows for commercial use as long as the user is an active subscriber to their services.
It is advised to check Adobe’s font licensing FAQ to ensure compliance.
Not all fonts are free for commercial use. Some may only permit personal use or require a special license for projects like logos or merchandise.
Ignoring these details could lead to legal difficulties. Therefore, checking the permissions and restrictions beforehand is vital.
This way, users can confidently choose the right fonts for their needs.
Avoiding Copyright Issues
Copyright issues arise when fonts are used without proper authorization. It’s essential to verify whether a font is open-source or requires a license.
Adobe Fonts typically come with a license that allows for commercial projects. To be safe, users need to stay within the terms of the licenses provided.
Uploading a font into Canva, as detailed here, should also be done cautiously. Users must ensure they have the right to use and upload the font. If not, this can create copyright problems.
It’s recommended to always validate font usage guidelines and possibly consult legal advice if unsure. This safeguards the user from potential copyright infringements.
Best Practices for Font Usage
When using fonts in design projects, two key considerations are maintaining readability and ensuring accessibility.
These practices help create visually appealing and inclusive designs that communicate effectively to all audiences.
Maintaining Readability
Readability is crucial. Fonts should be easy to read at a glance.
Sans-serif fonts like Arial or Helvetica often work well for digital content because they are clean and simple. For print, a serif font like Times New Roman can provide more authority and tradition.
Mixing fonts can add interest, but limit it to two or three types to avoid a cluttered look.
Font size impacts readability. For body text, sizes between 12 to 16 points are typically recommended. Headlines can be larger to grab attention.
Pay attention to line spacing and alignment, as these can affect how comfortably text can be read.
Ensuring Accessibility
Focus on accessibility to make content usable for everyone.
Use high-contrast colors to ensure that text stands out against background colors. This is essential for readers with vision impairments.
Text should be scalable, allowing users to increase size if needed.
Consider screen readers by using fonts that are easily interpreted by these tools.
Avoid overly decorative fonts that can confuse.
Consistency in font usage helps users navigate content more comfortably.
By making these adjustments, designs can reach a broader audience while respecting diverse user needs.