Adding a frame in Canva is a simple way to make any photo look polished and complete. To put a frame around a picture in Canva, they just need to choose a frame from the Elements panel and drag their photo into it. With a few clicks, the image instantly takes on a more professional and styled look.
This small design step can make a big difference whether someone is creating social media graphics, presentations, or personal projects. Canva makes it easy to adjust the frame, change colors, and even add effects that match the overall design.
Getting Started With Canva
Anyone new to Canva will need to set up an account, pick the right canvas size for their project, and learn the layout of the design editor. These steps make it easier to begin creating designs without confusion or wasted time.
Creating a Canva Account
A person can sign up for Canva with an email address, Google account, or Facebook login. The process only takes a few minutes, and the free plan already includes thousands of templates and elements.
After signing up, users can choose between a free or paid plan. The free version works well for simple projects, while the paid plan offers premium templates, brand kits, and advanced tools.
Once logged in, Canva opens to a dashboard that shows recent designs, shared projects, and recommended templates. This makes it simple to jump back into ongoing work or start something new.
Choosing the Right Design Size
Picking the correct design size is important because it ensures the final image looks good on the platform where it will be shared. For example, an Instagram post usually uses a square format, while a Facebook cover requires a wide rectangle.
Canva provides preset sizes for social media, presentations, posters, and more. These presets save time and prevent mistakes with dimensions.
If none of the presets fit, users can enter custom dimensions in pixels, inches, or millimeters. This flexibility helps when creating designs for print materials like flyers or business cards.
Navigating the Canva Interface
The Canva editor uses a simple layout with a side panel on the left and a main workspace in the center. The side panel includes Templates, Elements, Uploads, Text, and other tools.
To add content, users drag elements from the side panel into the canvas. Each item can be resized, rotated, or adjusted with the toolbar at the top.
The top toolbar also includes options for font styles, colors, alignment, and spacing. On the right side, the share button allows downloading, printing, or sharing the design directly online. This clear setup helps even beginners feel comfortable using Canva.
Uploading and Preparing Your Picture
Users can bring in their own photos, choose from Canva’s stock library, and keep everything tidy with folders. Each option helps them work faster and stay organized while designing.
Uploading Images to Canva
To upload personal pictures, a user clicks Uploads on the left sidebar. They can then drag and drop files or use the Upload files button. Canva supports common formats like JPG, PNG, and SVG.
Once uploaded, the images appear in the Uploads panel. From there, the user can drag them directly into the design. This makes it easy to frame family photos, product shots, or any custom graphics.
Uploaded files remain saved in the account, so they don’t need to be re-added later. This saves time when reusing the same images across multiple projects.
Using Stock Photos in Canva
Canva offers a large library of stock images that can be added without leaving the editor. By clicking Photos in the sidebar, the user can browse categories or search by keyword.
Free and premium photos are available. Premium images are marked with a crown icon and require a Canva Pro subscription or a one-time purchase. Free images can be used right away at no cost.
After finding a suitable photo, the user drags it into the design. According to the Canva Help Center, these images can be placed directly into frames, resized, or cropped. This makes them a quick solution when personal uploads are not available.
Organizing Photos in Folders
Keeping images organized helps users manage large projects. Canva allows them to create folders inside the Projects tab. They can name folders by theme, client, or project type.
Photos can be moved into these folders for easy access later. This prevents scrolling through long lists of uploads and makes designs more efficient.
Canva Pro users also gain access to unlimited folders and advanced organization tools. Free users can still create folders but may face some limits. This system helps keep both personal uploads and stock images neatly sorted.
Finding and Adding Frames in Canva
Frames in Canva let users place photos or videos inside preset shapes, making it easy to crop and style images quickly. They can be found in the editor, explored by category, and chosen to match the look of a project.
Locating Frames in the Elements Tab
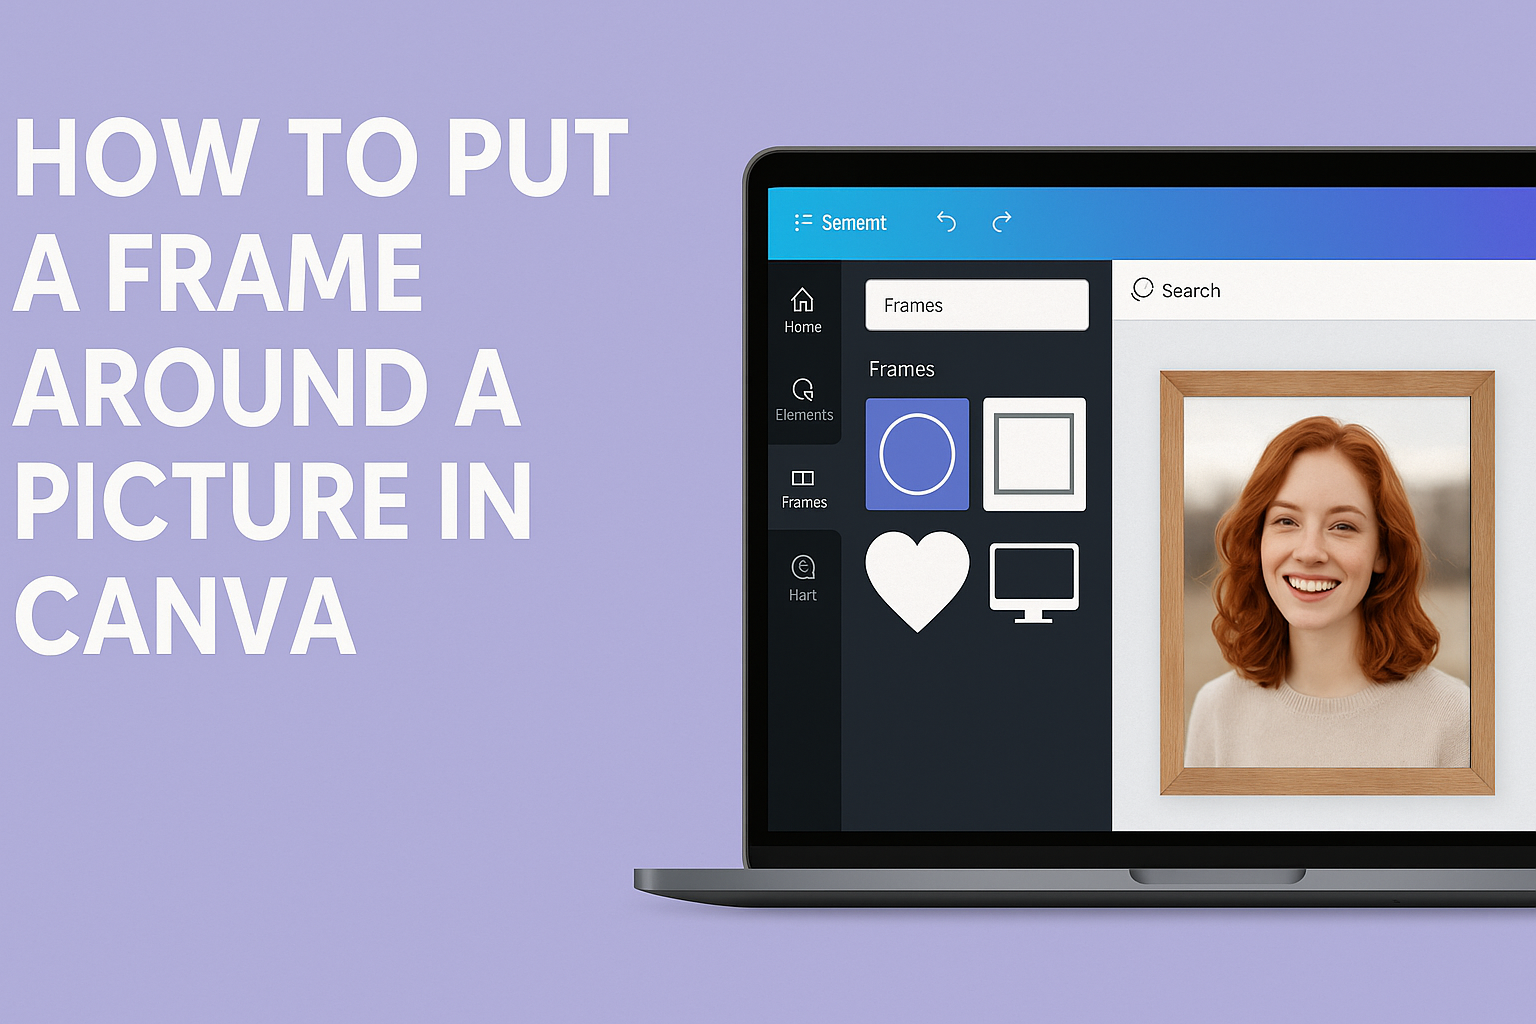
To start, users should open the Elements tab on the left panel of the Canva editor. Typing “frame” in the search bar will bring up a wide range of frame options.
Frames appear as empty shapes with a sky-and-grass placeholder image. This makes it easy to spot them among other design elements.
Once a frame is selected, it drops onto the canvas. From there, images or videos can be dragged into the frame, automatically fitting the shape without manual cropping.
For step-by-step instructions, Canva’s official guide on using frames explains how to insert, resize, and adjust them within a design.
Browsing Popular Frame Styles
Frames in Canva come in many shapes and styles, from simple rectangles to decorative outlines. Common options include:
- Basic shapes: squares, circles, and ovals
- Polaroid-style frames: for a casual, photo-album look
- Ornate frames: with decorative edges for a formal design
- Abstract frames: unique shapes for creative layouts
Each frame type works differently depending on the project. A circle frame might be best for profile pictures, while a Polaroid frame adds a casual feel to event photos.
Users can preview frames by clicking on them in the Elements tab. Trying out different styles helps them see which best enhances the image and design.
For more examples of frame options, this Canva tutorial shows how to add and experiment with multiple styles in one project.
Selecting Frames for Different Aesthetics
Choosing the right frame depends on the mood and purpose of the design. A clean square frame works well for business presentations, while a decorative border may suit invitations or posters.
Designers should also consider color and background. Some frames allow border color changes, which makes them flexible for matching brand palettes.
Frames can also highlight specific content. For example, a thin frame around a product photo keeps attention on the item, while a bold, ornate frame can make the image stand out more.
For tips on matching frames with different aesthetics, this guide explains how to pick and style frames to fit a project’s overall tone.
How to Use Frames in Canva
Frames in Canva let users place images into shapes, crop them neatly, and arrange them in creative layouts. They make it easier to design clean graphics without needing extra editing tools.
Dragging and Dropping Images Into Frames
The easiest way to use frames in Canva is by dragging an image into a frame shape. After selecting a frame from the Elements panel, the user can drop any photo or video directly into it. The media will automatically snap to the frame’s outline.
This feature saves time because the image instantly adjusts to the frame’s size. For example, a square photo dropped into a circular frame will take on the circle shape without extra steps.
Users can add their own uploads or choose from Canva’s stock library. The drag-and-drop method works with both photos and videos, making it flexible for different projects. Frames can also hold solid colors if no image is used.
Cropping Photos to Frame Shapes
Frames in Canva are also useful for cropping photos into specific shapes. Instead of manually trimming, the frame acts as a mask that hides the parts of the photo outside the shape. This makes it easy to create clean designs with circles, grids, or abstract outlines.
To adjust the crop, users can double-click the image inside the frame. They can then drag the photo to reposition it or resize it with the corner handles. This gives control over which part of the photo is visible.
Some frames also allow border color changes. If the frame supports it, a color tile will appear in the toolbar, letting users pick a new border shade. This adds another layer of customization to cropped images.
Arranging Multiple Frames on One Canvas
Designs often use more than one frame on the same canvas. Users can place several frames side by side to create collages, photo grids, or comparison layouts. Canva offers a wide variety of frame shapes, so each image can have a unique style.
When arranging multiple frames, alignment tools help keep everything neat. The position options let users center, align, or evenly space frames across the canvas. This ensures a balanced layout without guesswork.
Frames can also be layered. By sending one frame forward or backward, users can overlap images for creative effects. Combining frames with text or icons makes the design look polished and professional.
For more details on how to use frames in Canva, visit the Canva Help Center guide.
Customizing Your Frame Design
Frames in Canva can be adjusted to better fit the layout of a design. Users can change the size, move the frame around, and even edit colors or borders to match their style. These small changes help the frame blend naturally with the rest of the project.
Adjusting Frame Size and Position
Frames in Canva can be resized by clicking the frame and dragging the corner handles. This keeps the proportions balanced while making the frame larger or smaller. If needed, side handles can stretch the frame in one direction, though this may distort the shape.
To move a frame, they simply click and drag it across the canvas. This makes it easy to align the frame with text, other images, or design elements. For more precise placement, Canva’s grid lines and snap-to-position feature help keep everything lined up neatly.
When adding images or videos into frames, users can double-click inside the frame to reposition the content. This ensures the most important part of the photo stays visible. These adjustments give them control over both the frame and what’s displayed inside it.
Changing Frame Color and Thickness
Some frames in Canva allow color edits. By selecting the frame and clicking the color tile in the toolbar, users can choose from preset colors or create a custom shade. This makes it simple to match the frame with a brand palette or design theme.
If the frame has a border, its thickness and color may also be adjustable. For example, Canva lets users change the border color on certain frame types when multiple color tiles appear in the toolbar. If the wrong part of the frame changes color, they can undo and try the other color tile.
Filling a frame with a solid color instead of an image is also possible. This option works well for backgrounds or when a clean, minimal look is needed. More details on these options can be found in Canva’s guide on using frames.
Enhancing Framed Pictures With Effects
Users can improve framed photos in Canva by adjusting filters, changing transparency, and adding design elements.
Applying Filters and Effects to Frames
Canva offers built-in filters that change the mood of a framed image with a single click. For example, a black-and-white filter makes a portrait look classic, while a warm filter adds a cozy feel. Users can apply these filters directly after selecting the image inside the frame.
Beyond filters, Canva provides an Adjust panel with sliders for brightness, contrast, and saturation. These controls help fine-tune the photo’s look. Increasing contrast sharpens details, while reducing saturation creates a softer style.
Effects like blur or vignette can also be added. A vignette darkens the edges of the frame, drawing attention to the center. Blur is useful for backgrounds when text or graphics are layered on top.
Adjusting Photo Transparency
Transparency helps framed images blend with other design elements. In Canva, selecting the photo inside the frame reveals a transparency slider at the top toolbar. Lowering the opacity makes the image softer, which works well for backgrounds.
For example, a framed landscape at 50% transparency can sit behind bold text without competing for attention. This technique is often used in social media graphics and presentations.
Transparency also helps when layering multiple frames. A designer can place one frame at full opacity and another at reduced opacity to create depth. This adds variety without cluttering the design.
Adding Text or Graphics to Framed Images
Framed photos in Canva become more engaging when paired with text or graphics. Users can add headlines, captions, or icons directly on top of the frame to highlight key messages. For example, placing bold text over a framed product photo works well for promotions.
Shapes and stickers can also complement the frame. A simple border graphic or icon can emphasize the subject inside the frame. Canva’s Elements library provides thousands of design options to choose from.
When adding text, contrast is key. Light text works best on darker framed images, while dark text is better on lighter ones. Using Canva’s effects like shadow or outline can make text easier to read.
Spacing also matters. Designers should avoid covering important parts of the framed photo. Aligning text or graphics along the edges of the frame keeps the main subject visible and clear.
Saving and Exporting Your Framed Picture
Once the frame is added and adjusted, the next step is to keep the project safe and prepare it for sharing. Canva makes it simple to save progress and export the finished picture in the right format for print, web, or social media.
Saving Your Canva Project
Canva automatically saves changes while someone is working, so there’s no need to click a save button each time. This helps ensure that edits are not lost if the browser closes or the device restarts.
To keep projects organized, users can rename their design by clicking the title bar at the top of the editor. Giving clear names like Framed Family Photo or Instagram Post with Frame makes it easier to locate later.
Projects can be found anytime under the Projects tab on the Canva homepage. From there, they can be reopened for more editing, shared with collaborators, or copied to create a new version without changing the original.
Downloading in Different File Formats
When the design is ready, Canva offers several download options. The Download button in the top-right corner opens a menu where users can choose the file type.
- PNG: Best for high-quality images with transparent backgrounds.
- JPG: Smaller file size, good for web use.
- PDF Standard: Works well for digital sharing.
- PDF Print: Higher resolution for printing.
Canva also allows users to adjust image size and quality before downloading, giving more control over the final file.
If needed, designs can be shared directly to platforms like Facebook or Instagram without downloading, making it faster to publish framed photos online.