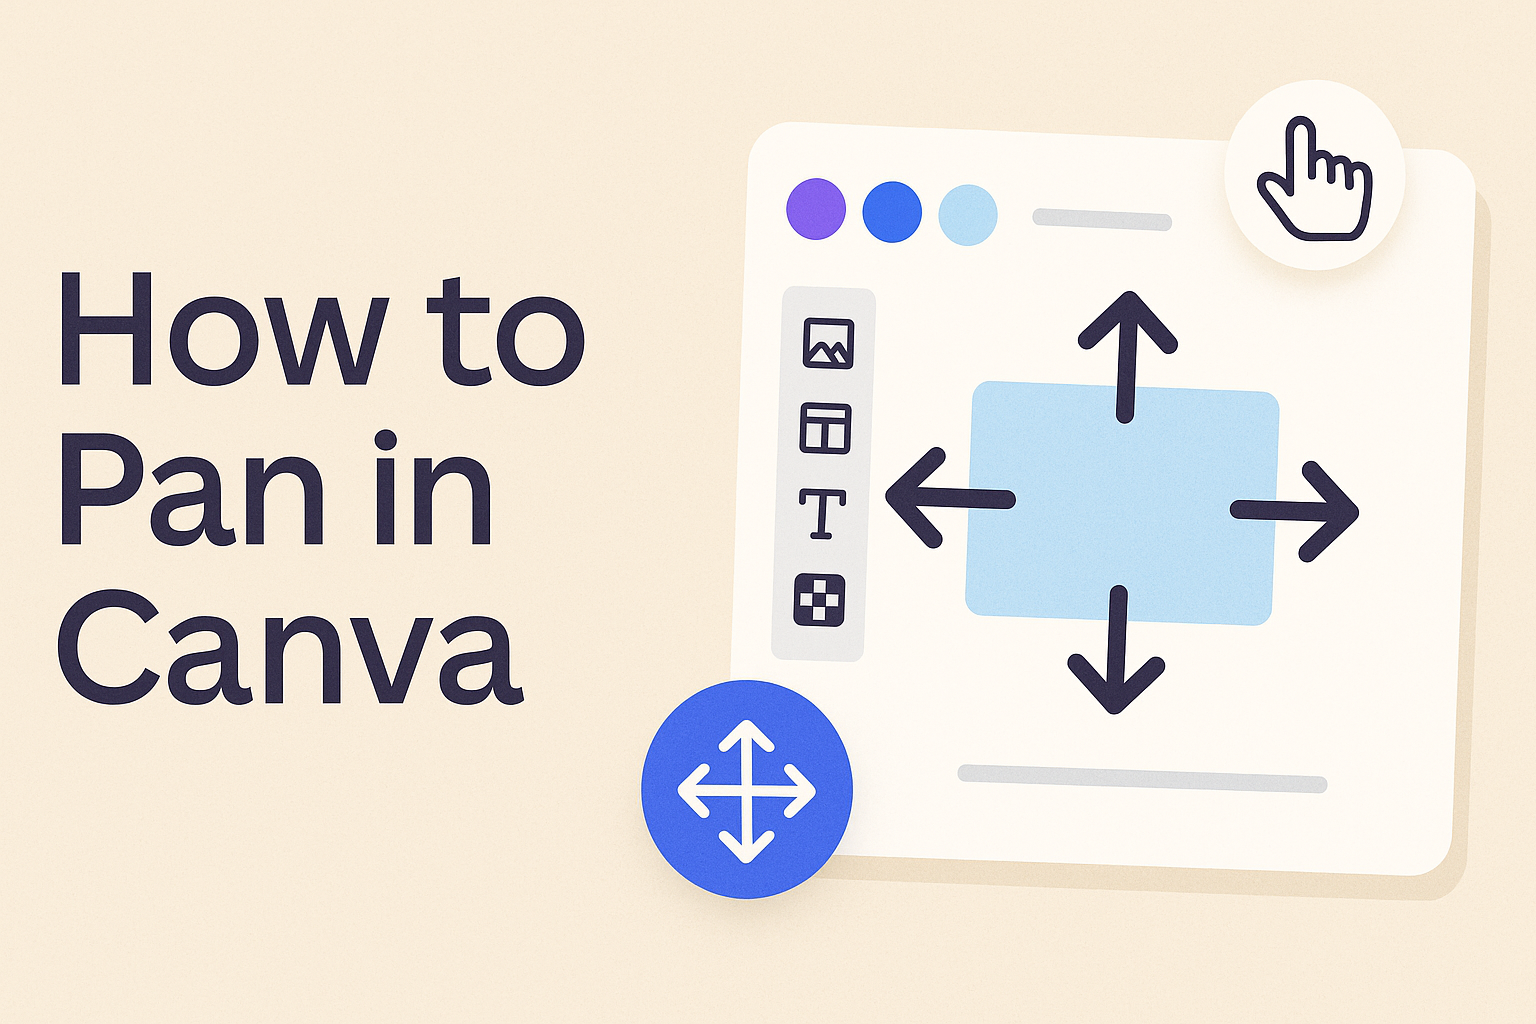
Panning in Canva adds movement to designs by shifting the focus across an image, video, or text. To pan in Canva, you simply drag the element or use the arrow keys to move it in small steps. This simple action creates a smooth flow that makes visuals feel more dynamic.
Many use panning to highlight details, guide attention, or bring life to static designs. With Canva’s tools, it only takes a few clicks to move elements naturally across the canvas. This makes it easy to create engaging presentations, videos, or graphics without advanced editing skills.
Understanding Panning in Canva
Panning in Canva helps shift focus within a design by moving the view across photos, videos, or text elements. It creates movement that makes projects like presentations, slideshows, or social media posts more engaging without requiring advanced editing skills.
What Is Panning
Panning is a design technique that moves the visible area of an image, video, or element from one spot to another. Instead of zooming in or out, it slides the focus horizontally or vertically across the canvas.
In Canva, users can apply this effect by dragging elements or by using transitions like Match and Move, which smoothly shifts objects between frames. This makes the design feel more dynamic while keeping the content clear.
The panning effect is often compared to a camera moving across a scene. For example, it can follow a subject in a photo or highlight different areas of a larger graphic. This is especially useful in projects that need to guide the viewer’s attention step by step.
Benefits of Panning
The main benefit of panning is that it adds motion and focus to otherwise static designs. By directing the viewer’s eyes from one part of the canvas to another, it makes the design easier to follow.
It also helps highlight important details. For instance, a designer can pan across a chart to emphasize specific data points or move across a photo to bring attention to a person or object.
Another benefit is versatility. Canva allows panning on text boxes, photos, and videos with simple drag-and-drop actions. This makes it possible to use the technique in presentations, marketing materials, or social media posts without needing advanced video editing software.
When to Use Panning
Panning works best when the goal is to guide attention or create a sense of motion. For example, in a presentation, it can move the audience’s focus from a title to supporting details without overwhelming them.
Designers often use panning in slideshows or video projects to simulate movement, like following a car across a road or zooming in on a product. This creates a smooth viewing experience that feels more polished.
It is also useful in storytelling. By panning across different parts of an image, a designer can reveal information gradually, keeping viewers engaged. Canva makes this process simple with its built-in tools for applying the panning effect.
Basic Methods to Pan in Canva
Users can move around their canvas in different ways depending on their device and workflow. Each method offers a balance between speed, accuracy, and ease of use, making it simple to adjust designs without interrupting the creative process.
Click and Drag
The click and drag method is the most direct way to pan in Canva. A user holds down the mouse button on the canvas and drags in the desired direction. This shifts the view horizontally or vertically without changing the zoom level.
This method works well for quick adjustments. For example, when someone is zoomed into a design and needs to view another section, dragging saves time. It avoids the need to constantly zoom out and back in.
Click and drag is especially helpful when working with large projects. It allows the user to move across the canvas smoothly and keep track of multiple design elements.
Using Arrow Keys
The arrow keys provide another way to pan in Canva. By selecting an element, such as an image or text box, the user can press the arrow keys to nudge it in small steps. Each press moves the item slightly, which makes placement more precise.
This method is useful when exact alignment is needed. Designers often use it to fine-tune spacing between text, icons, or images. It reduces the chance of overshooting a position compared to dragging with a mouse.
For larger adjustments, holding down an arrow key moves the element continuously. This makes it easy to shift items quickly while still keeping control.
Mouse and Trackpad Gestures
On desktops and laptops, mouse and trackpad gestures offer another way to pan in Canva. With a trackpad, a user can place two fingers on the surface and slide in any direction to move the view. With a mouse, holding the spacebar switches to the hand tool, allowing the canvas to be dragged.
These gestures are especially helpful when using tools like background remover or blur. They allow users to zoom in closely and then move around the image without losing focus on details.
According to Canva’s own guidance, gestures make it easier to pan while editing with brush-based tools because the user can move smoothly across the canvas without repeatedly clicking and dragging (Canva).
This method feels natural for those used to touch-based navigation. It also reduces strain from constant clicking, making long editing sessions more comfortable.
Panning Different Elements
Users can move text, images, and videos in Canva to adjust focus and create movement. Each element uses simple drag-and-drop controls, but some also allow extra effects like pan and zoom for smoother transitions.
Panning Text Boxes
Panning text boxes in Canva is straightforward. A user can click and drag the text box to any spot on the canvas. For more precise adjustments, the arrow keys on the keyboard move the box in small steps.
This method helps when text needs to align with photos, shapes, or other design features. Designers often use panning text boxes to reposition titles, captions, or labels without resizing them.
A quick tip: holding the Shift key while moving text keeps the movement straight, either horizontally or vertically. This prevents misalignment and saves time when working with multiple text boxes.
Panning Photos
Panning photos shifts the visible area of an image within a frame. This is useful when part of the photo is cropped or when the focus should be on a specific detail. Users can drag the photo directly or use the arrow keys for fine adjustments.
Canva also includes the Match and Move transition, which allows smooth pan and zoom effects for photos. This feature helps highlight details, such as a person’s face or an object in the background, by gradually shifting focus.
When working with multiple images, panning ensures that each photo is framed consistently. This makes slideshows and presentations look more polished and professional. More details on this effect can be found in guides about panning photos in Canva.
Panning Videos
Panning videos in Canva works much like panning photos. A user can drag the video around the canvas or nudge it with arrow keys. This helps reposition clips without cutting or resizing them.
For more dynamic results, Canva offers the Match and Move transition for videos. This creates smooth motion between clips, simulating a camera pan or zoom. It’s especially useful for presentations or social media videos that need a bit more movement.
Using pan and zoom in videos can emphasize key action or direct the viewer’s attention to a specific part of the frame. Tutorials on panning videos in Canva explain how this effect keeps content engaging without requiring advanced editing skills.
Creating Dynamic Pan and Zoom Effects
Canva lets users move the focus of an image or video smoothly across the screen and adjust the scale for emphasis. By combining movement with zoom, designs can highlight details, guide attention, and create more engaging visuals.
Using Match and Move Transition
The Match and Move transition in Canva makes it easy to create panning effects between slides or frames. This tool shifts an element’s position from one spot to another while keeping its size and orientation consistent.
Users can control the speed of the movement by adjusting the transition duration. A shorter time creates a quick pan, while a longer duration results in a smoother, slower effect.
This transition works well for photos, text, and videos. For example, a photo can start on the left side of a canvas and move to the right, drawing attention across the design. The effect feels natural and requires only a few clicks to apply.
For step-by-step guidance, Canva explains how to use the Match and Move feature to pan different elements like images, text boxes, and videos.
Adding Zoom Effect
The zoom effect allows users to scale visuals in or out, making certain details stand out. By zooming in, the viewer’s attention focuses on a specific subject, while zooming out reveals the larger scene.
In Canva, the zoom effect can be applied through the animation panel. The designer selects the element, chooses the zoom style, and adjusts the intensity. This makes it easy to create emphasis without needing advanced editing skills.
Zoom works especially well in presentations. For example, a slide can start with a wide view of a chart and then zoom in on a single data point to highlight its importance. Tutorials such as this guide on creating a photo zoom effect show how to fine-tune the feature for clear results.
Combining Pan and Zoom
When panning and zooming are combined, designs gain both motion and focus. This creates dynamic pan and zoom effects often seen in video editing, sometimes called the Ken Burns effect.
In Canva, users can pair the Match and Move transition with a zoom animation. For example, a video might pan from left to right while zooming in on a person’s face. This combination makes the movement feel more cinematic.
Designers can also use custom animation settings to adjust timing. By staggering pan and zoom, they can create smoother flows that guide the viewer’s eye naturally. Tutorials on pan and zoom in Canva videos show how these two effects work together to add depth and motion.
This approach works for slideshows, social media posts, and marketing videos. It helps highlight details while keeping the overall design visually engaging.
Advanced Panning Techniques
Designers can make their projects more engaging by combining the panning effect with animation styles and by tailoring panning for dynamic presentations. These methods help guide attention, create smoother motion, and add visual interest without overwhelming the viewer.
Panning With Animation Styles
When paired with animation styles, the panning effect feels more polished and intentional. Canva allows users to apply transitions like Match and Move, which shifts an element’s position while keeping its size and orientation consistent. This creates a clean flow between slides or scenes.
Users can also layer panning with fade, rise, or drift animations for added depth. For example, a photo can pan to the right while text fades in, creating a balanced sequence. Adjusting the duration of each effect helps control pacing and prevents the motion from appearing too fast or distracting.
For custom animation, users can manually set start and end positions for elements. This gives more flexibility than pre-set options and allows unique combinations. A table can help organize choices:
| Animation Style | Best Use Case | Effect with Panning |
|---|---|---|
| Match and Move | Slide shifts | Smooth repositioning |
| Fade | Text overlays | Subtle entry/exit |
| Drift | Backgrounds | Adds gentle motion |
Panning for Dynamic Presentations
Panning is especially useful in presentations where movement keeps the audience focused. Instead of static slides, elements can shift across the canvas to highlight details or guide the viewer’s eye. For instance, a chart can pan upward while a key number enlarges for emphasis.
In Canva, presenters can use Match and Move transitions to create smooth scene changes that feel natural. This technique works well for storytelling slides, where one idea flows into the next without abrupt cuts. It also reduces the need for multiple static slides, keeping the presentation concise.
Dynamic presentations benefit from combining panning with zoom. A photo of a map, for example, can pan left while zooming into a city. Tutorials, product demos, and infographics often use this approach to maintain clarity.
Using short, controlled movements ensures that the presentation looks professional. Too much motion can distract, but when applied carefully, panning directs attention and improves flow. For step-by-step guidance, Canva’s panning effect guide explains how to apply these transitions effectively.
Tips for Smooth Panning in Canva
Smooth panning in Canva depends on controlling movement speed, keeping direction consistent, and choosing transitions that feel natural. Designers also need to think about how panning affects viewer focus and whether it helps highlight the most important details in a design.
Optimizing Speed and Direction
When using a panning technique, speed matters. If the pan is too fast, viewers may miss key details. If it’s too slow, the motion can feel distracting. Adjusting the duration of the Match and Move transition in Canva allows users to fine-tune how quickly the pan occurs.
Direction also plays an important role. Horizontal pans often work well for wide images such as landscapes, while vertical pans are better for tall subjects like buildings. Choosing the right direction ensures the pan feels natural and highlights the intended focal point.
A helpful approach is to test different speeds and directions on the same project. By previewing the pan multiple times, users can compare which movement best maintains clarity and flow. This trial-and-error method helps create a smoother experience for the audience.
Best Practices for Engagement
Panning should not be used without purpose. It works best when it draws attention to a detail, such as a person’s face or a product in focus. For example, a subtle pan across a photo can guide the eye toward text or a logo placed on one side of the design.
Combining pan and zoom can also increase engagement. A slow zoom-in paired with a pan creates depth and makes still images feel dynamic. Canva’s panning effect is particularly useful for presentations or short videos where movement keeps viewers interested.
To avoid overuse, designers should limit the number of pans in one project. Too many movements can overwhelm the viewer.