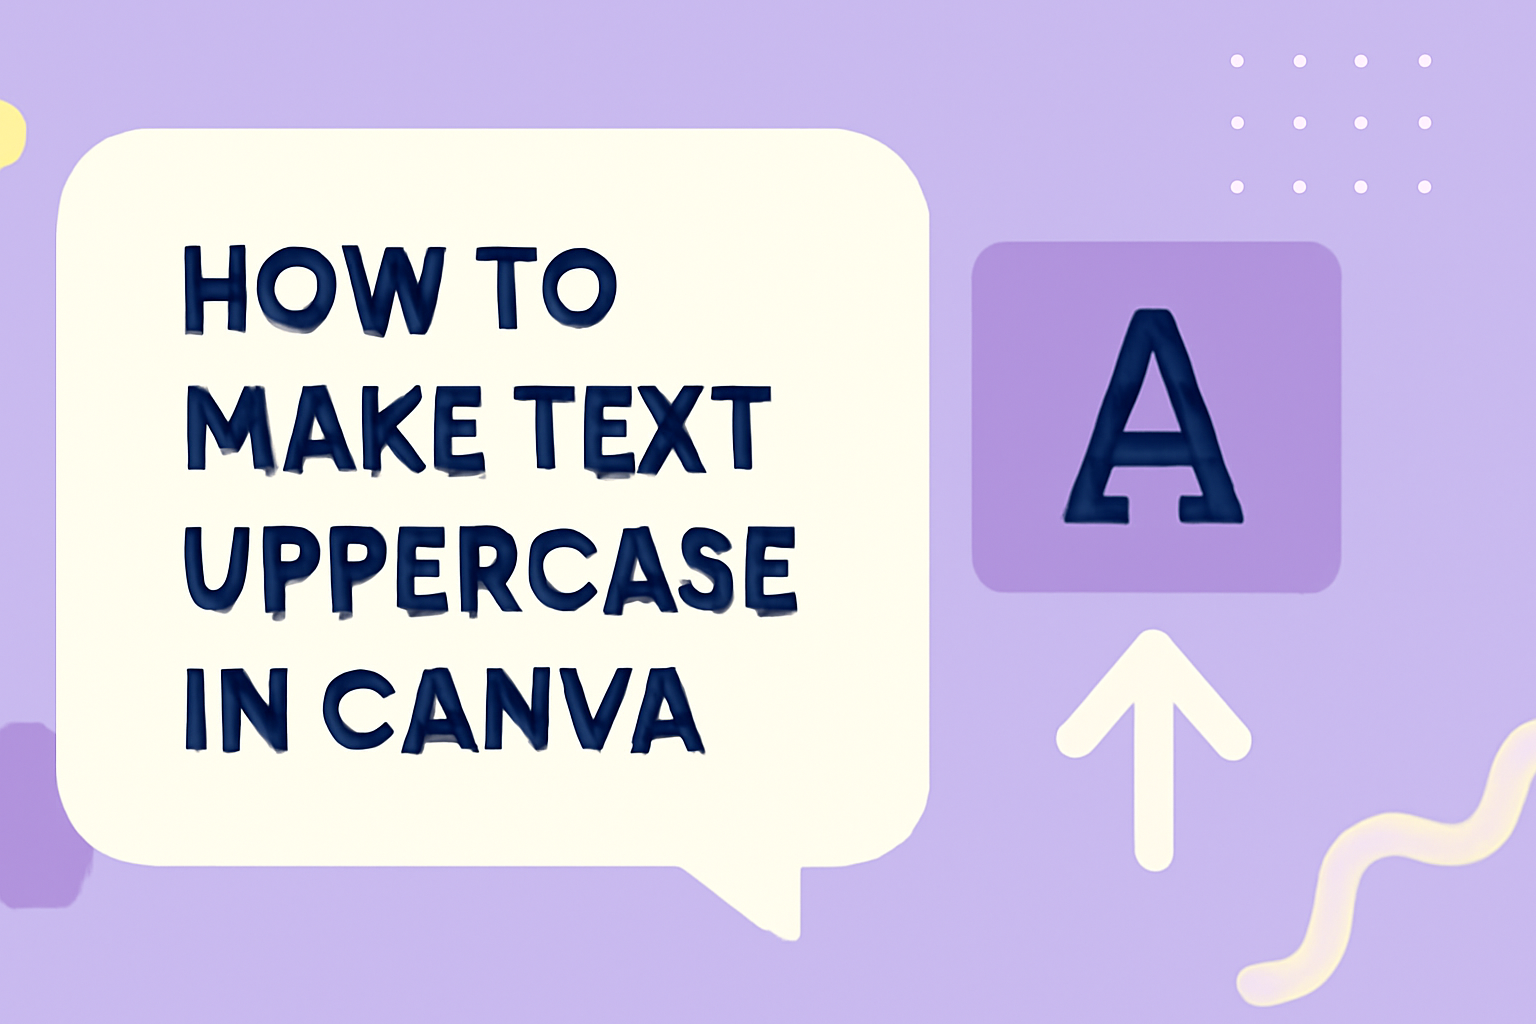
Canva is a fantastic tool for creating eye-catching designs, whether it’s for social media, presentations, or personal projects.
A common task that users want to know is how to modify their text to look exactly how they imagine.
To change text to uppercase in Canva, simply use the text options in the editor toolbar where you can easily switch to all caps with a click.
For those who enjoy designing in Canva, understanding quick text transformations can be a game-changer. If uppercasing your text has always seemed a bit complicated, rest assured that this feature is straightforward and requires no advanced tools or skills.
Learning these features can greatly enhance the efficiency of your design workflow.
Anyone interested in boosting their design efficiency will find it invaluable to master simple tricks like this within Canva. By knowing how to swiftly change text styles, users can focus more on their creativity and less on technical hurdles.
These easy transformations not only save time but also add a professional touch to your designs.
Getting Started with Canva
Canva is a user-friendly design platform that simplifies creating graphics. Beginners can easily navigate its features to start designing quickly and efficiently using pre-set templates.
Creating a New Design
To start a new design in Canva, users first need to sign in or create an account.
Once logged in, they can click the “Create a design” button located on the top right of the page. Canva offers a variety of pre-set sizes for different design needs like Instagram posts, resumes, or presentations.
After selecting a design type, users can begin customizing. A blank canvas appears where they can add text, images, and other elements.
Canva’s drag-and-drop feature is very intuitive, allowing users to effortlessly reposition elements.
For more inspiration, users can explore Canva’s wide range of templates. These templates can be customized to align with personal style or brand identity.
These steps lay the foundation for creating engaging designs without graphic design expertise.
Navigating the Canva Interface
The Canva interface is simple yet powerful. On the left side, there’s a toolbar where users can access various design elements like text boxes, photos, and shapes.
It’s easy to find an element by typing keywords into the search bar.
The top menu offers options for undoing actions, resizing the canvas, or adjusting text styles.
Users can change fonts, colors, or spacing using the editor toolbar above the canvas area.
This emphasis on simplicity ensures that even those who are not tech-savvy can create professional-looking designs.
For a smoother experience, users should familiarize themselves with the layout of these tools, which helps to streamline their design process.
With practice, anyone can efficiently maneuver through the platform and craft stunning visuals.
Understanding Text Elements
In Canva, text elements are essential for creating engaging designs. This section explores how to add text to your design effectively and provides basics in editing text to enhance your work.
Adding Text to Your Design
To start, users can easily add text by clicking the “Text” tab on the Canva interface. Here, they have three default text options: Heading, Subheading, and Body text.
Selecting one of these options inserts a text box onto the canvas, which can then be moved or resized to fit the design’s needs.
Users can choose from a wide range of fonts and styles to match their design theme. Canva offers both free and premium font options, enabling users to customize their designs fully.
Additionally, using different fonts can help convey specific emotions or tones, making the design more effective.
While adding text, it’s important to consider readability. Text should be sized appropriately and contrast well with the background, ensuring that it stands out clearly.
Users should experiment with colors, font sizes, and positions to achieve the best results.
Text Editing Basics
Once the text is added, editing features allow users to adjust it to meet their design needs.
Basic text edits like changing the font, color, and alignment are readily accessible on the toolbar.
Users can also alter spacing between lines or letters, providing more control over the text’s appearance.
Bold, italic, and underline options are available to emphasize specific words or phrases.
Moreover, Canva provides tools to adjust text transparency, letting users create overlays and effects that add depth to the design.
One particularly handy feature is the ability to change text to uppercase with a single click, ensuring consistency throughout the design. This is useful when a uniform look is desired across multiple text elements.
Making Text Uppercase
Making text uppercase in Canva can be done quickly by using various tools. The text toolbar offers a straightforward way to adjust the text case, while applying transformations provides more flexibility. For those who love shortcuts, a quick key combination makes switching text cases easy.
Using the Text Toolbar
The text toolbar is a user-friendly feature in Canva. It allows users to make easy changes to text without wasting time.
To change text to uppercase, first select the text box.
Then, navigate to the “Text” tab on the editing panel. Here, users will find an “All caps” option under the “Text case.”
Clicking this button instantly transforms the selected text into uppercase, making it easy to emphasize important information.
Applying Text Transformations
Text transformations in Canva offer users the ability to switch between different cases. Once the text box is selected, users can access various options such as uppercase, lowercase, and sentence case.
Applying these transformations can be helpful for styling different parts of a design. Having the flexibility to adjust text adds creativity and variety to any project.
Experimenting with these settings can help users meet specific design needs without much effort.
Shortcut for Uppercase Text
For those who prefer keyboard shortcuts, Canva supports a quick method to change text case.
By selecting the desired text and then pressing Shift + F3, users can effortlessly cycle through uppercase, lowercase, and sentence case options.
This shortcut is handy for speeding up the editing process, especially in projects that require multiple text changes. It’s a great way to work more efficiently without needing to navigate through different menu options, making users more productive in their design tasks.
Styling Uppercase Text
Styling uppercase text effectively in Canva can make designs stand out. Factors like font choice, color dynamics, and text spacing can dramatically enhance the visual appeal and readability.
Font Selection for Impact
Font choice plays a crucial role in how uppercase text is perceived.
Bold fonts, such as Impact or Arial Black, can add strength and clarity. These fonts make the text more readable, especially from a distance.
On the other hand, more elegant ones like Times New Roman or Georgia can give a touch of sophistication.
When selecting a font for uppercase text, it’s important to consider the overall message. A creative project might benefit from a unique font, while business purposes might do better with something professional.
Using different font styles can also create contrast and emphasize certain words.
Color and Contrast
Color selection can significantly affect the effectiveness of uppercase text.
Bright and bold colors can draw attention, while subtle hues can offer a softer effect.
Using contrasting colors between the text and background ensures readability.
For example, white text on a dark blue background can create a striking effect. In Canva, it’s easy to adjust these settings to try different looks.
Color gradients or shadows can add depth and make the text pop. It’s essential to maintain a balance so that the text remains readable.
Spacing and Alignment
Spacing and alignment are key to making uppercase text look polished.
Proper use of line spacing, or leading, prevents the text from appearing cramped. Adjusting kerning, or the space between characters, can also improve the look.
Aligning text properly, whether left, right, or center, helps in maintaining a clean design. Canva allows users to play with these settings to find what works best.
Remembering that tight spacing might make the text hard to read is important, particularly with bolder fonts. By ensuring clarity, the message remains effective.
Tips for Effective Uppercase Text
Using uppercase text in design can create strong visual impact, but it must be done carefully. It’s crucial to keep readability in mind while establishing a clear hierarchy within the text.
Considering Readability
Uppercase letters can be harder to read than lowercase because they lack ascenders and descenders, the parts of letters that extend above or below the average letter height. This can slow down reading speed and cause strain.
To improve readability, it’s helpful to use short phrases or single words in uppercase rather than long sentences.
Font choice also plays a big role. Selecting a typeface with clear, well-spaced letters can make uppercase text easier to read. Sans-serif fonts typically work better because they have simpler shapes without decorative strokes.
Font size matters too. Uppercase text should be large enough to read comfortably from a distance. Adequate spacing between letters and lines can further enhance clarity.
Monitoring these factors ensures that the audience doesn’t struggle with understanding the message.
Creating Hierarchy with Case
Using uppercase text can help establish visual hierarchy, making it effective for highlighting key points.
In a design, headings, subheadings, or calls-to-action often benefit from uppercase styling. This draws the reader’s attention immediately to important sections.
For an organized look, mix uppercase with lowercase text to guide the reader through the content. For example, a main heading could be in uppercase, while subheadings and body text remain in lowercase. This creates a balance and prevents the text from appearing too overwhelming.
To avoid giving the impression of shouting or aggression, reserve uppercase for not more than 2 or 3 lines of text. Balance these elements for a design that is both effective and engaging.
Saving and Exporting Your Design
To save a Canva design, users should click on the “File” menu at the top. This will open a drop-down menu with several options.
Select “Save” to ensure all changes are securely saved.
After saving, there are several exporting options available. Canva offers the chance to download files in various formats.
These include PNG, JPEG, PDF, and more. Users can choose based on their needs. For sharp images, PNG is recommended. For smaller file size, JPEG works well. When sharing documents, PDF is usually a good choice.
To do this, click on the “Download” button.
Next, users should select their preferred file type from the menu.
Once the file type is chosen, there may be additional options, like adjusting the quality or dimensions. These features allow finer control over the final output.
After tweaking settings, click “Download” again to save the file.
Sometimes, users might only want to export part of their design. Canva supports this by allowing selection download. Select the desired area and follow the steps for downloading.
Using Uppercase Text in Templates
Uppercase text can make a design stand out and catch attention. It is perfect for titles, headlines, and calls to action.
Using uppercase text in Canva templates is simple and can create an impact.
Steps to Use Uppercase Text:
- Select a Template: Begin by choosing a template that suits your project.
- Highlight Text: Click on the text box you want to change.
- Enable Uppercase: Go to the “Text” tab in Canva’s editing panel and click the “All caps” button under “Text case.”
Uppercase text can be more than just a style choice. It can emphasize messages, ensuring they are clear and bold.
This style is especially useful for creating posters, flyers, and social media graphics.
Pros of Using Uppercase Text:
- Visibility: Stands out, making information easy to read.
- Consistency: Offers a uniform look across various elements.
- Emphasis: Highlights important content quickly.
Cons of Using Uppercase Text:
- Readability: Can be harder to read in large blocks.
- Tone: Might feel aggressive if overused.
He or she should use uppercase text sparingly in longer sections. Mixing uppercase with other text styles can create better contrast and clarity.
Applying lowercase for detailed information can balance the design nicely.