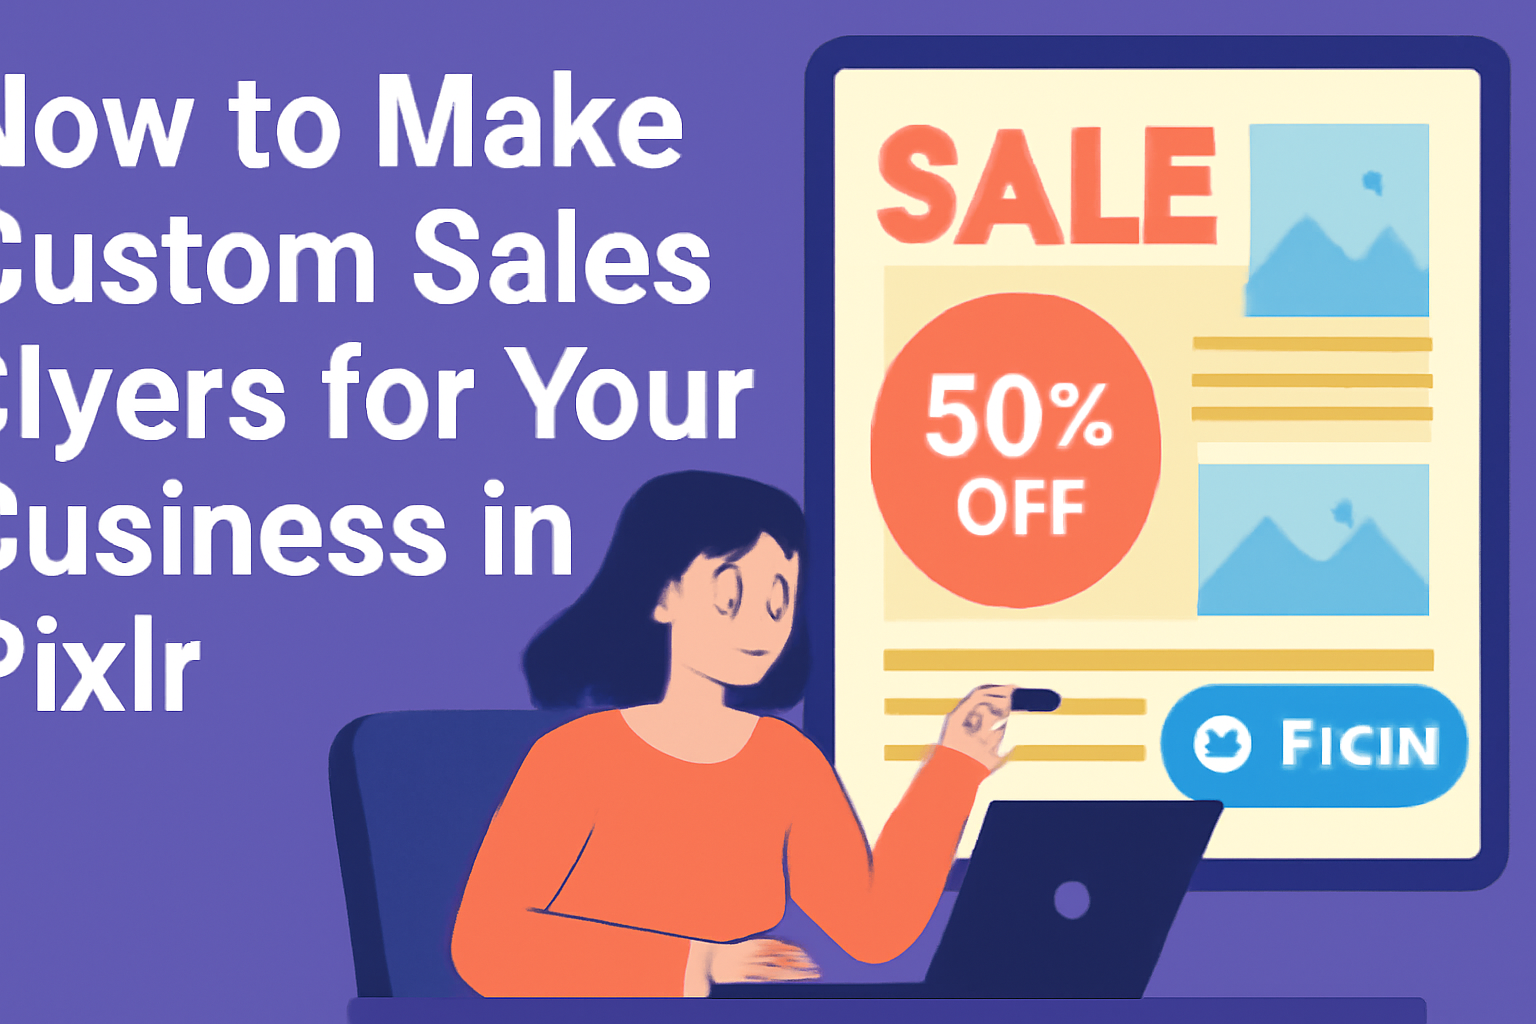
Creating custom sales flyers can significantly boost a business’s marketing efforts. By using Pixlr’s easy-to-navigate design platform, users can create stunning flyers that capture attention and communicate key messages effectively.
Whether one is a seasoned designer or a beginner, Pixlr provides the tools needed to make customization simple and enjoyable.
With a variety of templates and design features, making a flyer that stands out is straightforward. Users can add their images, choose fonts, and personalize colors to reflect their brand’s identity.
This flexibility allows businesses to tailor their flyers to specific audiences and events, making each flyer unique.
In the digital age, having visually appealing marketing materials is essential for attracting customers. Pixlr offers powerful options that help ensure a business’s message gets noticed.
Those looking to enhance their advertising strategies will find that creating custom sales flyers in Pixlr is both accessible and rewarding.
Getting Started with Pixlr
Before diving into flyer creation, it’s important to become familiar with the Pixlr platform. Understanding its layout and features can make the design process smoother and more enjoyable.
Additionally, setting up an account is a simple step that grants access to Pixlr’s powerful tools.
Understanding Pixlr Interface
Navigating the Pixlr interface is essential for making custom flyers.
The main screen displays the toolbox on the left, which includes various tools for editing images, adding text, and creating shapes. At the top, there is a menu bar with options like File, Edit, and View.
On the right side, layers are managed. Layers allow users to manipulate different elements independently, adding depth to the design.
Understanding layers is key to creating professional-looking flyers. There are also options to zoom in and out, which helps in fine-tuning details in the design.
Setting Up Your Pixlr Account
Creating a Pixlr account is straightforward and requires just a few steps. First, visit the Pixlr website and click on “Sign Up” at the top right corner.
Users can register using an email address or link their social media accounts for quick access.
Once registered, it’s possible to explore various templates and tools available for customization. Using a personal account allows the user to save their work in the cloud.
This means that they can access their projects from any device, making it easy to refine and manage their flyer designs whenever they want.
Designing Your Sales Flyer
Creating a custom sales flyer involves selecting the right template, customizing the design to fit the brand, and adding clear and engaging text. Each of these steps plays a crucial role in ensuring the flyer effectively communicates the message.
Choosing the Right Template
The first step in designing a sales flyer is selecting an appropriate template. A good template sets the foundation for the flyer, guiding the overall look and feel.
Pixlr offers various templates suited for different types of businesses and events.
It’s essential to choose one that aligns with the brand’s style and the flyer’s purpose.
When browsing, consider factors like color schemes, layout, and the amount of text space available. This will ensure the flyer is both attractive and functional.
Customizing Your Design
After picking a template, customization is key to making the flyer unique. Users can adjust colors, images, and layouts to better reflect their brand identity.
In Pixlr, simple drag-and-drop features make it easy to add personal touches.
Incorporating brand colors or logos helps with recognition and consistency.
Keep in mind the importance of balance and visual appeal.
A well-designed flyer should not be cluttered; ample white space can enhance readability and draw attention to key points.
Adding Text and Typography
Text plays a vital role in conveying the sales message clearly. It’s important to select fonts that are easy to read and align with the brand’s voice.
Using a combination of bold and regular fonts can help emphasize important information.
For instance, promotional offers could be bolded to catch the reader’s eye.
Bullet points can also enhance clarity by breaking down information into digestible pieces.
Keeping the text concise ensures that the flyer delivers the message quickly and effectively.
Clear calls to action encourage readers to take the next step, whether it’s visiting a website or making a purchase.
Polishing Your Flyer
To create an eye-catching flyer, attention to detail is key. The use of images, graphics, and branding elements can enhance the flyer’s appeal and ensure it effectively communicates the desired message. Finalizing the layout is also crucial for a polished look.
Using Images and Graphics
Images and graphics play a significant role in attracting attention. They can convey messages instantly and make the flyer visually appealing.
When selecting images, choose high-quality visuals that are relevant to the content. For example, if the flyer promotes a summer sale, bright, cheerful colors and summer-themed images can enhance the message.
Graphics such as icons or lines can help organize information. Using them to separate sections or highlight key offers can guide the reader’s eye.
Incorporating Branding Elements
Branding elements create a cohesive look and help in brand recognition. It’s important to include your logo, brand colors, and fonts consistently throughout the flyer.
Using the same colors associated with the brand reinforces its identity. For example, if the brand’s colors are blue and yellow, these should dominate the flyer design.
Fonts also matter; using official brand fonts helps maintain consistency. Adding a tagline or slogan can further strengthen brand messaging.
Finalizing the Layout
The layout is the final touch that can elevate a flyer from good to great. Ensuring that text and images are well-aligned and balanced is essential.
Start by arranging elements in a way that guides the reader from the headline to the call to action. Leaving enough white space between elements can prevent a cluttered appearance.
Lastly, proofread the flyer for any errors. A clean, error-free design leaves a professional impression and boosts credibility.
Exporting and Sharing Your Flyer
After creating a custom sales flyer in Pixlr, it’s time to export and share your work.
This step helps the flyer reach its audience effectively.
To export the flyer, follow these simple steps:
- Click on File in the menu.
- Select Export As.
- Choose the desired file format (JPEG, PNG, etc.).
The recommended formats are JPEG for photos and PNG for graphics with transparency.
Once the flyer is exported, sharing is easy. You can:
- Email the flyer directly to potential customers.
- Post it on social media platforms like Facebook or Instagram.
- Print copies to distribute physically.
When sharing online, add engaging captions to attract attention. Using hashtags related to the business can also help reach a wider audience.
If needed, use services like Google Drive or Dropbox to store the flyer and share a link.
This allows others to view or download the flyer easily without cluttering their inboxes.