Creating eye-catching posters for festivals can elevate any event. Using PicMonkey, anyone can easily design custom event posters that stand out and capture attention.
With user-friendly tools at their fingertips, organizers can bring their vision to life without needing extensive design skills.
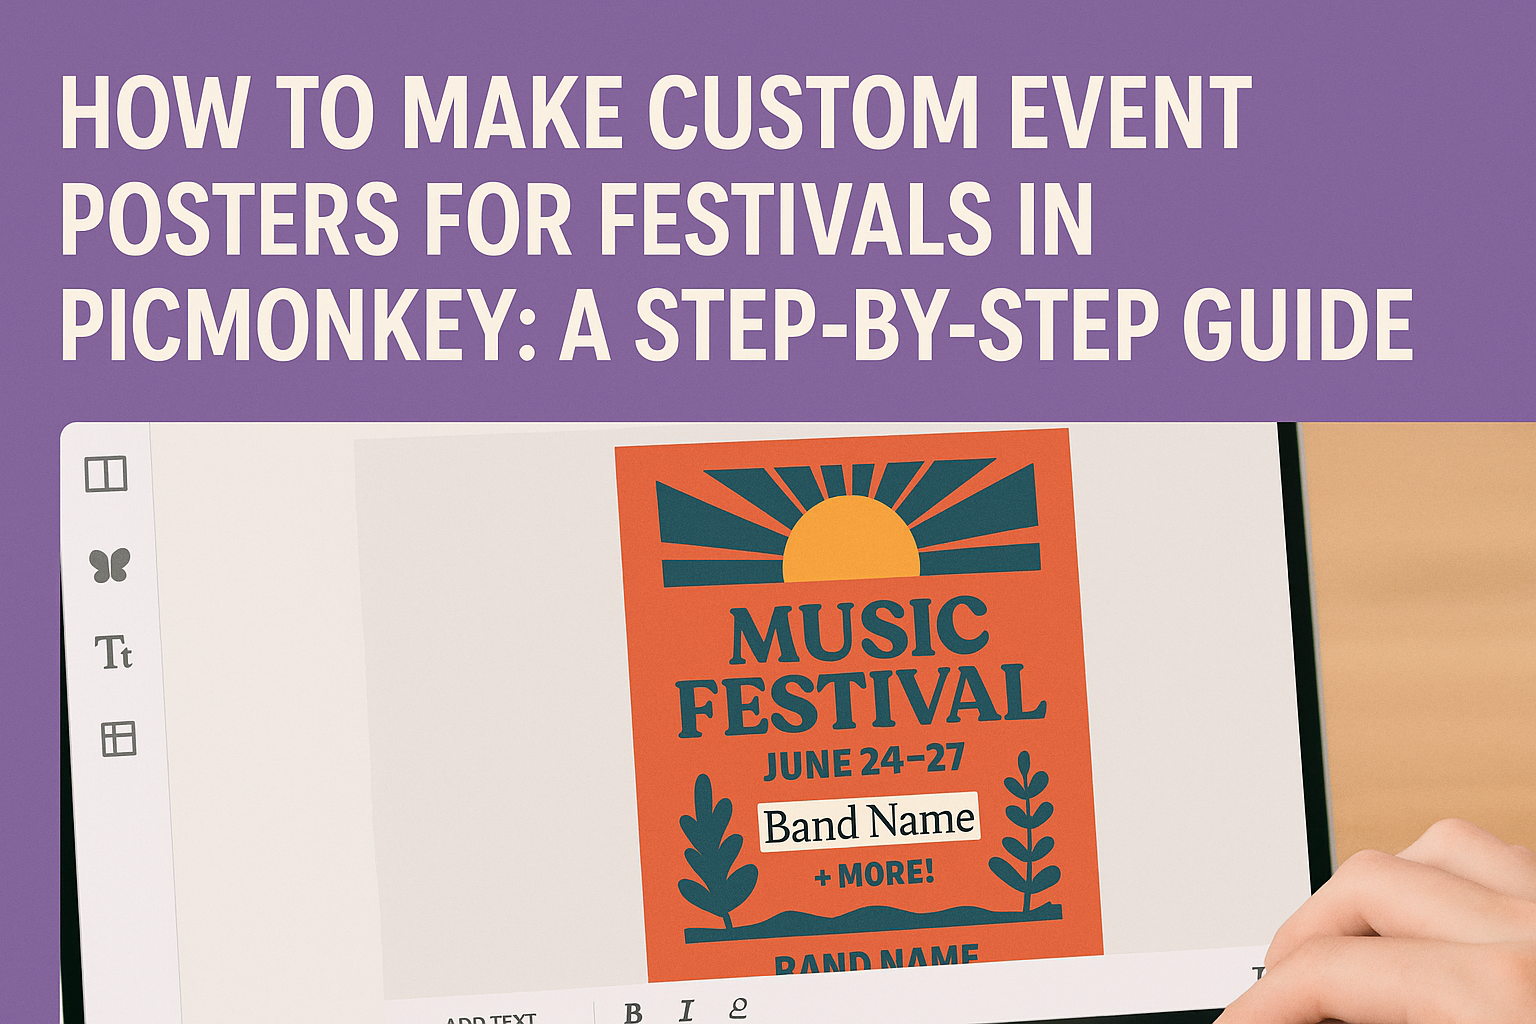
PicMonkey offers a variety of templates and customization options, making it simple to add personal touches. Adding unique images, fonts, and colors lets festival themes shine through.
This freedom encourages creativity and helps create posters that not only inform but also excite potential attendees.
Whether for a music festival, art fair, or local event, well-designed posters can boost interest and attendance. Crafting the perfect poster takes just a few steps, and the results can be stunning with the right approach.
Getting Started with PicMonkey
To create custom event posters in PicMonkey, one must first set up an account and learn to navigate the platform.
PicMonkey provides various tools and features that make designing posters simple and fun.
Creating Your Account and Navigating the Interface
Creating an account on PicMonkey is easy. Users can sign up with an email address, or link their Google or Facebook accounts for quick access.
Once logged in, they will arrive at the dashboard, where they can start a new project or choose a template.
The interface is user-friendly, with clear sections for design options. The left sidebar contains tools for adding text, images, and graphics. The top menu offers options for saving, sharing, and editing projects.
Users can explore different templates specifically made for events to kickstart their design.
Understanding PicMonkey’s Tools and Features
PicMonkey offers a variety of tools that enhance the design process. The photo editor allows for quick adjustments, such as cropping or changing brightness.
Users can also access a library of fonts and graphics to personalize their posters.
Templates designed for events give a great starting point. From colorful backgrounds to pre-set layouts, these can be customized according to the user’s needs.
Additionally, PicMonkey supports layers, making it easy to arrange elements on the poster effectively.
Users can save their work in different formats, including PNG and JPG, perfect for printing or sharing online. With these tools, creating stunning posters becomes an enjoyable experience.
Designing Your Event Poster
Creating a custom event poster involves selecting a fitting template, personalizing text and fonts, adding attractive images, and applying effects. These elements come together to make a poster that stands out and draws attention.
Choosing the Right Template
Selecting the right template is crucial for an effective event poster. PicMonkey offers a variety of templates tailored for different events, from music festivals to community fairs.
When choosing a template, consider the theme of the event. Is it fun and vibrant, or more formal? Align the template design with the event’s personality.
Users can easily filter templates by category, making it simpler to find the perfect fit. Look for customizable options to ensure a unique look tailored to the specific event.
Customizing with Text and Fonts
Text plays a significant role in conveying information on a poster. Important details such as the event name, date, location, and time must be clear and easy to read. Users should use bold fonts for headings to grab attention.
In PicMonkey, numerous font styles are available. Mixing two or three complementary fonts can create a visually appealing hierarchy.
For instance, using a bold font for the event name alongside a simpler font for the details balances readability with style.
Colors should match the event’s theme. Ensure there is sufficient contrast between the text and background to keep it legible from a distance.
Adding Images and Graphics
Images and graphics are key to making an event poster visually appealing. PicMonkey allows users to upload their own images or choose from a library of stock photos.
Selecting images that resonate with the event theme can enhance the poster’s message. For example, a music festival may feature images of musicians or instruments.
Users should also consider adding graphic elements, like shapes or icons, to highlight important information. This can help guide the viewer’s eye and make specific details stand out.
Utilizing Filters and Effects
To give the poster a professional touch, users can apply filters and effects in PicMonkey.
Filters can change the mood of an image, making it brighter, softer, or more vibrant.
Applying subtle effects, such as shadows or highlights, can add depth to the design. This makes text pop and draws attention to key features of the poster.
Experimenting with different combinations helps create a unique look. Users should remember to keep it balanced so that the design remains clear and engaging.
Finalizing and Sharing Your Poster
After completing the design, it’s time to ensure everything looks perfect before sharing it with the world. Key steps include reviewing the design for any errors, choosing the right exporting and printing options, and planning how to share the poster on social media and other platforms.
Reviewing Your Design
In this step, attention to detail is crucial. The designer should look for spelling errors, alignment issues, and image quality. Checking the color scheme is also important; colors should be vibrant and match the event theme.
Working with a checklist can be helpful. Here are some items to consider:
- Text Accuracy: Ensure all names, dates, and locations are correct.
- Visual Balance: Look for even spacing among elements.
- Images: Confirm that they are high resolution.
Once everything checks out, the designer can feel confident moving forward.
Exporting and Printing Options
Choosing the right file format for exporting is essential for quality. Common formats include PNG for digital use and PDF for printing. Each format serves different needs.
When it comes to printing, select the right paper type and finish. Glossy finishes are popular for vibrant colors, while matte finishes can give a more sophisticated look.
Consider local print shops for convenience or online services for a wider range of options.
Before finalizing, verify the size specifications. A 24″x36″ poster requires different considerations than an 8.5″x11″.
Sharing on Social Media and Beyond
Once the poster is finalized, it’s time to get the word out.
Social media platforms like Facebook, Instagram, and Twitter are ideal for sharing event posters. They allow for wider reach and engagement.
When posting, include relevant hashtags to target the right audience.
For example, using hashtags like #festival2024 or #youreventname can help.
Additionally, consider creating a Facebook event page or sharing the poster in community groups.
Email marketing is another effective way to reach out, especially to loyal attendees.
Using these methods, the designer can successfully share the event and generate excitement!