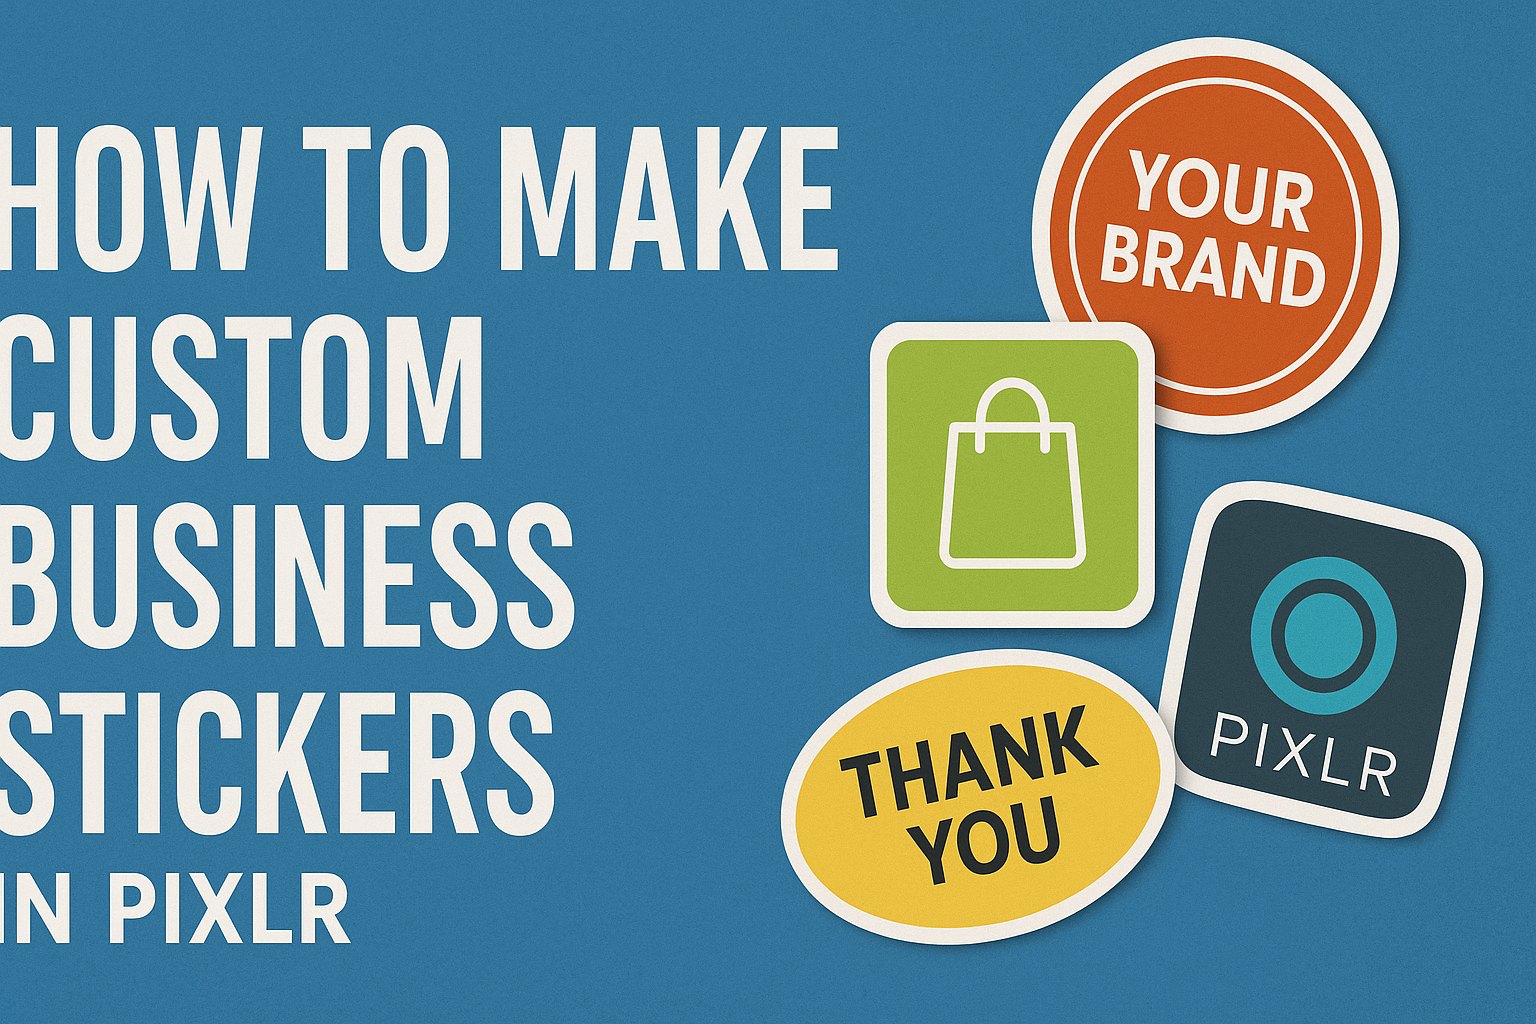
Creating custom business stickers can be a fun way to promote a brand or product. With tools like Pixlr, anyone can design unique stickers that stand out.
Making stickers in Pixlr is easy, allowing users to unleash their creativity while keeping the design process simple.
In this blog post, readers will learn the step-by-step process for creating eye-catching stickers. From choosing the right elements to adding personal touches, each step helps bring their vision to life.
By using the features Pixlr offers, designers can create professional-looking stickers without needing advanced skills.
Whether for labeling products or enhancing marketing materials, custom stickers can leave a lasting impression. With just a few clicks, anyone can make stickers that reflect their personal style or brand message.
Understanding Sticker Design Basics
Creating custom business stickers involves several key design concepts. By focusing on color, typography, and graphics, a designer can effectively communicate their message and enhance brand identity.
Color Theory Fundamentals
Colors play a crucial role in sticker design. They can evoke emotions and set the tone for a brand. Understanding color theory helps in choosing the right colors for a design.
- Primary Colors: Red, blue, and yellow.
- Secondary Colors: Green, orange, and purple, made by mixing primary colors.
- Complementary Colors: Colors opposite each other on the color wheel, providing contrast.
By using a harmonious color palette, designers can ensure that their stickers stand out while aligning with brand values. For instance, blue often conveys trust, while red can evoke excitement.
Typography and Readability
Typography is essential for effective communication. The choice of font affects how the message is received.
- Font Selection: Choose a font style that matches the brand’s personality.
- Hierarchy: Use different font sizes to highlight important information.
- Spacing: Ensure proper spacing between letters and lines for clarity.
A well-designed sticker should have its text clearly visible. This makes it easier for customers to read and understand the message quickly.
Graphics and Branding
Graphics strengthen brand identity. They should align with the overall brand image and effectively convey the intended message.
- Logos: Include a logo on the sticker for immediate brand recognition.
- Images: Use relevant images that support the brand message and appeal to the target audience.
- Simplicity: Keep graphics simple to avoid clutter.
A visually appealing design that reflects the brand will attract attention and enhance customer engagement.
Getting Started With Pixlr
Pixlr provides an easy and friendly platform to create custom business stickers. Knowing how to set up the canvas, navigate the interface, and select the right tools is essential for a smooth design process.
Setting Up Your Canvas
To start, the user should open Pixlr’s editor. They can choose between Pixlr E for more advanced editing and Pixlr X for quick edits.
After selecting the editor, the user will need to create a new project.
It’s important to set the canvas size based on where the sticker will be used. A typical size could be 3 inches by 3 inches or 4 inches by 6 inches, depending on their needs.
Once the dimensions are set, the background can be customized or kept transparent for stickers that will be placed on different surfaces.
Navigating the Pixlr Interface
The Pixlr interface is designed to be user-friendly while providing powerful editing tools. On the left side, there are tools for selection, drawing, and adding text. The right side shows layers, styles, and history.
To access additional features, the user can explore the menu at the top. This includes options for file creation, image adjustments, and exporting designs.
Familiarizing oneself with shortcuts can also make navigating the interface more efficient and enjoyable.
Selecting the Right Tools for Stickers
Choosing the right tools is key to designing eye-catching stickers. The brush tool is great for adding custom designs. The shape tool can help create perfect circles and squares for sticker backgrounds.
Text tools allow for adding business names or slogans, which can be customized in different fonts and sizes.
Users should also explore the effects library for filters and textures to make their stickers unique.
Lastly, it’s important to save the design regularly. This prevents any loss of work and allows for easy changes later. Pixlr helps ensure that the sticker-making process is not only quick but also fun.
Creating Your Custom Sticker
To create a custom sticker in Pixlr, one must focus on adding text and visuals, organizing layers, and applying effects. These steps can greatly enhance a sticker’s appeal and effectiveness for business needs.
Adding Text and Visual Elements
To start, users can select the text tool to add catchy phrases or slogans. Choosing the right font and size is essential for readability. Pixlr offers numerous font styles to fit various brand identities.
Next, incorporate visual elements such as logos or images. Users can upload files or access built-in graphics. The use of illustrations can make stickers more eye-catching.
Maintaining a balance between text and visuals will ensure that the design is engaging yet not overcrowded.
Layering and Organizing Your Design
Organizing layers is crucial in creating an effective sticker. Users can arrange elements by sending layers forward or backward. This feature allows for a seamless flow of design elements, making it easy to edit any part of the sticker later.
Grouping similar layers helps keep the design organized. Users can label each layer for better clarity. This practice is particularly helpful when working with complex designs that involve multiple elements.
Applying Effects and Filters
Effects and filters are simple yet powerful tools for enhancing stickers. Pixlr provides various options, from shadows to glows, to make elements pop.
Applying a glow effect around text, for example, can make it stand out.
Filters can change the overall look of the sticker. Experimenting with different filters can give a unique touch that resonates with the brand’s identity.
Users should always preview the sticker with effects applied to ensure it aligns with their vision.
Finalizing and Exporting Your Stickers
When completing sticker designs in Pixlr, attention to detail is crucial. Ensuring the right resolution and dimensions is key to achieving high-quality prints, along with knowing how to export files correctly for different uses.
Checking Resolutions and Dimensions
Before finalizing any sticker, it’s important to check both the resolution and dimensions.
A good rule of thumb is to set the resolution to 300 DPI (dots per inch) for print quality. This ensures that the stickers will appear sharp and professional.
Dimensions should match the desired size of the stickers. For example, if the final sticker size is 3 inches by 3 inches, set the dimensions in Pixlr accordingly. This helps avoid any surprises during printing.
Taking a moment to review these specifications prevents costly mistakes down the line. Adjustments can be made easily in Pixlr to guarantee that the final product looks just as envisioned.
Exporting for Print and Digital Use
Once everything looks set, it’s time to export the stickers.
For print, save the design in a PNG or PDF format. These formats retain the quality needed for printing and support transparency if needed.
For digital use, exporting as a JPEG is often suitable. JPEG files compress the image, making them easier to upload online but can lose some quality.
Additionally, always check the size of the file. Smaller file sizes are better for web use without compromising too much on quality.