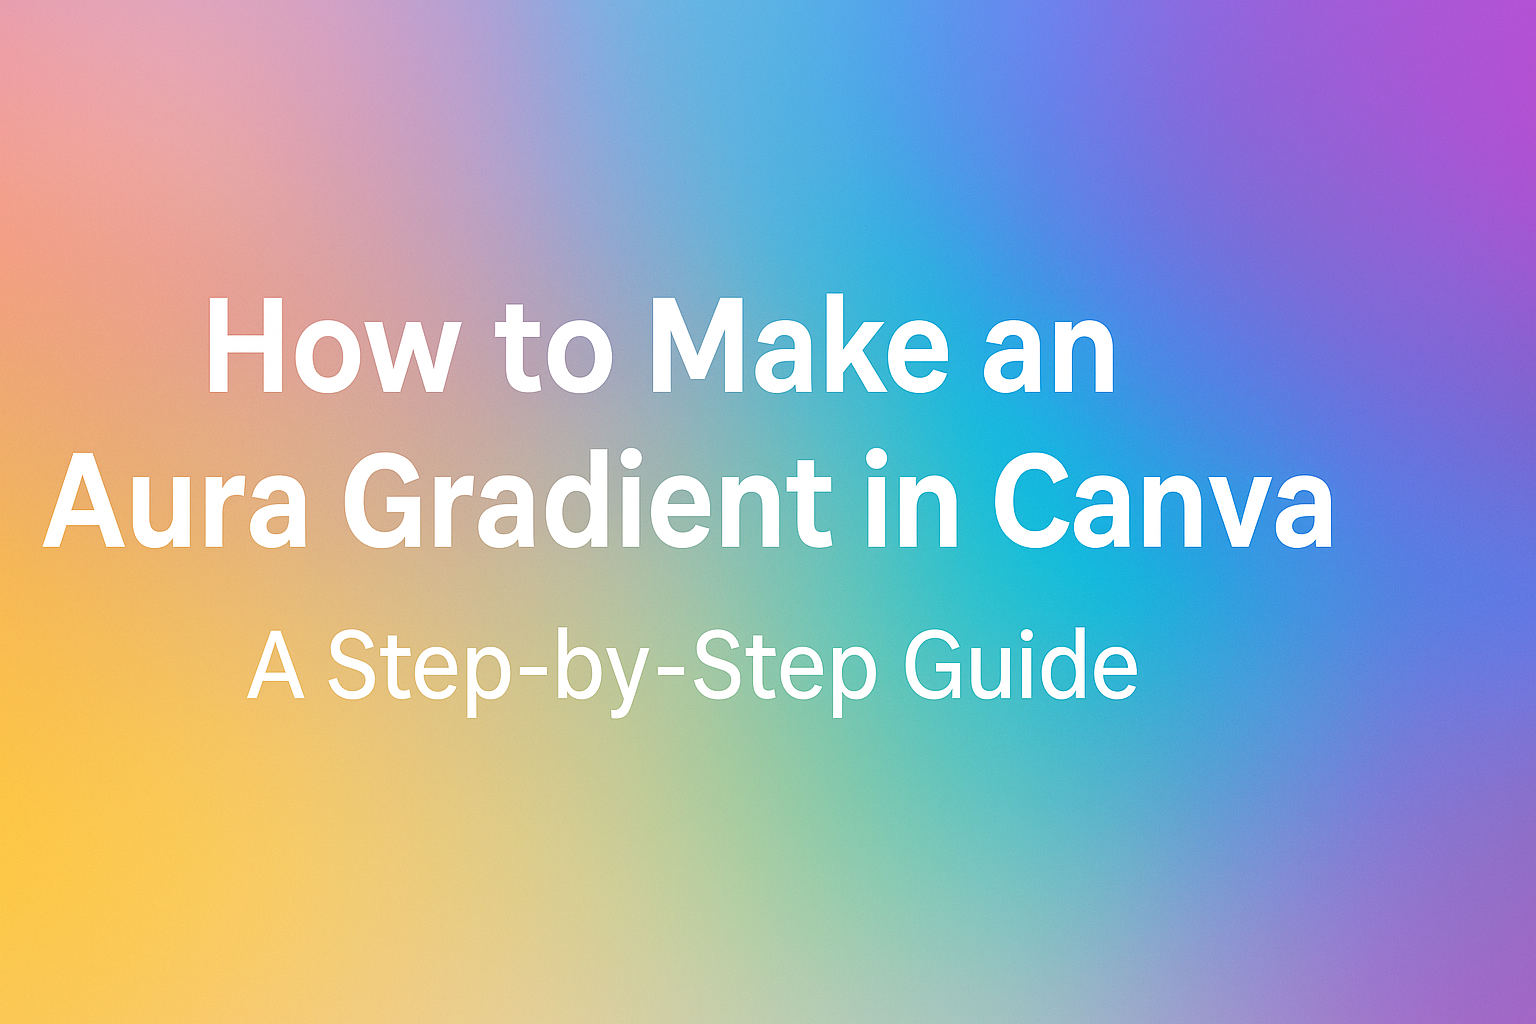
Creating an eye-catching design can elevate any project, and knowing how to make an aura gradient in Canva can add a unique touch. This technique allows users to blend colors seamlessly, giving text or objects a glowing effect that stands out. With just a few simple steps, anyone can transform their designs into visually stunning pieces.
Canva provides a user-friendly platform perfect for beginners and experienced designers alike. By using the “Glow” effect within the “Effects” tab, users can achieve that sought-after aura look.
With some experimentation with colors and opacity, the possibilities are endless.
This guide will walk through the steps to create an aura gradient, making it easy to enhance any design. Readers will find valuable tips to ensure their creations not only capture attention but also reflect their personal style.
Getting Started with Canva
Canva is a user-friendly graphic design tool that anyone can use to create stunning visuals. With its simple layout and various features, getting started is easy and fun.
Creating a New Design
To begin, a user must log into their Canva account.
Once logged in, they can choose the type of design they want to create. Options include presentations, posters, social media graphics, and more.
After selecting a design type, the user will see a variety of templates. These templates can be customized, making design work quicker.
Users can click on a template they like and start editing immediately. For those looking for a blank canvas, they can select the “Create a design” button and choose their own dimensions.
Navigating the Canva Interface
The Canva interface is designed to be intuitive and friendly. On the left side, users will find a menu with various options like “Templates,” “Elements,” and “Uploads.”
The central area shows the design workspace where the user can drag and drop items. At the top, there are tools for editing, including text options, color choices, and layering tools.
Familiarizing oneself with these elements makes the design process smoother.
The search bar at the top can also be handy for finding specific graphics or images quickly. Once comfortable, users can explore more advanced features like animations and effects.
Understanding the Gradient Tool
The Gradient Tool in Canva helps users create smooth transitions between colors. Whether it’s for a background or an element, understanding how to use it can enhance designs significantly.
The Basics of Gradients
Gradients are gradual blends from one color to another. They add depth and interest to designs. In Canva, users can easily customize gradients to fit their project needs.
To create a gradient, select an element and go to the color options. Users will find the gradient color picker, which allows for selecting different colors and adjusting their positions.
Gradients can be linear or radial, giving designers flexibility.
A linear gradient transitions colors in a straight line, while a radial gradient radiates from a central point. Understanding these basics lays the foundation for more complex designs.
Types of Gradients Available
Canva offers various gradient types to suit different design styles. Users can choose from simple color transitions to more complex patterns.
-
Linear Gradients: These are the most common type. They blend colors in a straight line, making them ideal for backgrounds and banners.
-
Radial Gradients: These start from a central point and move outward. They are perfect for creating a glowing effect around text or objects.
-
Angular Gradients: These rotate colors around a point, adding dynamic flair to designs.
By knowing these types, users can select the right gradient style to enhance their projects effectively. This understanding makes it easier to create visually appealing graphics.
Creating an Aura Gradient
Creating an aura gradient in Canva involves selecting the right colors, adjusting the gradient directions, and setting the mood effectively. Each step plays a crucial role in achieving a captivating visual effect.
Choosing the Right Colors
Selecting colors for an aura gradient is fundamental. Bright and vibrant colors, like blues, purples, and pinks, can create a lively aura. Pastel shades may provide a softer, calming effect.
Using the color wheel in Canva can help visualize how colors interact. Consider complementary colors to create balance.
For instance, pairing teal with coral can yield a stunning look. Use the “Effects” tab to apply the glow feature, which enhances the colors and adds depth.
Experimenting with different color combinations will help achieve a unique aura that suits the design intent.
Adjusting Gradient Directions
Once colors are chosen, adjusting the gradient directions is next. In Canva, users can shift the gradient to different angles, which influences how the colors blend.
Typically, gradients can flow from top to bottom or from one side to another.
To change the direction, select the object and go to the gradient tool. Users can move the slider to set the angle they prefer.
For an inviting feel, a soft diagonal gradient is effective. A bold horizontal gradient can add drama. Adjusting the direction helps in emphasizing certain elements in the design.
Setting the Mood with Your Gradient
The mood set by an aura gradient can enhance the overall feel of the design. Different colors evoke various emotions—warm tones like yellows and oranges inspire energy, while cooler tones convey tranquility.
To set the mood, consider the theme of the project. If it’s playful, bright colors work best. For an elegant look, use muted colors with a subtle glow.
Opacity levels play a significant role, too. A higher opacity can create intensity, while lower levels feel airy and light.
Experimenting with these settings allows for the creation of a gradient that truly represents the desired mood.
Applying Your Aura Gradient
Applying an aura gradient in Canva can enhance the overall look of both text and layouts. This section covers how to effectively add text over your gradient and use gradients in various design layouts.
Adding Text Over Your Gradient
To add text over an aura gradient, the first step is to select the text box where you want the text to appear.
Once selected, ensure the gradient is visible beneath the text.
Using a contrasting color for the text helps it stand out. For example, if the gradient is bright, a dark font color will be more legible.
In Canva, users can adjust text opacity to merge it subtly with the background. This technique helps create a cohesive look.
Utilize effects like shadow or outline to further enhance visibility. Always preview the result to ensure that the text remains clear and attractive.
Using Gradients in Layouts
Gradients can transform the look of layouts in Canva. They add depth and interest to backgrounds or frames.
When creating a layout, select the area you want to fill with a gradient.
Click the “Fill” button, then choose “Gradient” from the options.
Users can customize the colors and direction of the gradient to match their design goals.
In layouts, gradients can also be used in shapes or borders. This approach adds a dynamic element to the design.
For effective results, it’s beneficial to balance gradients with other design elements. This ensures that the layout feels harmonious and engaging without becoming overpowering.