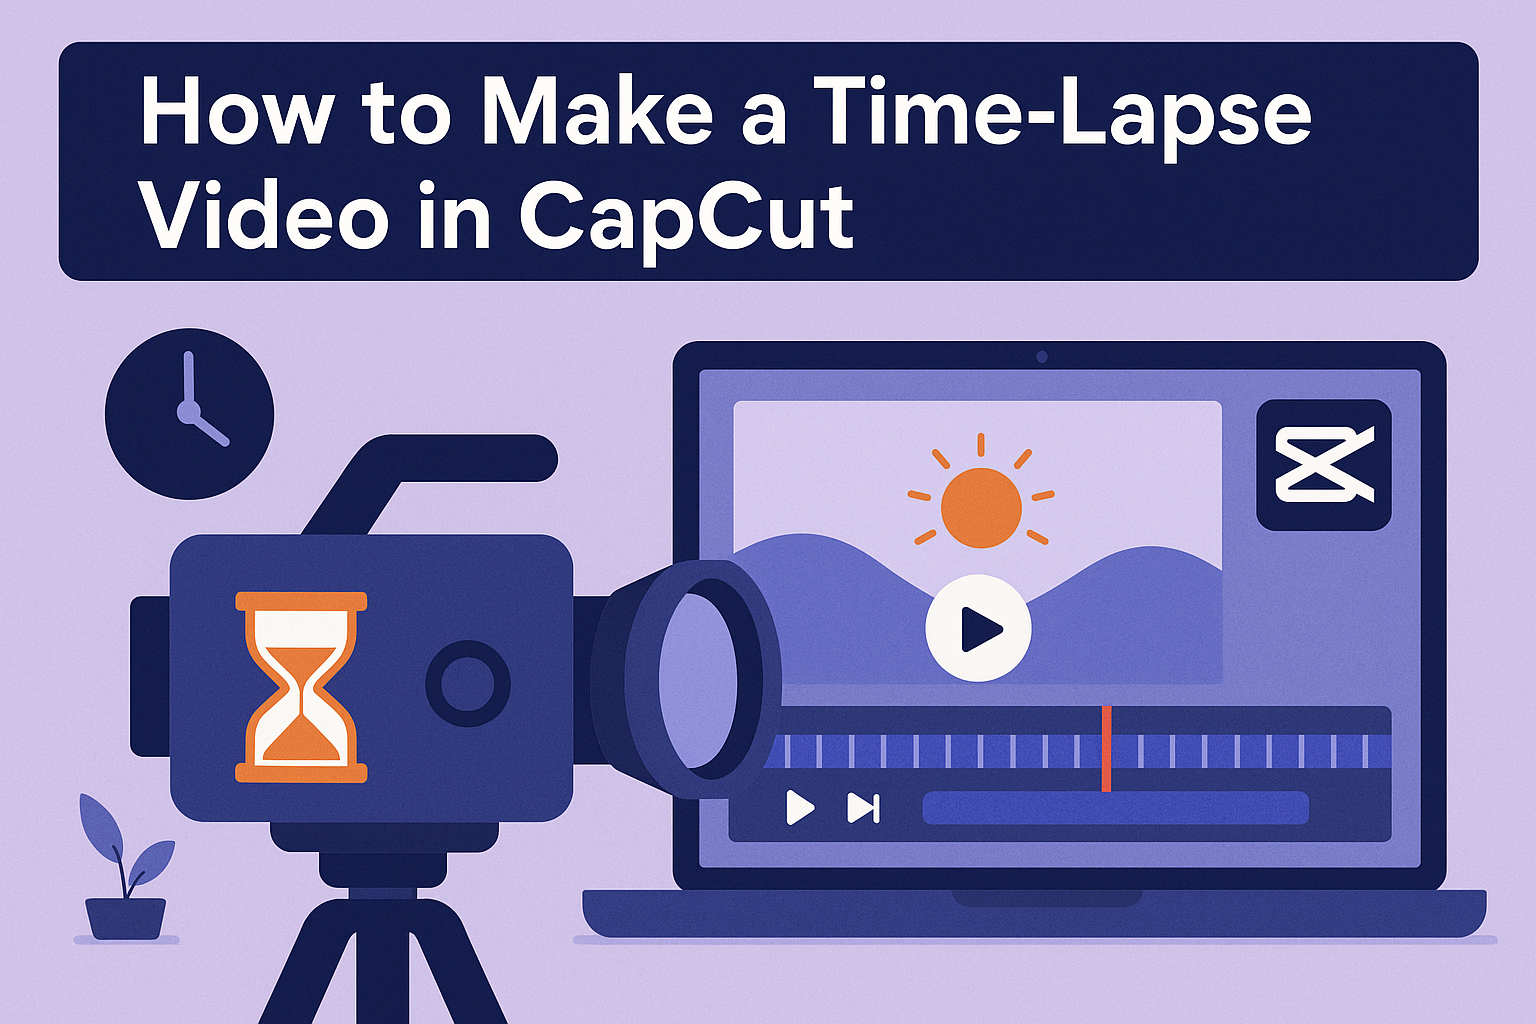
Creating a time-lapse video can transform ordinary moments into exciting visual stories. To make a time-lapse video in CapCut, users can easily adjust the speed of their footage to condense time and capture changes in a creative way. This feature makes it simple for anyone to showcase the passage of time, from blooming flowers to bustling cityscapes.
CapCut offers a user-friendly interface, allowing both beginners and experienced editors to bring their ideas to life. By following a few straightforward steps, they can produce stunning videos that engage and entertain. With the right techniques, even short clips can become captivating time-lapse sequences that draw viewers in.
Understanding Time-Lapse
Time-lapse is a technique that shows changes over time in a short video. It captures images at set intervals and plays them back at a faster speed. This method allows viewers to see gradual processes quickly and clearly.
Common subjects for time-lapse videos include nature scenes, cityscapes, and construction projects. These videos highlight transformations that would normally take hours or days in just a few seconds.
Creating a time-lapse video is fun and straightforward. It involves:
- Setting up the camera: Choose a stable spot to avoid shaky footage.
- Choosing the right interval: Decide how often to take pictures. Shorter intervals capture quicker changes.
- Editing the video: Use software like CapCut to speed up the footage and add effects.
Using CapCut for time-lapse can enhance the final product. It provides tools to adjust speed, cut unwanted parts, and improve overall quality. Having a clear plan can make the process easier and more enjoyable.
Time-lapse videos engage viewers and can convey emotions and stories effectively. They also serve as a creative way to showcase personal projects or travels.
Getting Started with CapCut
CapCut is a user-friendly video editing app that makes creating videos fun. To get started, users need to download CapCut. It is available on both mobile devices and PCs.
Once installed, open the app to explore its features. The main screen shows options like New Project, Templates, and Editing Tools.
For creating videos, select New Project. Users can then import their video clips and photos from their device. Drag and drop the files they want to use for their time-lapse video.
Next, it’s essential to understand the editing tools. CapCut offers a variety of options. Some useful tools include:
- Speed Control: Adjust how fast or slow the video plays.
- Filters: Enhance the visual style of videos.
- Text Options: Add titles or captions.
After editing, users can preview their work. This feature helps to check for any adjustments needed. Once satisfied, they can export the video directly to their device or share it on social media.
Overall, getting started with CapCut is simple. With its intuitive layout and helpful features, anyone can create engaging time-lapse videos with ease!
Preparing Your Project
Before starting a time-lapse video in CapCut, it’s essential to get your project ready. This involves creating the right environment and planning how the shots will be captured. Successful preparation sets the foundation for a great video.
Setting the Scene
Choosing the right setting is crucial for any time-lapse project. Look for areas that show change over time, like a sunset, blooming flowers, or busy streets. Lighting plays a significant role, so consider filming during golden hour for the best results.
Make sure the scene is stable, especially if filming outdoors. Select a sturdy tripod to minimize camera shake. Additionally, keep distractions to a minimum. Ensure that your chosen location is safe and free from interruptions.
Planning Your Shots
Planning helps visualize the final outcome. Decide how long you want to film and what time interval between shots you’ll use. Commonly, capturing one frame every few seconds or minutes works well for activities that change slowly.
Create a shot list to stay organized. Include different angles and perspectives to provide variety. It can also be beneficial to do a test shot to check if the framing and focus look good. Take these steps to ensure each shot flows seamlessly into the next.
Importing Your Footage
Importing footage into CapCut is a crucial step in creating a time-lapse video. Properly selecting and organizing your clips will streamline the editing process and help realize the desired outcome.
Selecting Video Clips
To select video clips, open CapCut and choose the project where the time-lapse will be created. He can tap on the “+” icon to access the library. Videos can be imported directly from the device’s gallery.
It’s best to choose clips that show significant changes over time, like a sunset or a busy street. They should be long enough to have enough frames for a smooth time-lapse effect. Depending on the project, it might help to select clips that were filmed at consistent intervals.
Using a mix of different clips can also add interest to the final video.
Organizing Clips
After selecting the clips, they need to be organized for easy access. He can rename each clip to reflect its content, which simplifies locating them during editing. Creating folders based on themes or timeframes will help keep everything sorted.
It’s also beneficial to arrange the clips in the order they will appear in the final video. This can be done by simply dragging and dropping clips into the desired sequence.
Maintaining a clear organization helps prevent confusion and can save time during the editing phase. Proper organization sets the groundwork for a smoother editing process in CapCut.
Creating the Time-Lapse
Creating a time-lapse video involves several key steps. Adjusting speed settings, applying transitions, and adding music and sound effects will enhance the overall look and feel of the final product.
Adjusting Speed Settings
To start, the speed settings are critical for achieving the desired time-lapse effect. In CapCut, users can easily modify the speed of their video clips.
- Select the Clip: Tap on the video clip in the timeline.
- Adjust Speed: Look for the speed settings option. Users can increase the speed to make time appear to pass quickly. Setting the speed to around 2x to 10x is common, depending on the effect desired.
- Preview Changes: After adjustment, it’s essential to preview the video. This helps ensure that the time-lapse effect meets expectations.
Fine-tuning the speed can significantly change how viewers perceive the video.
Applying Transitions
Adding transitions can make a video feel smoother and more professional. CapCut provides a variety of transition effects that can be applied between clips.
- Select Transitions: After trimming clips, users can add transitions. Navigate to the transitions menu in CapCut.
- Choose Effect: Selecting a subtle fade or swipe can enhance continuity without being too distracting. Less is often more when it comes to transitions.
- Set Timing: Adjust the duration of the transitions to match the pace of the time-lapse. A quick transition can keep the energy high.
These transitions help connect different parts of the video seamlessly.
Adding Music and Sound Effects
Music and sound effects can bring a time-lapse video to life. Choosing the right audio can enhance emotions and engagement.
- Select Music: CapCut allows users to browse various tracks. Picking an upbeat song often complements the visuals effectively.
- Layer Sound Effects: Users can add sound effects that match visual changes. For example, nature sounds can accentuate outdoor time-lapses.
- Adjust Volume: It’s vital to balance music volume with the video. Lowering background music can help important moments stand out.
Thoughtful audio choices make the time-lapse more immersive.
Editing for Impact
Editing a time-lapse video can enhance its storytelling and visual appeal. Key techniques like color correction, adding text, and utilizing filters can transform a simple video into something captivating.
Color Correction
Color correction is essential for a polished final product. It helps adjust the brightness, contrast, and saturation to create a more vibrant look.
Using CapCut, users can access color adjustment tools easily. They can fine-tune the brightness to enhance visibility and correct any dull colors. Increasing saturation can make colors pop, giving the video a lively feel.
The temperature can also be adjusted to create the right mood. A warmer tone may evoke feelings of warmth, while cooler tones can create a calming effect.
Experimenting with these settings will result in stunning visuals that engage viewers.
Adding Text and Titles
Text and titles provide clarity and context to the time-lapse video. CapCut offers options to insert text that can highlight important moments or convey messages.
Choosing the right font is essential. It should be legible and match the video’s style. Users can select different sizes, colors, and placements to ensure that the text stands out.
Incorporating subtitles can also be beneficial, especially if the video explains a process. This adds an informative layer and helps viewers follow along easily.
Adding animations or transitions to the text can create a more dynamic presentation. Simple fade-ins or slide-ins can catch the viewer’s eye without being distracting.
Utilizing Filters and Effects
Filters and effects can dramatically change the look of a time-lapse video. CapCut includes a variety of filters that can be applied for different moods and aesthetics.
For example, a vintage filter can give a nostalgic feel, while a bright filter can energize the scene. Users can explore different options to find what suits their video best.
Special effects like slow-motion or speed ramps can emphasize particular moments. These can add drama and keep viewers engaged.
Additionally, CapCut allows layering effects to create a unique visual experience. Mixing multiple effects can enhance the theme and storytelling of the time-lapse video.
Exporting Your Video
After creating a time-lapse video in CapCut, exporting it is the final step. It is important to choose the right format and set the appropriate resolution and frame rate. These settings will determine how the video looks and performs across different platforms.
Choosing the Right Format
When exporting, users can select from several formats. The most common formats include MP4, MOV, and AVI.
- MP4: This is the most widely used format. It offers a good balance of quality and file size, making it ideal for sharing online.
- MOV: This format is popular for high-quality videos, especially for Mac users. It provides excellent quality but may result in larger file sizes.
- AVI: While this format offers high quality, it usually leads to larger files and is not as compatible with all platforms.
Choosing the appropriate format helps optimize video playback on different devices.
Setting Resolution and Frame Rate
Resolution determines the clarity of the video. CapCut allows users to select from common resolutions like 720p, 1080p, and 4K.
- 720p: Suitable for quick uploads and lower-end devices.
- 1080p: The standard choice for high-quality video.
- 4K: Best for professional quality, but results in larger file sizes.
Frame rate comes next. Standard options include 24, 30, and 60 frames per second (fps). A higher frame rate can provide smoother motion, but it also increases the file size.
Choosing the right settings will enhance how viewers experience the time-lapse video.
Sharing Your Time-Lapse
Once a time-lapse video is created in CapCut, sharing it with others is an exciting next step. Users have options to share directly to social media or save the video locally for personal use.
Directly to Social Media
CapCut makes sharing easy by allowing users to post their videos directly to various social media platforms. After finishing the time-lapse, they should tap the Export button, which often appears in the top right corner.
Once exported, options will pop up for social media platforms like Instagram, TikTok, and YouTube. Users can choose any platform, and after selecting it, the app will guide them through the posting process.
They can add captions, tags, and even choose a cover image before finalizing the post. This step helps share creativity quickly and efficiently.
Saving Locally
If users prefer to keep their time-lapse videos on their device, saving locally is straightforward. After exporting the video, they will see an option to Save to Gallery.
This feature enables users to store the video directly on their device. Once saved, it can be found in the gallery app along with other media files.
From there, users can edit, share via messaging apps, or upload it later to social media.