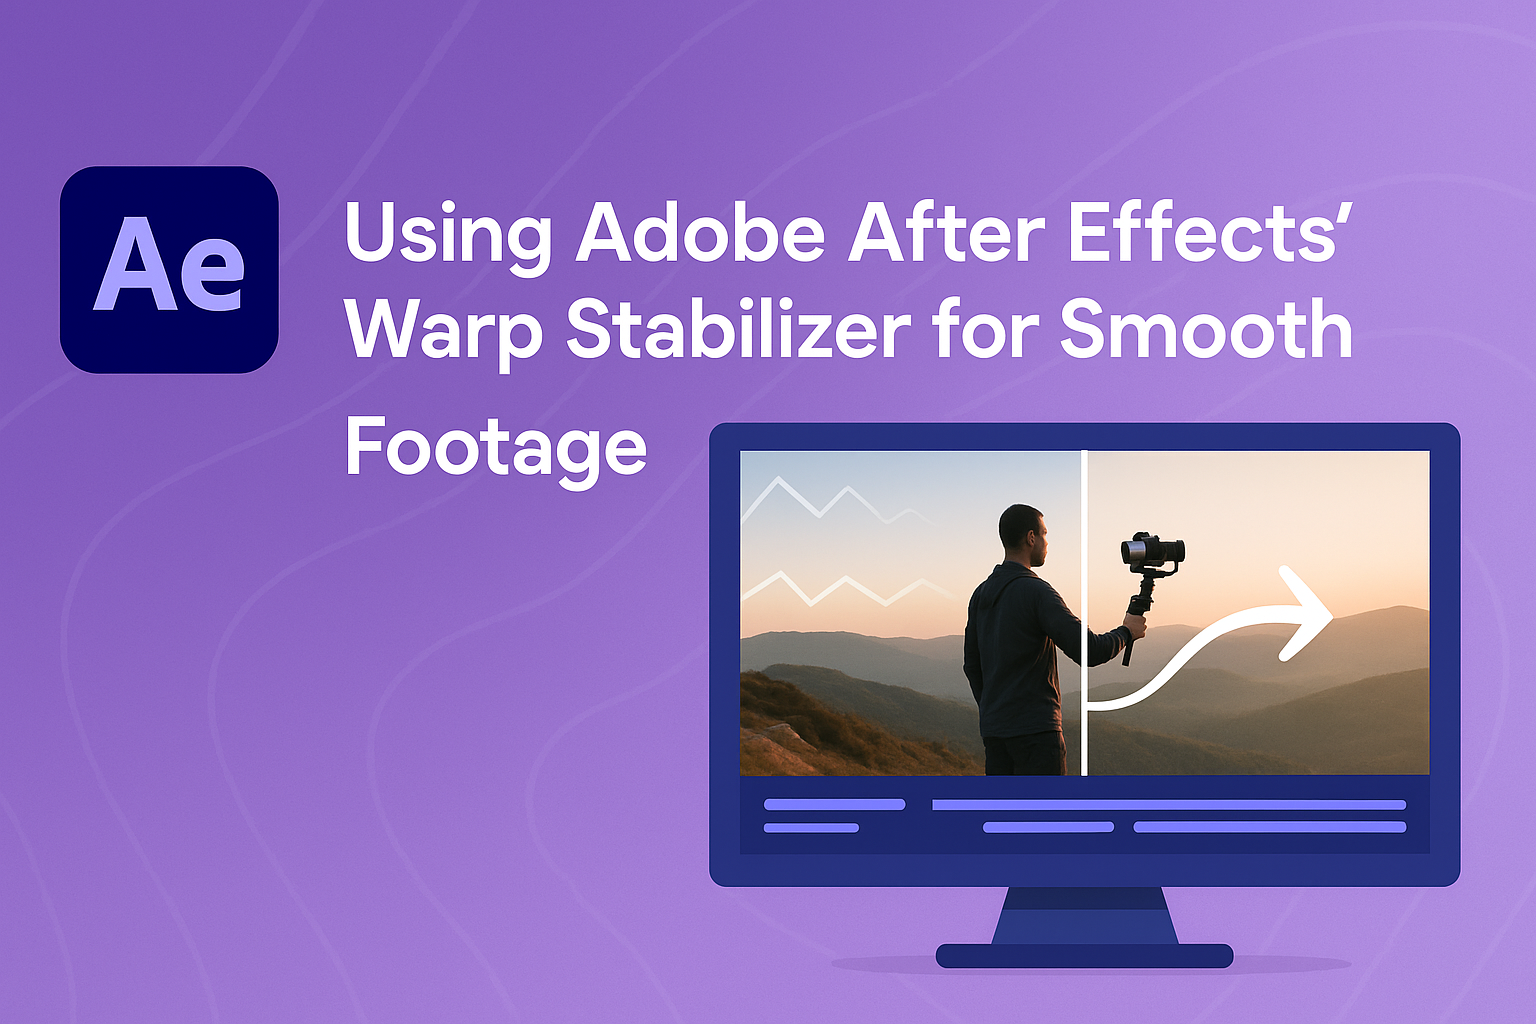
Making sure your video is steady is important for creating high-quality content. Adobe After Effects offers the Warp Stabilizer feature that helps smooth out footage that might otherwise appear shaky. The Warp Stabilizer automatically removes unwanted jitters from your video, providing a calmer viewing experience.
This tool can analyze your footage and apply tracking data to reduce the shaky effect. It’s helpful for both professional filmmakers and casual creators who want to improve the quality of their videos. For those looking to integrate more complex visual effects, using the Stabilize Motion toolset offers additional options.
While Warp Stabilizer is powerful, there are moments when it may not be enough. If this happens, the tracker panel offers an alternative method to stabilize your footage. By understanding different features within After Effects, creators can elevate their video production to a new level, ensuring smooth and professional-looking scenes.
Basics of Adobe After Effects
Adobe After Effects is a powerful tool for creating visual effects and motion graphics. It allows users to manipulate video in a variety of ways, including stabilizing shaky footage, adding effects, and animating graphics.
Understanding the Workspace
The workspace in Adobe After Effects is where all the action happens. It’s made up of different panels that each serve a purpose. The Project Panel is where imported files live. This is where you’ll find all your source footage, audio files, and other elements you plan to use.
The Composition Panel shows a preview of your current project. It’s crucial for watching changes happen in real-time. The Timeline Panel is where you arrange your video and audio layers. Animation and effects are controlled here, making it central to any project.
The Tools Panel across the top includes buttons for commonly used actions, like selection, rotation, and text. Learning each panel’s specific role is key to using After Effects efficiently.
Importing and Organizing Footage
Importing footage into Adobe After Effects is usually done through the Project Panel. Users can drag and drop files directly or use the menu to select files from their device. This step is simple but crucial for starting any project.
Once imported, it’s important to organize the files for easy access. Creating folders within the Project Panel helps keep things tidy. For instance, you might have separate folders for video clips, images, and audio files.
Folders can be color-coded for quick identification. This level of organization streamlines the workflow and prevents confusion as the project progresses. Keeping everything organized saves time and reduces stress, especially as projects grow more complex.
Getting Started with Warp Stabilizer
To begin using the Warp Stabilizer in Adobe After Effects, follow the steps for applying the effect and let it analyze your footage. This will help in reducing the shakiness and give your video a smoother look.
Applying Warp Stabilizer Effect
First, import your footage into Adobe After Effects. Drag the video clip to the timeline to get started. Then, select the clip that needs stabilization.
Go to the Effects & Presets panel, and search for Warp Stabilizer. Clicking and dragging the effect onto your footage will apply it.
Look at your Effect Controls panel and see the Warp Stabilizer settings. By default, it may set some options like Smoothness and Method. You can adjust these settings depending on how much stabilization you want.
Using preview playback, check if the stabilization fits your needs. You may need to tweak the settings or even use different values, especially if the footage is very shaky.
Analyzing Footage
Once applied, the Warp Stabilizer begins analyzing the footage. The tracking process can take some time, particularly for longer videos, but it’s crucial for precise results.
As the analysis progresses, look at the progress bar in the Effects Controls panel. The software scans each frame to understand motion and apply adjustments.
Sometimes, the Warp Stabilizer will display warnings or errors if it detects too much movement. These notifications can guide you to make changes, like trimming the footage to improve stability.
Adjust analysis options if needed. For instance, try changing the Stabilization or Framing settings based on the issues encountered.
Deep Dive into Warp Stabilizer Settings
Using Warp Stabilizer in Adobe After Effects can greatly enhance the smoothness of video footage. It offers several settings that can be adjusted to suit different needs, such as selecting stabilization modes, managing frame borders, and tweaking advanced parameters for more control.
Stabilization Options
Warp Stabilizer provides a variety of stabilization modes. The Smooth Motion option adds subtle, fluid movements, while No Motion aims to remove all motion for a static result. By adjusting the Smoothness slider, users can control how much stabilization is applied. Higher values mean less movement. Each choice affects how the video appears, making it essential to pick the right method based on the footage.
The Method dropdown is crucial, with options like Position, Position, Scale, Rotation, and Subspace Warp. Position is basic, altering just the position of the frame. The other options add more complexity by changing the scale and rotation. Subspace Warp is the most advanced, analyzing individual pixels to achieve the highest level of stability, often suitable for complex footage.
Borders and Scaling
Managing borders is important for achieving clean, professional-looking stabilized footage. The Auto-scale feature lets After Effects automatically enlarge the footage to hide any moving edges caused by stabilization. Users can control this with the Framing options, including Stabilize Only, Stabilize, Crop, and Stabilize, Synthesize Edges. This helps decide how the frame handles any borders that might appear.
With Synthesize Edges, After Effects attempts to fill in the missing areas, providing a smooth edge by using pixels from nearby frames. This can work well when other methods show too many borders. The Crop Less (Smooth More) slider allows fine-tuning between cropping more of the image or maintaining smoother motion by cropping less.
Advanced Parameters
For those who need fine control, Advanced Parameters offer various settings. These include Detailed Analysis, which provides a more thorough examination of the footage for complex shots. Rolling Shutter Ripple adjusts for distortions common in CMOS sensors, especially when filming with certain cameras or fast-moving subjects.
The Additional Scale option lets users adjust the video scale beyond the initial stabilization scaling, offering extra flexibility. The Enhanced Reduction Ratio helps manage artifacts that sometimes appear after stabilization. It’s crucial to test these settings to get the best results without introducing unwanted visual changes.
Best Practices for Smooth Footage
Creating smooth footage involves careful planning and post-production. Preparation during filming and choosing the right stabilization method afterward are both crucial elements for achieving the best results.
Preparation and Filming Techniques
Before filming, it’s key to plan your shots. Using a tripod or a gimbal will help minimize camera shake from the start. When it’s not possible to use these tools, remind the camera operator to hold the camera close to their body and use both hands for added stability.
Lighting can also affect how shaky footage appears. Good lighting helps maintain focus and reduce apparent shake. Additionally, shooting at a higher frame rate allows for smoother slow-motion scenes, which can help mask smaller shakes.
Picking the right location for filming is crucial. Flat surfaces can help improve stability. If filming involves movement, plan the path to avoid sudden changes in direction. Being mindful of the filming environment can greatly contribute to steady footage.
Choosing the Right Stabilization Method
When stabilizing in post-production, Adobe After Effects offers multiple tools. The Warp Stabilizer is the most popular choice for many users. It analyzes footage and reduces motion, delivering a polished result.
The Stabilize Motion toolset provides alternative options. This tool provides both stabilized shots and 2D tracking data which can be useful for visual effects.
Choosing the right method depends on the footage’s needs and the type of corrections required. Using these tools effectively not only enhances the video quality but also saves time by reducing the amount of manual corrections needed afterward.
Troubleshooting Common Issues
When working with Warp Stabilizer in Adobe After Effects, users often encounter challenges like excessive cropping, jello effects, or difficulties with low-quality footage. Addressing these can help improve the final video output and ensure a smoother editing process.
Excessive Cropping and Scaling Artifacts
When stabilizing footage, Warp Stabilizer sometimes crops or scales the video too much. This can lead to losing important parts of the scene or creating unwanted scaling artifacts. Users should adjust the “Borders” settings. Choosing “Stabilize Only” lets them see the effect without cropping.
Another approach is to tweak the Framing option. Setting it to Stabilize, Crop, Auto-scale often results in better control over the cropping. Reducing the Smoothness parameter may also help by decreasing the effect’s intensity, which limits the need for excessive scaling or cropping.
Handling Jello or Wobbly Effects
Jello effects or wobbly footage can happen if the original clip had rolling shutter issues. The Warp Stabilizer effect can sometimes exaggerate these. Using the Advanced section, selecting Rolling Shutter Ripple might help reduce this issue.
It is beneficial to lower the Smoothness value. Setting it between 5-20% can give more natural results. Users may also consider using the Detailed Analysis checkbox for a more thorough stabilization process. If problems persist, pre-stabilizing the footage in a separate composition might resolve severe wobbles.
Working with Low-Quality Footage
Low-quality footage can be challenging to stabilize due to lack of detail and noise. It’s crucial to start by resolving these issues before applying Warp Stabilizer. Enhancing brightness or contrast can improve detail visibility.
The Warp Stabilizer’s accuracy depends on the quality settings. Choosing Enhanced Reduction in the settings helps the software better understand low-quality clips. Users can combine this with reducing the Method to Position, Scale, Rotation for a simplified stabilization effect.
Additionally, applying noise reduction filters can help. These filters, applied before stabilization, help Warp Stabilizer detect the real movement more easily, leading to better results.
Creative Uses of Warp Stabilizer
Adobe After Effects’ Warp Stabilizer offers more than just a way to smooth out shaky video. It can creatively enhance footage during panning and tilting and is effective in refining projects during post-production edits.
Enhancing Pans and Tilts
The Warp Stabilizer is a powerful tool when it comes to refining pans and tilts. During filming, handheld shots often result in slight jitters that can distract the viewer. By using this effect, filmmakers can transform these shots into smooth and effortless movements.
When applied, the Warp Stabilizer adjusts the frame to maintain a steady shot throughout the pan or tilt. This adjustment is particularly helpful for wide landscape shots or when capturing action scenes.
For those looking to emphasize motion, the Warp Stabilizer can complement the natural movement of the shot. It retains the dynamic feel while removing unwanted shakes.
Stabilization in Post-Production Edits
In post-production, editors can use the Warp Stabilizer to fix unstable footage. This can be particularly useful when working with clips where a reshoot is not possible. The tool analyzes the footage and then applies stabilization only where it’s needed.
One creative trick is combining the Warp Stabilizer with other effects to achieve professional-quality results. This combination can add a cinematic polish to the footage, making it suitable for a variety of projects.
For editors who wish to track or reverse stabilization, Adobe’s guidelines provide valuable insights. This allows creative flexibility, enabling the tracking of specific objects within the scene itself.