Creating a stylish Pinterest pin can elevate any blog. With tools like Pixlr, anyone can design eye-catching graphics that draw in visitors and reflect their unique style.
It’s all about using high-quality images and thoughtful design to make pins that stand out in a crowded feed.
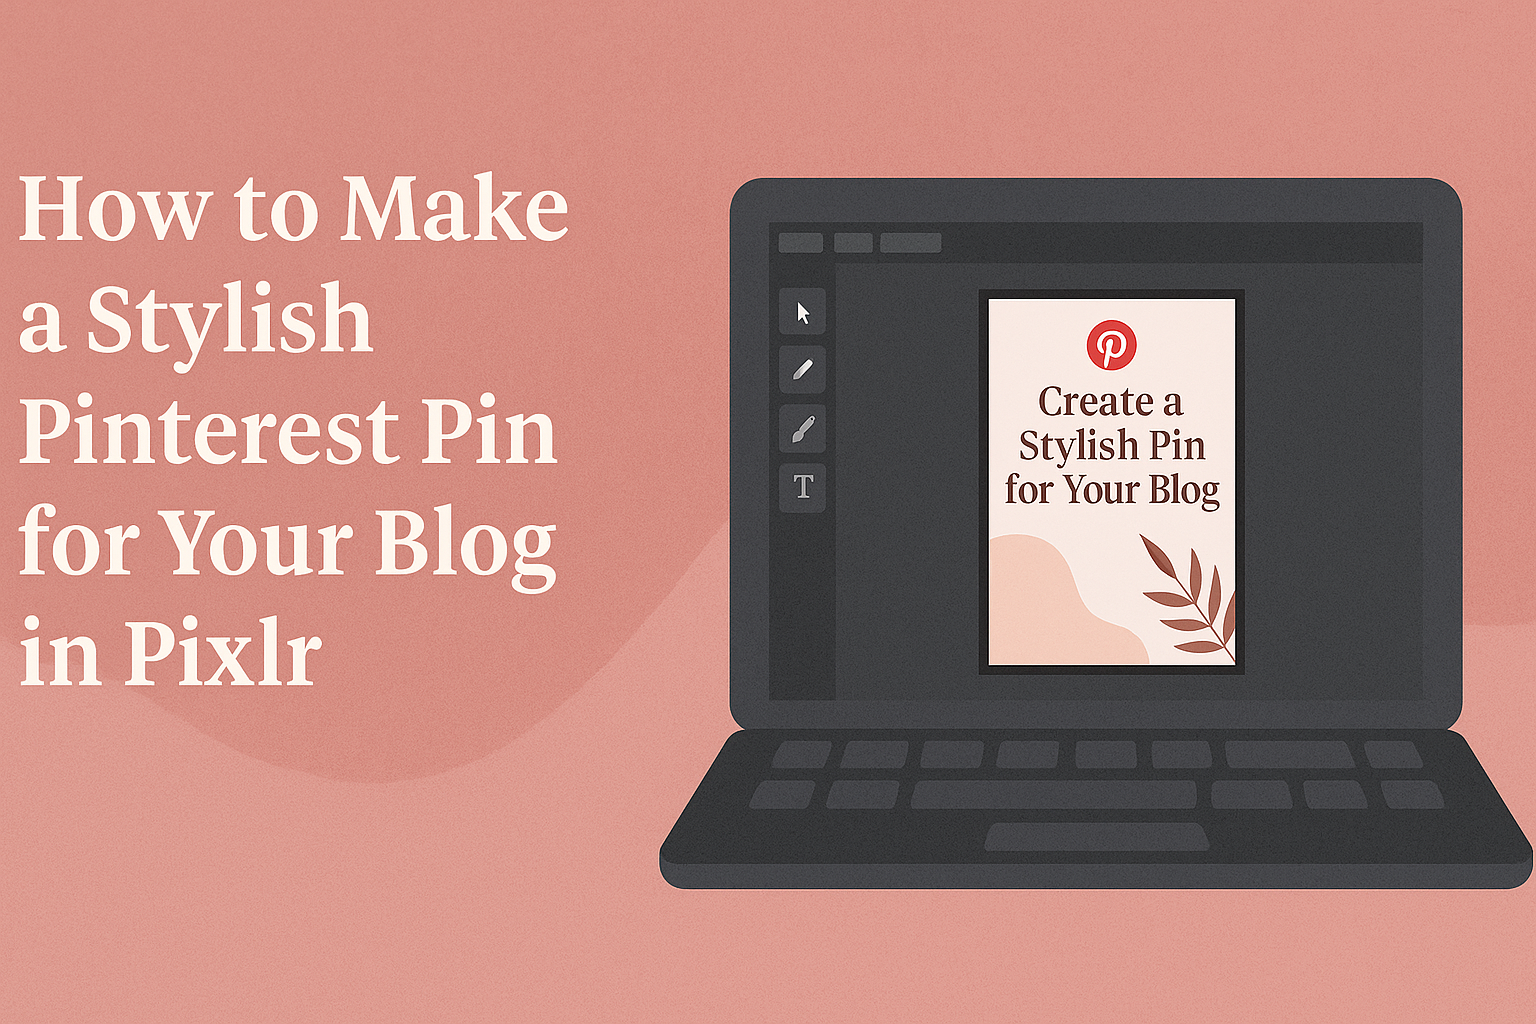
Understanding Pixlr
Pixlr is a popular online tool for photo editing and graphic design. It offers a user-friendly experience, making it suitable for both beginners and experienced designers.
Users can create stunning visuals, including Pinterest pins, with ease.
Pixlr Overview
Pixlr is a versatile photo editing platform that provides powerful tools for creating and enhancing images. It has two main versions: Pixlr X, which is designed for quick and easy edits, and Pixlr E, which offers advanced editing features.
Users can access a wide range of filters, effects, and overlays to customize their designs.
The interface is intuitive, allowing users to drag and drop images. Pixlr also provides millions of high-quality stock images, making it easy to find the perfect background or element. Additionally, it supports various file formats, including JPEG and PNG, ensuring that designs meet the needs of different platforms.
Creating an Account
Creating an account on Pixlr is simple and quick. Users can sign up using their email addresses or connect through Google or Facebook.
Once the account is set up, they gain access to additional features, like saving projects and editing them later.
Users can also explore community templates and resources. This includes pre-made Pinterest pin templates that provide a great starting point for designs.
By having an account, users can save their work and access it from any device, making it easy to edit on the go.
Designing Your Pin
Creating a stylish Pinterest pin involves careful choices about templates, images, and text. Each step is essential for making the pin appealing and effective.
Choosing a Template
Selecting the right template is the first step in designing a Pinterest pin. Many online tools, like Pixlr, offer a variety of templates tailored for different themes and styles.
A good template sets the foundation for the pin’s design.
Look for templates that match the blog’s content. For example, if the blog is about food, a template with a vibrant color scheme might work best.
It’s also helpful to choose a layout that leaves space for images and text without looking cluttered.
Customizing Images and Graphics
Images play a crucial role in the success of a Pinterest pin. He or she should choose high-quality images that resonate with the content.
Pixlr allows users to edit images easily, adding filters or cropping them to fit the pin perfectly.
Using graphics can enhance the design as well. Icons or shapes can help draw attention to specific parts of the pin. It’s smart to keep the color palette consistent, as this creates a more professional look.
Adding Text and Fonts
Text should be clear and eye-catching to capture viewers’ attention. They need to choose fonts that are easy to read.
It’s often best to use a bold font for headings and a simpler one for smaller text.
The text should complement the overall design rather than overwhelm it. It’s useful to limit the number of fonts to two or three to maintain harmony. Including a call-to-action like “Read more” can encourage clicks, making the pin more effective.
Final Touches
Adding finishing details can enhance the appeal of a Pinterest pin. This includes using filters and effects, as well as adjusting layers and alignment to create a polished look.
Using Filters and Effects
Filters and effects can transform the overall mood of a pin. Pixlr offers several options that can make images pop.
-
Choose a Filter: Start by selecting the image. Click on the Filters tab to explore various styles. Popular choices include Brightness, Contrast, and Vintage effects.
-
Adjust Intensity: After selecting a filter, use the slider to adjust its intensity. This helps in achieving the desired look without overpowering the image.
-
Add Effects: Consider adding special effects like vignettes or glow. These can add visual interest and draw attention to key elements.
Experiment with different combinations to find what works best for the content. A well-chosen filter can make the pin stand out on Pinterest.
Adjusting Layers and Alignment
Layer management is key to a well-designed pin. In Pixlr, users can manipulate layers easily to create depth.
-
Organize Layers: Each element—text, images, and shapes—occupies its own layer. Keep the most important elements on top by dragging layers in the Layers panel.
-
Align Elements: Use the alignment tools to center or distribute elements evenly on the pin. This creates a balanced and professional appearance.
-
Resize and Position: Click and drag elements to resize them. Ensuring all pieces fit well together enhances clarity and appeal.
Investing time in these adjustments will help create a visually appealing pin that captures viewers’ attention.
Saving and Sharing
After creating a stylish Pinterest pin in Pixlr, it’s important to know how to save and share the design effectively. This ensures that the pin is ready for posting and visually appealing when shared across platforms.
Exporting Your Design
To save the pin, the designer needs to export the work from Pixlr. They can find the “File” menu in the top left corner. From there, selecting “Export” opens up the format options. It’s best to choose PNG or JPEG for clear quality.
Steps to Export:
- Click on File.
- Select Export.
- Choose either PNG or JPEG format.
- Adjust the quality settings as needed and click Download.
The saved image will be suitable for uploading to Pinterest, keeping the rich colors and details intact.
Posting to Pinterest
Once the pin is saved, sharing it on Pinterest is simple.
The user should log into their Pinterest account and click the “+” button in the top right corner.
From there, they can select “Create Pin.”
Steps to Post:
- Click on the “+” icon.
- Choose Create Pin.
- Upload the saved image by clicking Drag and drop or upload.
- Add a title and a description that includes relevant keywords.
Once everything looks good, the user can hit Publish.
This process allows the pin to be viewed by a wider audience, driving traffic back to their blog.