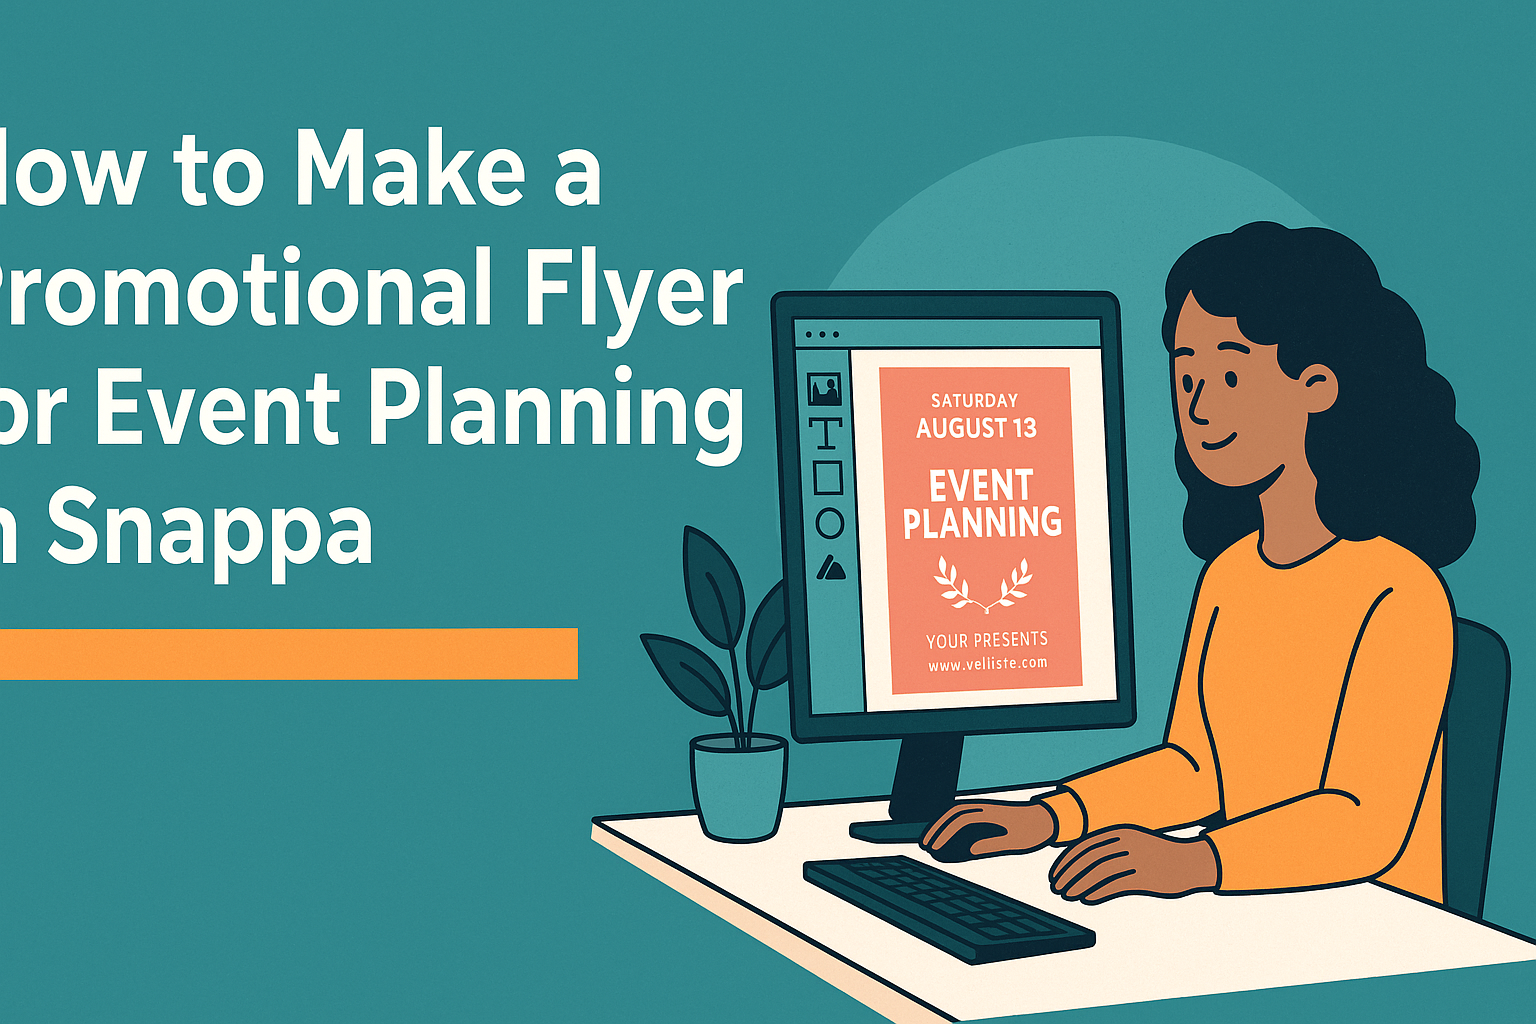
Creating a promotional flyer for an event can be a fun and rewarding process. With tools like Snappa, anyone can design eye-catching and professional-looking flyers in just minutes.
This guide will show how to use Snappa effectively to craft amazing flyers that attract attention and boost attendance.
The beauty of Snappa lies in its user-friendly interface and a wide array of templates. Whether planning a networking event, a workshop, or a party, users have access to thousands of pre-made designs that can be customized to fit their needs.
By leveraging these features, event planners can ensure their flyers stand out and convey their message clearly.
Once they start using Snappa, they will discover the ease of adding images and text to create a vibrant layout. Engaging graphics and concise information will draw potential attendees and make their event unforgettable.
This article will cover the steps to create promotional flyers that truly shine.
Getting Started with Snappa
Snappa is a user-friendly graphic design tool that simplifies the process of creating promotional flyers for events. It offers features that make designing easy, even for those with no prior experience. Below are key elements to help users begin their journey with Snappa.
Overview of Snappa
Snappa is designed for everyone, including complete beginners. It provides templates for social media graphics, blog posts, and promotional flyers, which can be easily customized. Users can choose from various layouts and design elements to suit their needs.
The platform features:
- Templates: Ready-made designs for quick start.
- Drag-and-Drop Interface: Makes adding and editing elements simple.
- Image Library: Access to numerous stock photos and graphics.
This combination allows users to create visually appealing materials without needing advanced skills.
Creating an Account
To start using Snappa, the first step is creating an account. Users can sign up using either their email address or a social media account. The free plan allows access to many essential features and templates.
Steps to create an account:
- Visit the Snappa website.
- Click on the “Sign Up” button.
- Enter required information, such as name and email.
- Verify the email to activate the account.
After registration, users are ready to begin designing right away!
Navigating the Dashboard
Once logged in, navigating the Snappa dashboard is straightforward. The main features are organized clearly to enhance usability.
Key sections of the dashboard include:
- Template Selection: Users can search for specific flyer types.
- Editor Tool: Where the actual design takes place.
- Saved Designs: Easily access and edit previous projects.
The dashboard also includes helpful tutorials and tips to guide users through specific tasks. Exploring these features can help boost confidence and creativity while designing.
Designing Your Flyer
Creating an effective promotional flyer involves careful selection of templates, customization of design elements, and clear presentation of event details. Each of these steps plays a significant role in attracting attention and delivering the right message to potential attendees.
Choosing the Right Template
Selecting the appropriate template is the first step in designing a flyer. Tempting templates can make a big difference in the overall look. They should match the essence of the event. For instance, a corporate event might benefit from a clean, professional layout.
On the other hand, a fun festival can use vibrant colors and bold fonts. Snappa offers various templates suitable for different occasions. Users should explore these options to find one that resonates with their event’s theme. Considering audience preference can also guide template choice.
Customizing Your Design
After choosing a template, the next step is to customize the design. This includes adjusting colors, fonts, and images to enhance readability and appeal. A consistent color scheme is vital; it creates visual harmony.
Using the 60-30-10 rule for colors can help maintain balance: 60% primary color, 30% secondary, and 10% for accents. Custom images relevant to the event can make the flyer stand out.
Choosing readable fonts is also crucial. Sticking to 2-3 complementary fonts improves the flyer’s professionalism. It is essential to ensure all text is legible, especially key information.
Adding Event Details
The final touch involves including essential event details. Every flyer should answer basic questions: What, When, Where, and How. Effective use of space helps communicate this information clearly.
Call to Action (CTA) is also critical. It encourages readers to act, such as buying tickets or visiting a website. For instance, phrases like “Buy Tickets Now” or “Join Us!” can motivate potential attendees. Listed information should emphasize date, time, location, and ticket prices.
Incorporating visual hierarchies, like bold titles and bullet points, can draw focus to these details. This approach aids readers in quickly grasping essential information, ensuring they do not miss key aspects.
Final Touches and Exporting
Before finalizing a promotional flyer in Snappa, it’s crucial to enhance its visual appeal, proofread the text for errors, and export it in the right format. Each step helps ensure that the flyer effectively communicates the event details.
Enhancing Visual Appeal
To make the flyer eye-catching, they should focus on balance and cohesion. Using a limited color palette creates a unified look. Sticking to two or three colors helps maintain clarity.
Incorporating striking images or graphics also adds interest. It’s vital to select images that relate to the event’s theme. Using bold fonts for headings and legible fonts for text will improve readability.
Adding borders or shadows can help elements stand out. They may also consider using different font sizes to create a visual hierarchy, guiding the viewer’s eyes through the flyer in a logical way.
Proofreading Your Flyer
Proofreading is essential to ensure professionalism. They should review the flyer multiple times for grammatical errors and typos. Reading the text aloud can help catch mistakes that are easy to overlook.
It’s useful to have a friend or colleague review it, too. A fresh set of eyes might spot errors and offer valuable feedback. Ensuring all event details, like date, time, and location, are correct is critical.
Taking time for this step can significantly impact the flyer’s effectiveness. A polished flyer reflects well on the event and encourages more attendees.
Exporting Your Final Product
Once the flyer is perfect, it’s time to export it. Snappa offers several file formats.
For print purposes, exporting as a PDF ensures high quality. If sharing digitally, JPEG or PNG formats work well.
Before exporting, check the resolution. A higher resolution (300 DPI) is best for printing. For online use, 72 DPI is usually sufficient.
Lastly, you may want to name the file clearly to avoid confusion when sharing. A good practice is to include the event name and date in the file name.
Proper exporting ensures the flyer looks just as good in print or online as it does in Snappa.