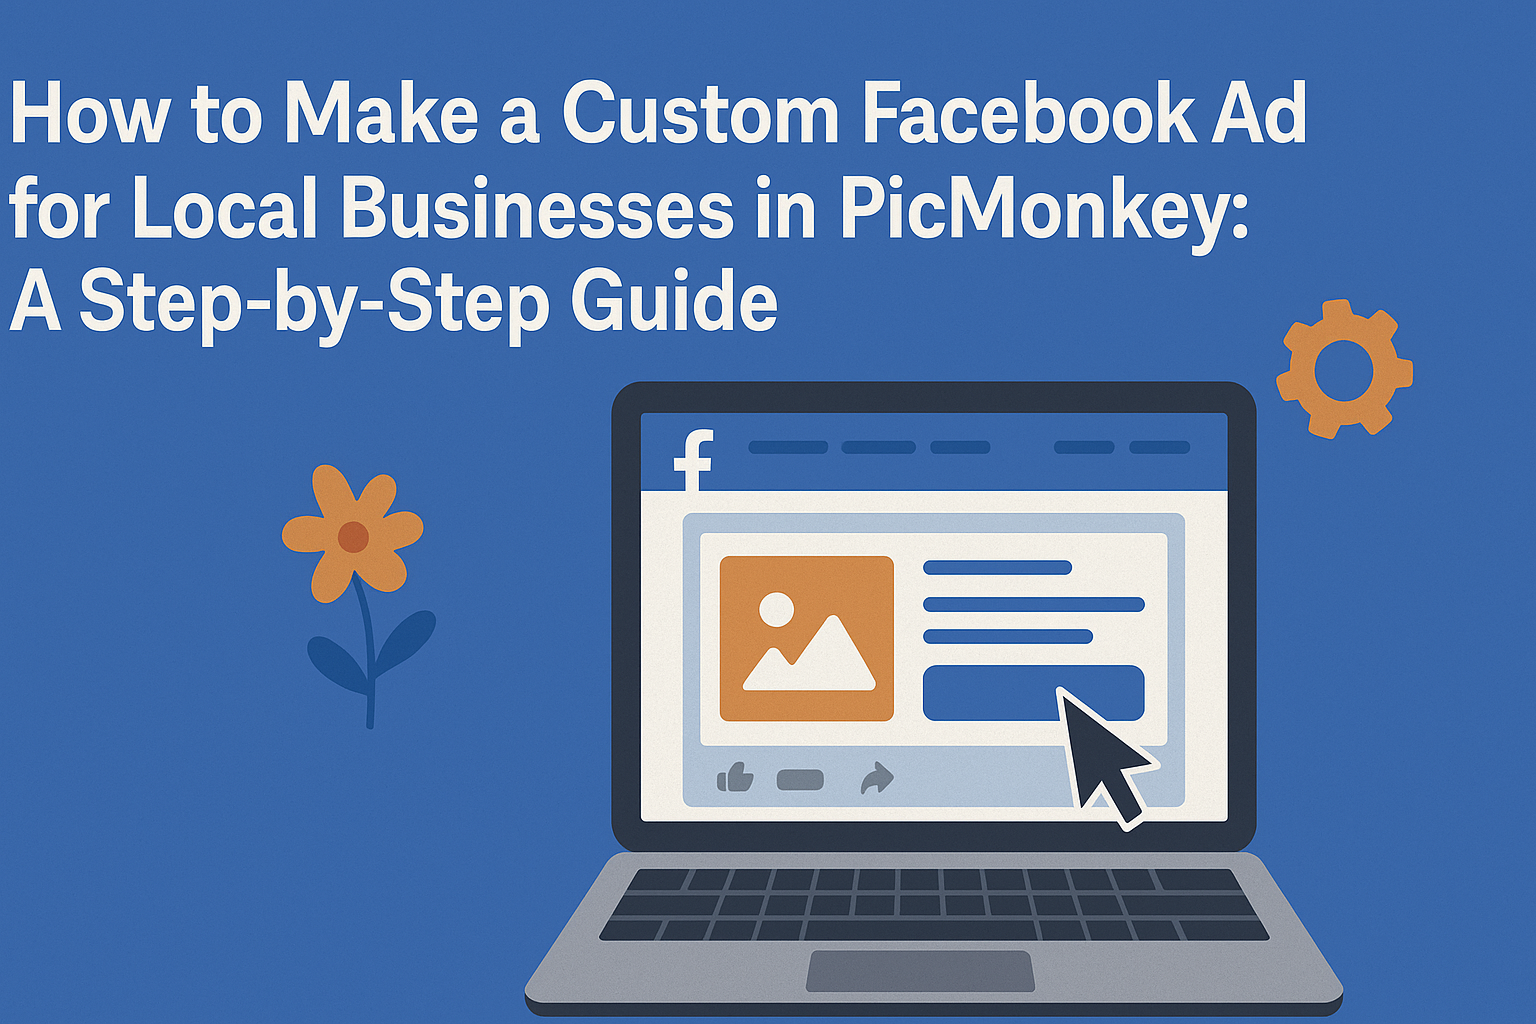
Creating a custom Facebook ad can be a game-changer for local businesses.
Using PicMonkey, anyone can design eye-catching ads that attract more customers and boost engagement.
This tool offers easy-to-use features that make the design process enjoyable, even for those with little experience.
Local businesses need strategies that stand out on social media.
PicMonkey provides templates and design tips specifically tailored for Facebook, allowing users to create ads that reflect their brand’s identity. With options for images and graphics, setting up an ad becomes an exciting project rather than a chore.
A well-designed ad can connect with the local community effectively. By following the steps outlined in this guide, businesses can harness the power of Facebook advertising to reach their target audience and enhance their online presence.
Understanding Facebook Advertising
Facebook advertising offers local businesses a chance to reach potential customers effectively. By using targeted ads, businesses can boost visibility and engagement, leading to increased traffic and sales.
Benefits of Facebook Ads for Local Businesses
Facebook ads present several advantages for local businesses.
First, they enable precise targeting. Businesses can choose demographics like age, location, and interests to reach the right audience.
Using Facebook’s ad tools, companies can also track the performance of their campaigns. This means they can adjust strategies in real time for better results.
Moreover, Facebook ads are cost-effective. Local businesses can set budgets that suit their financial needs, allowing them to start with a small investment.
Finally, these ads create an opportunity for direct interaction with customers, making it easy to promote special offers and events.
Defining Your Target Audience
Defining the target audience is essential for successful Facebook advertising. It begins with identifying who the potential customers are.
Businesses should examine their current customers to understand their preferences. This information helps create audience personas.
Facebook offers tools to narrow down audiences based on various factors like:
- Location: Target specific towns or regions.
- Age and Gender: Focus on particular demographics.
- Interests: Engage users based on likes and hobbies.
By clearly defining an audience, local businesses can create tailored ads that resonate. This leads to higher engagement rates and better returns on advertising investment.
Navigating the PicMonkey Interface
Understanding how to navigate the PicMonkey interface helps users create effective Facebook ads with ease. With a user-friendly layout, PicMonkey offers various tools to enhance design projects.
Setting Up Your PicMonkey Account
To get started with PicMonkey, users must first create an account. They can sign up using their email address or link their Google or Facebook accounts for faster access.
After signing up, it is essential to verify the email address to activate the account fully.
Once logged in, users will be greeted with a dashboard. This dashboard includes options to start a new project, access saved designs, and explore available templates.
Users can choose to try out trial features or select a subscription plan that best meets their needs, offering flexibility based on their design goals.
Exploring Design Tools and Features
Navigating the design tools in PicMonkey is simple and intuitive.
On the left side, users can find a menu that includes options like templates, graphics, text, and more.
By clicking on “Templates,” users can browse through a wide selection of pre-designed layouts tailored for Facebook ads.
Additionally, the design features allow for customization. Users can easily adjust colors, fonts, and sizes using the editing tools.
The “Graphics” option opens a library of images and stickers that can enhance the ad’s visual appeal.
The “Export” button is crucial, as it lets users save their designs in formats suitable for Facebook. Familiarizing with these tools will streamline the ad creation process significantly.
Creating Your Custom Facebook Ad
Creating a custom Facebook ad can help local businesses stand out. Focusing on the right template, customizing images and text, and incorporating branding elements are crucial steps for an effective ad.
Selecting the Right Template
The first step in making a Facebook ad is choosing a template that fits the business’s goals. PicMonkey offers a variety of templates tailored for ads.
Consider the type of message and audience. For example, a lively template with bright colors works well for a fun event.
On the other hand, a sleek, minimalist design might better suit a professional service. Pick a template that reflects the business’s unique style to capture attention.
Customizing with Images and Text
Images play a vital role in catching viewers’ eyes. Selecting high-quality images relevant to the business is essential. Using original photos can make the ad more authentic.
Then, focus on the text. The message should be clear and concise. Use bold fonts to highlight important points, such as special offers or services.
Remember to include a call to action, like “Shop Now” or “Learn More.” This helps guide potential customers to the next step and increases engagement.
Incorporating Branding Elements
Branding is key to creating a recognizable ad.
Start by integrating the business’s logo in the design. Placing it in a corner or near the top keeps it visible without cluttering the layout.
Next, use brand colors throughout the ad. This reinforces brand identity and helps the ad stand out in users’ feeds.
Finally, select a consistent font style that matches the brand’s voice. These elements create a cohesive look and bolster brand recall among viewers.
Finalizing and Publishing Your Ad
Before publishing the ad, it’s essential to give it a thorough review and export it correctly. This ensures that everything appears as intended and is set up for success.
Reviewing and Editing Your Design
To make sure the ad stands out, he should review every element carefully.
It’s important to check the text for spelling or grammatical errors.
Next, he should assess the image quality. The visuals must be clear and fit the correct size, typically a ratio of 16:9 or 9:16.
Consider asking for feedback from others. Fresh eyes can spot issues or offer suggestions for improvement.
After making needed adjustments, he can fine-tune the layout by aligning text and images for a clean look.
Finally, use the preview feature to see how the ad will appear on Facebook. This step helps identify any last-minute changes before moving on.
Exporting and Uploading to Facebook
Once satisfied with the design, it’s time to export the ad. Choose a high-quality format, like PNG or JPG, for the best results.
Next, navigate to the Facebook Ads Manager. You can start by clicking “Create Ad” or “Boost Post” from your Facebook page, depending on your goal.
During the upload process, select the exported file from your computer. It’s also vital to fill in details such as the ad objective and target audience.
Double-check the selected budget and duration for running the ad. Then, review all settings one last time before hitting “Publish.” This ensures the ad is ready to reach local customers effectively.