Designing with Canva is a fun and creative process, but sometimes you need to simply flip an element to make everything look just right.
Whether it’s a photo, text box, or graphic, knowing how to do this can be a game-changer for your projects.
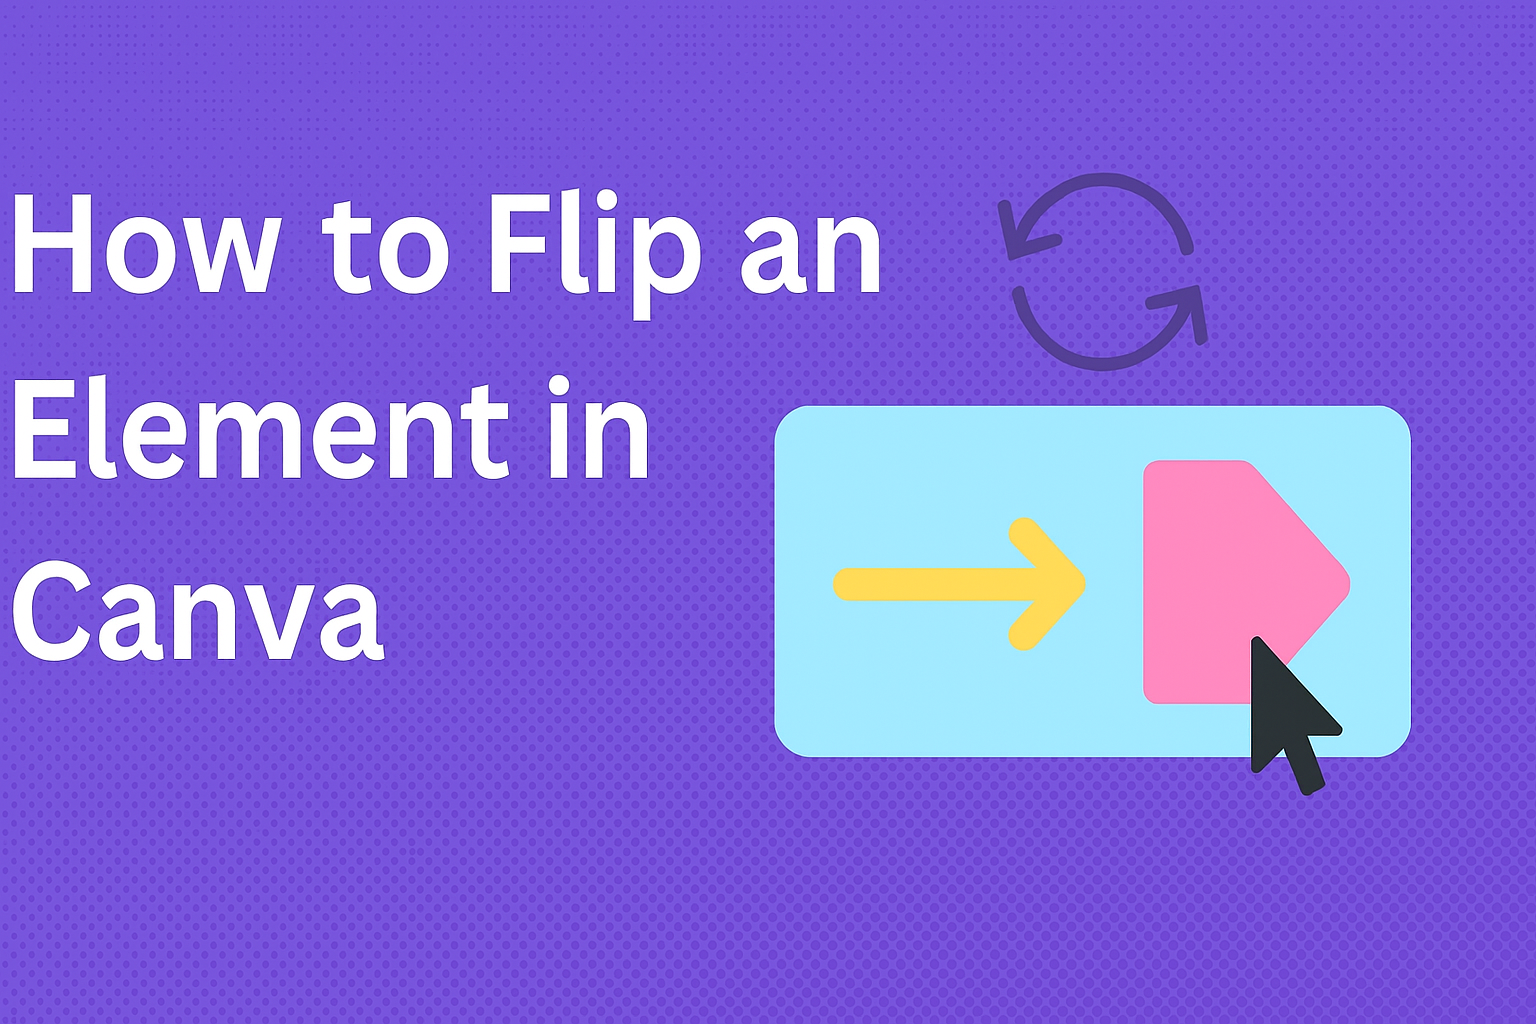
To flip an element in Canva, select the element, click on the ‘Flip’ option in the toolbar, and choose between flipping horizontally or vertically.
Flipping elements can add a unique twist to your design, helping balance and align different sections. It’s especially useful when you want to create mirror images or achieve a symmetrical look.
By learning this easy technique, users of all skill levels can make their designs more dynamic and visually appealing.
If you’re new to Canva or just looking to refine your skills, this guide will walk you through the steps in detail.
With tips and tricks, both beginners and experienced users can enhance their designs with just a few clicks. Ready to explore more artistic possibilities? Let’s get started!
Getting Started with Canva
Starting with Canva is simple and user-friendly. To create designs, users need to set up an account and familiarize themselves with the dashboard, where all tools and features are accessible.
This guide will walk through these initial steps to help new users get off to a great start.
Creating a Canva Account
To begin using Canva, visit their website. New users have the option to sign up using an email address, Google, or Facebook account.
This flexibility makes it easy to access Canva in a way that suits different preferences.
After signing up, follow the prompts to verify the account. This step is necessary to secure the user’s information and provide access to full features. Canva may send a confirmation email with a link to complete the registration.
Canva offers free and paid plans. The free version includes many useful tools, but subscribing to a paid plan unlocks additional features like premium images, fonts, and design elements.
Users can choose based on their needs and budget.
Navigating the Canva Dashboard
Once logged in, users arrive at the Canva dashboard. This area is the central hub where designs are managed.
The left side features a menu providing quick access to templates, designs, and folders for organization.
At the top of the dashboard, a search bar helps users find specific design types or templates. This feature saves time when looking for an exact style or theme.
Users can start a new design by selecting a template or creating a custom size.
All design tools like text, images, and shapes are easily accessible from the editor. Each tool is labeled with icons, making it simple to explore and use only what’s needed.
Basic Design Techniques
In Canva, excelling at design begins with choosing a proper template and knowing how to use the platform’s elements. These key skills help users create visually appealing graphics more easily and effectively.
Selecting the Right Template
Picking the right template is essential for any project in Canva. Templates provide a solid foundation, helping users start their designs with elements like layout, colors, and styles already considered. This step saves time and ensures consistency.
Users should consider the purpose of their design when selecting a template.
For example, a business presentation will need a more professional look compared to a party invitation, which can be more playful in design.
Canva offers a wide range of templates categorized by theme, making it easy to match the style with the project’s intent.
Browsing by category or using the search bar can help locate the perfect starting point.
Templates can always be customized by changing fonts, colors, or adding images. These adjustments allow designers to maintain brand identity or personal style throughout their project.
Understanding Canva Elements
Canva elements are the building blocks of any design. These include images, text boxes, shapes, and lines, all of which are essential in creating a cohesive look.
Knowing how to manipulate these elements is crucial for producing an engaging design.
Elements can be rotated, flipped, resized, and moved on the canvas, allowing complete control over the design layout.
To rotate an element, for instance, users can simply click and drag the rotate handle. Flipping grouped elements can be easily done by using the flip option in the toolbar, providing flexibility in how images and text are displayed.
Canva’s library also offers a wide variety of free and paid elements that can be added to enhance designs. This variety ensures that designers are never limited in their creative options.
Flipping Elements in Canva
Flipping elements in Canva is a handy way to create mirror images or adjust your design’s orientation. Users can flip images both horizontally and vertically, allowing for more creative possibilities.
Accessing the Flip Feature
To flip an element in Canva, users first need to access the flip option.
Start by selecting the element you want to transform. It could be an image, text box, or any other design element.
Once selected, look for the toolbar at the top of the Canva interface. Here, you’ll find the Flip button. Clicking this button reveals options for flipping horizontally or vertically, giving users control over how they want to alter the element.
Navigating Canva’s tools is intuitive, which makes accessing features like this quick and easy. This saves time and makes the design process smoother for everyone.
Flipping an Image Horizontally
Horizontal flipping is perfect if you want to create a mirrored effect or adjust the balance of your composition.
After selecting your image, proceed to the Flip function in the toolbar. Choose the horizontal flip option. This action reverses your image from left to right.
Make sure to check that the flipped image fits well with the rest of your design. Sometimes, text or graphics might need slight adjustments after flipping for better integration.
Flipping an Image Vertically
To flip an image vertically, follow the same initial steps as for horizontal flipping: select your image and locate the Flip button on the toolbar.
Opt for vertical flip. This will turn your image upside down, reversing the top and bottom.
Vertical flipping can change the focus of a design dramatically. It is useful for creating reflections or achieving an entirely new perspective.
Verify how the flipped image aligns with the overall design, as some adjustments might be necessary.
Adjusting Flipped Elements
After flipping an element, it’s important to adjust its placement and integration.
Check how it interacts with other parts of the design. Sometimes a flipped element might need resizing, repositioning, or even contrast adjustments to maintain harmony with the rest of the design.
Use the drag handles around your element to quickly resize or move it into place. For brightness or contrast tweaks, explore Canva’s editing tools, making sure everything looks cohesive.
These final touches can enhance the overall result, ensuring the design looks professional and polished.
By making slight modifications post-flipping, users can create seamless and visually appealing designs that stand out.
Advanced Flipping Techniques
When using Canva for design, flipping elements can be taken to the next level with layering and special effects. These advanced techniques will enhance the creativity and dynamic nature of your design projects.
Layering and Flipping Multiple Elements
Layering in Canva allows designers to combine different elements creatively. They can select multiple objects, like images and text boxes, and flip them as a group.
This technique is handy when working with complex designs that require symmetry or certain arrangements.
Using the positioning tools, one can easily adjust the hierarchy of elements to ensure the correct layers are flipped together.
For added precision, Canva provides alignment guides. These guides help keep everything neat and balanced, even when multiple elements are involved.
Designers can also use the arrange tool to bring certain parts forward or send others to the back, ensuring the perfect layered effect.
Applying Effects to Flipped Elements
Once an element is flipped, applying effects can make it stand out.
Canva offers a range of effects such as shadows, blurs, and brightness adjustments.
By applying these to flipped elements, designers can create eye-catching visuals that have depth and dimension.
For instance, adding a shadow to a flipped image can simulate light coming from a specific direction, enhancing realism. Text elements, after being flipped and styled with effects, can look more dynamic and engaging.
Playing with saturation or contrast after flipping can further accentuate the element’s new orientation, making designs more vibrant and visually interesting.
Design Consistency
Design consistency is crucial when flipping elements in Canva. It helps to maintain a cohesive look and ensures that every part of the design feels connected.
Maintaining Alignment and Balance
Maintaining alignment and balance is key in any design. When elements are flipped, they might disrupt the harmony of a layout.
It’s important to regularly check if these transformations have altered how elements sit together.
For example, aligning text with flipped images or graphics can prevent visual chaos. Tools like grids and rulers in Canva can assist with precise alignment.
Consistent spacing between elements is also important. It enhances the design’s flow.
Visually balancing flipped elements ensures that one side of the composition doesn’t feel heavier than the other. Using symmetry and equal distribution helps achieve a pleasing visual experience.
Reusing Flipped Elements in a Design
Reusing flipped elements can save time and ensure uniformity.
By repeating flipped elements, designers can create patterns and harmony in their projects. This method is particularly useful in presentations or multipage documents, where consistency is vital.
Consider creating a library of frequently used flipped elements. Reapplying these elements in different designs guarantees a unified look across projects.
It helps retain brand identity, which can be especially useful for businesses.
Keeping the same styles, colors, and flipped orientations for similar elements also maintains a consistent feel. This approach ties all design aspects together, making them easily recognizable and effective.
Exporting Your Design
Exporting your design in Canva is crucial to ensuring it looks perfect wherever you share or use it.
Selecting the right file format and understanding how to download or share your design directly can make a big difference.
Choosing the Correct File Format
When exporting from Canva, picking the right file format is essential.
PNG is great for images that need transparency or high quality. It’s perfect for logos and complex designs.
JPEG is ideal for simple images and photographs; it offers a smaller file size, which is useful for web use.
For documents or if you plan to print, consider using PDF. Canva offers options like PDF Standard for everyday use and PDF Print for high resolution, ensuring sharp and clear prints.
For those needing a vector format, SVG is available with Canva Pro, allowing for scaling without loss of quality.
Knowing your project’s destination helps in choosing wisely, so your design retains quality and serves its purpose well.
Downloading and Sharing Designs
Once the format is chosen, downloading your design is straightforward.
Click on the Download button, then select the desired file type. If you want specific pages, customize them before finalizing the download.
Sharing is easy on Canva.
You can generate a shareable link by clicking on the Share button. If collaboration is needed, set permissions to allow others to view or edit.
Canva also integrates with various platforms, letting users share directly to social media or via email.
This feature makes distributing your design seamless and efficient, whether for personal use or professional projects.