Canva has become a favorite tool for many, thanks to its easy-to-use design features. One of the key features that users explore is layering, which helps arrange different elements of a design.
To view layers in Canva, users can utilize the layers panel to easily select, drag, and group various elements.
Understanding how to manage layers can give users more control over their design work, making it look cleaner and more organized.
Many new users might feel confused about how to see and adjust these layers. By learning a few tricks, users can start creating more complex and visually appealing designs with ease.
For those looking to enhance their design skills, knowing how to handle layers can be a game-changer. Learning how to effectively use this feature opens up endless possibilities for creativity, allowing users to explore new design concepts without hesitation.
Getting Started with Canva
To begin using Canva, users need to create an account and become familiar with its dashboard. This process is straightforward and equips them with the tools to start designing right away.
Creating a Canva Account
The first step in using Canva is creating an account. To do this, users can visit the Canva website and click on the “Sign Up” button.
They have the option to sign up using their email address, Google account, or Facebook account. If a user chooses to sign up with email, they’ll need to provide some basic information like their name and a password.
Once the account is set up, Canva offers a quick tour to help users learn the basics. This includes an introduction to different types of projects they can create, such as social media posts, presentations, and more.
Users can also explore Canva’s extensive library of templates, which can be customized to fit their needs.
This initial setup is designed to be user-friendly, ensuring that even beginners can start designing with ease.
Navigating the Canva Dashboard
After logging in, users will find themselves on the Canva dashboard. Here, they can see their recent projects and easily start new ones. The dashboard is organized in a way that keeps all necessary tools and features just a click away.
On the left-hand side, users will notice the main navigation panel. This panel includes options for accessing different templates, design elements, and a personal library of images and assets.
Users can also search for specific projects or elements using the search bar.
The dashboard experience is designed to be intuitive, enabling users to quickly find what they need and start creating. Whether they are designing for work, personal use, or school, the layout of the dashboard helps streamline the process.
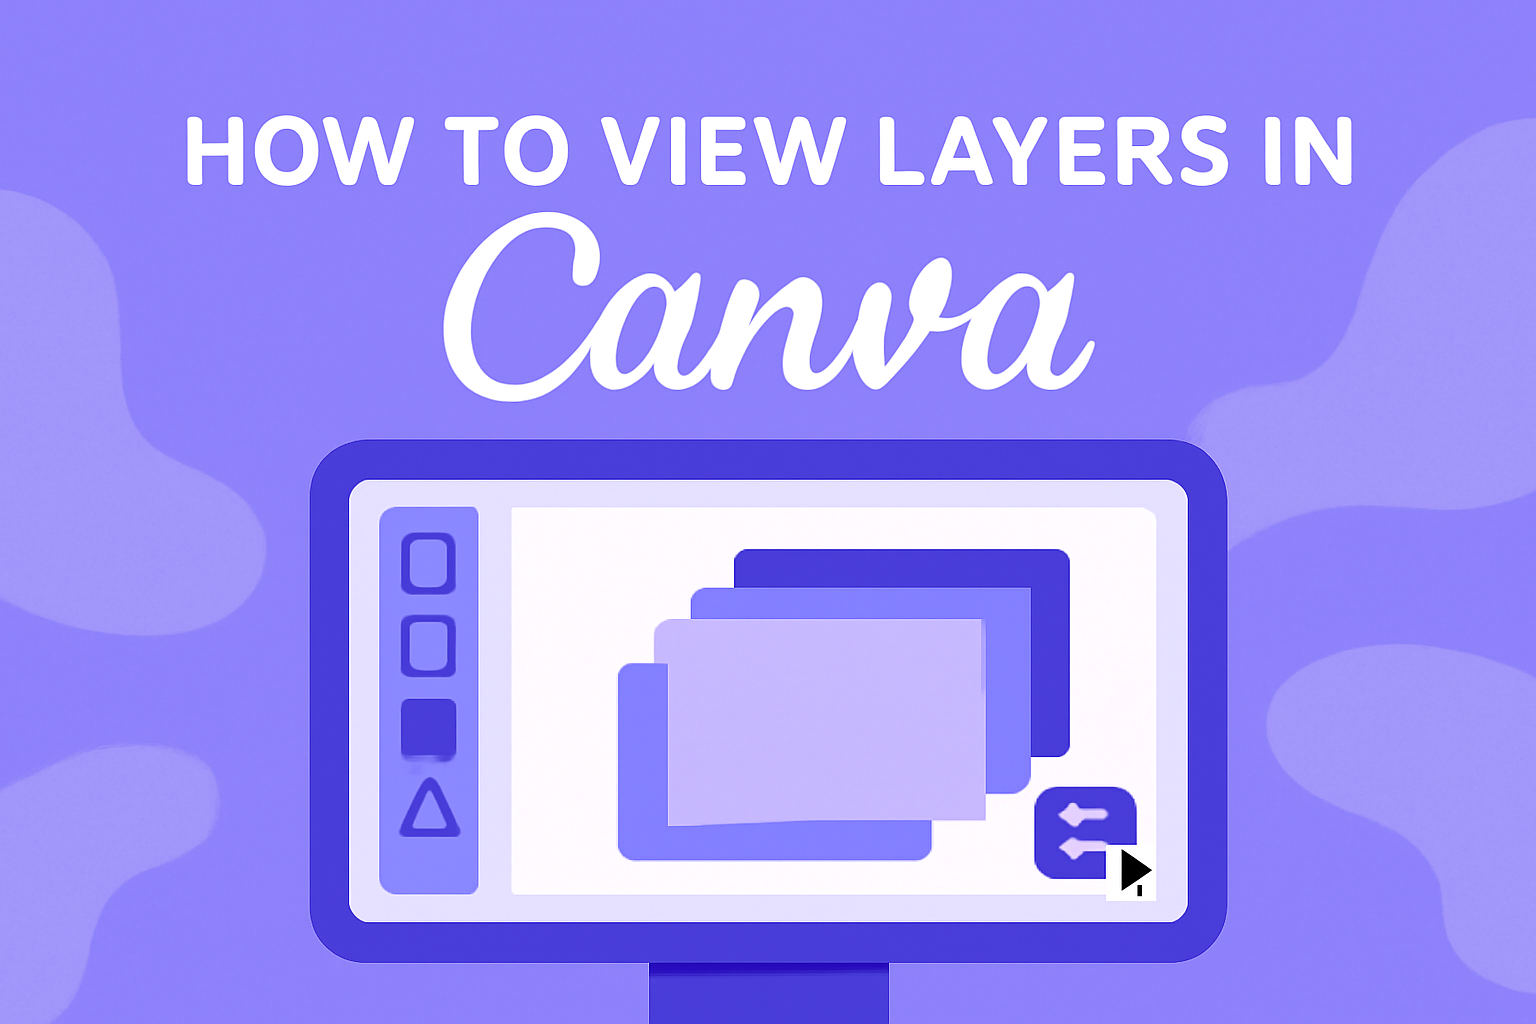
Understanding Layers in Canva
Layers play a key role in design creation, helping users control the order and visibility of different elements. Knowing how to efficiently work with layers can enhance design creativity and effectiveness.
What Are Layers?
Layers are like transparent sheets stacked on top of each other. Each sheet can hold different design elements like images, text, or shapes. In Canva, these layers help organize various parts of a design.
Elements in a higher layer appear above those in lower layers. This makes it easy to arrange objects just as desired.
For more guidance, users can visit Canva’s official help page on arranging layers.
The Importance of Layers
Layers are essential for editing complex designs. They allow users to move, hide, or modify individual elements without affecting others. This flexibility enhances creativity and precision in design projects.
By mastering layers, users can create more professional and polished work.
Moving layers around is simple; dragging them in the Layers Panel will change their position on the canvas, as explained by Brendan Williams Creative. This knowledge is powerful for any Canva user looking to improve their design skills.
Accessing the Layers Panel
Getting familiar with the Layers Panel in Canva can greatly enhance your design experience. It allows you to manage different elements on your page with ease. This guide explains how to open the panel and understand its layout.
Opening the Layers Panel
To open the Layers Panel in Canva, first, navigate to an existing design. Click on any element, page, or background to start.
You’ll find a toolbar above the editor. Look for the Position button. It’s essential to click on this to reveal more options.
You will see a tab labeled Layers. Selecting this tab opens the Layers Panel, highlighting the selected element in your design.
Using this feature makes managing layers straightforward. It is helpful whether you have grouped elements or a complex background. The panel helps in organizing elements. It also lets you precisely target and edit specific parts of your canvas.
This simple process of accessing the Layers Panel ensures a smoother editing experience. It allows designers to have better control over their projects.
Understanding the Layers Panel Layout
Once the Layers Panel is open, you will see a list of all elements on your design page. Each item corresponds to a layer.
The layout is intuitive. Layers are shown in a stack, where the topmost item represents the frontmost layer. Icons may indicate if a layer is grouped or serves as a background.
Interacting with layers is easy. Select a layer within the panel to highlight it on the page. This helps pinpoint layers quickly if adjustments are needed.
For additional actions, users can also right-click for more options like locking, combining, or deleting layers.
The Layers Panel layout is designed to simplify navigating through elements and ensures efficient editing. This helps users achieve precise design adjustments as per their needs.
Working with Layers
When working in Canva, mastering layers is essential for creating organized and professional designs. This section covers how to select, rearrange, and lock layers effectively.
Selecting Layers
Selecting layers in Canva helps you manage the elements in your design. You can click on each layer directly within the design area. Pay attention to grouped elements as they are marked with a special icon.
To ensure you’re working with the right layer, use the Position tool to see all layers listed.
This approach streamlines the process, especially when dealing with multiple overlapping items. Once you select a layer, you can edit or move it as needed.
If selecting becomes tricky, the Position tool is a helpful feature to distinguish between elements more clearly, making editing smoother.
Rearranging Layers
Rearranging layers helps organize your design by controlling what appears on top or below other elements. Use the Position button at the top toolbar to bring layers forward or send them backward.
This tool offers a precise way to handle layer order without disturbing other elements.
Sometimes, the design might seem complicated with numerous layers. In such cases, using this feature simplifies adjustments.
Organizing layers logically can improve visual clarity and focus in your designs. The ability to rearrange effectively is crucial for achieving the desired aesthetics and makes your design process more intuitive.
Locking and Unlocking Layers
Locking layers ensures elements remain in place, preventing accidental shifts or changes.
To lock a layer, select the element, click on the Lock icon, and it will stay fixed even if other layers are moved.
This feature is particularly useful when completing layouts where certain items should remain unchanged.
If you need to adjust locked elements later, unlocking is simple. Click on the locked layer and select the Unlock icon to make it editable again.
Managing locked layers keeps your workspace organized and helps maintain precise placement, ensuring that design elements stay exactly where you want them during editing. This practice simplifies the workflow, providing peace of mind while designing.
Layer Visibility and Opacity
In Canva, managing the visibility and opacity of layers is essential for creating polished designs. Users can easily hide and show different layers, as well as adjust the opacity to achieve their desired look.
Hiding and Showing Layers
Sometimes, it’s necessary to focus on certain elements by hiding others. In Canva, users can hide a layer by clicking the eye icon next to the layer in the layers panel.
This action makes the layer temporarily invisible, allowing users to concentrate on other parts of the design without distraction. To show the layer again, simply click the eye icon once more to make it visible.
This feature is particularly useful for complex projects where numerous elements are involved. By hiding specific layers, users can navigate their design more efficiently and prevent accidental edits to hidden layers.
Remember that hidden layers remain part of the design and can be revealed whenever needed.
Adjusting Layer Opacity
Changing the opacity of a layer in Canva is another powerful tool for designers.
To adjust the opacity, select the element and click on the transparency option available in the toolbar.
Users can then slide the control to make the element more or less transparent, allowing for creative blending and layering effects.
By manipulating opacity, designers can create depth, highlight certain elements, or blend them seamlessly with the background.
For instance, lowering opacity creates a soft, subdued effect, while increasing it makes an element bold and prominent. Balancing opacity effectively can significantly enhance the visual appeal of a design.
Advanced Layer Features
Exploring layers in Canva can greatly enhance your design process. Some important features include grouping layers, duplicating them, and deleting them efficiently. Understanding these can help streamline your workflow and improve the look of your projects.
Grouping Layers
Grouping layers in Canva allows the user to organize multiple elements into a single unit. This feature is particularly useful when you want to move or resize a set of elements together.
To group layers, simply select the elements you want to combine. You can do this by holding down the Shift key and clicking each element. Then, click the “Group” button at the top of the editor.
This makes it easy to manage complex designs. By grouping, you also ensure consistency in positioning and proportions among different parts of your design, which enhances the overall harmony.
When needed, grouped layers can be ungrouped, allowing individual adjustments. To ungroup, just select the group and click the “Ungroup” button.
Duplicating Layers
Duplicating layers is a handy feature that allows users to copy an element quickly. This is ideal for maintaining consistency across different parts of a design or when you want to reuse elements.
To duplicate a layer, select the element you wish to copy. Then, click the “Duplicate” button, which is readily available on the toolbar.
This action creates an exact copy of the selected layer. It speeds up your design process by eliminating the need to recreate elements from scratch.
Duplicate elements can be moved and modified independently of the original, offering flexibility in design experimentation. This feature is a great time-saver for projects with recurring elements like logos, patterns, or headers.
Deleting Layers
Deleting layers is straightforward but must be done carefully to avoid losing important parts of your design. To delete, simply select the layer or group of layers you want to remove.
Once selected, press the “Delete” key on your keyboard or click the “Trash” icon in the toolbar.
This removes the layer from the design canvas, freeing up space and minimizing clutter. Before deleting, it’s beneficial to double-check that the selected layers are not crucial to the design.
Remember, deleting is permanent, so take a moment to ensure that the deletion will not affect the overall concept of the project. Keeping backup copies of the design file can also be helpful if you need to recover any deleted elements later.
Practical Tips for Layer Management
Managing layers in Canva can be easy with a few tips.
First, users need to access the Layers panel by clicking the Position button on the toolbar. This allows them to organize their design efficiently.
When working on complex designs, naming layers can help.
Giving each layer a clear name makes it easier to find and edit later. This is especially useful for projects with multiple elements.
Group similar elements together.
By grouping layers, users can move and edit several elements at once. This saves time and keeps the design organized. Grouping can be done by selecting elements and choosing the “Group” option.
Sometimes, rearranging layers is necessary.
For this, use the drag-and-drop feature in the Layers panel. Click and hold on the six dots next to a layer and drag it to its new position. This lets users stack elements as needed.
Keeping layers tidy is important for people sharing their designs.
By maintaining a neat Layers panel, others can easily understand and adjust the design.
Using these simple tips can make working with layers in Canva a breeze.
For more detailed guidance, check out finding and arranging layers on Canva’s help center or this introductory YouTube video for step-by-step instructions. These resources provide useful insights for both beginners and experienced users.
Customizing Designs with Layers
Customizing designs in Canva allows users to explore creative possibilities. Two essential aspects are adding effects to layers and combining text with images. These techniques enhance the depth and appeal of any design project.
Adding Effects to Layers
Adding effects to layers can make a design stand out.
Effects like shadows, transparency, and blur give layers a unique depth. Canva offers a range of options to apply these effects.
To add effects, a user can select a layer and click on the effects button. Here, they might choose from shadows, which can provide a lifted appearance, or blur, which softens a layer for a more subtle look.
Transparency is another valuable effect.
Adjusting transparency levels can help blend layers smoothly, ensuring certain elements do not overpower the design. This approach creates a balanced and elegant composition.
A friendly tip: experiment with different effects to see what works best, as each project might need a unique touch to match its theme and purpose.
Combining Text and Images
Blending text with images is crucial for informative yet visually attractive designs.
Canva simplifies this with its intuitive layering feature, allowing users to layer text over images smoothly.
When combining these elements, placement is key.
Text must be readable and not distort the image.
It’s often useful to adjust text size, style, and color to contrast well with the background.
Creating contrast is essential, so users should choose colors wisely.
Using bold or italic styles can also emphasize important text, making it more engaging.
For instance, placing white text over a dark image background often enhances readability.
This technique is widely used in headers and titles within designs, where clarity is crucial.