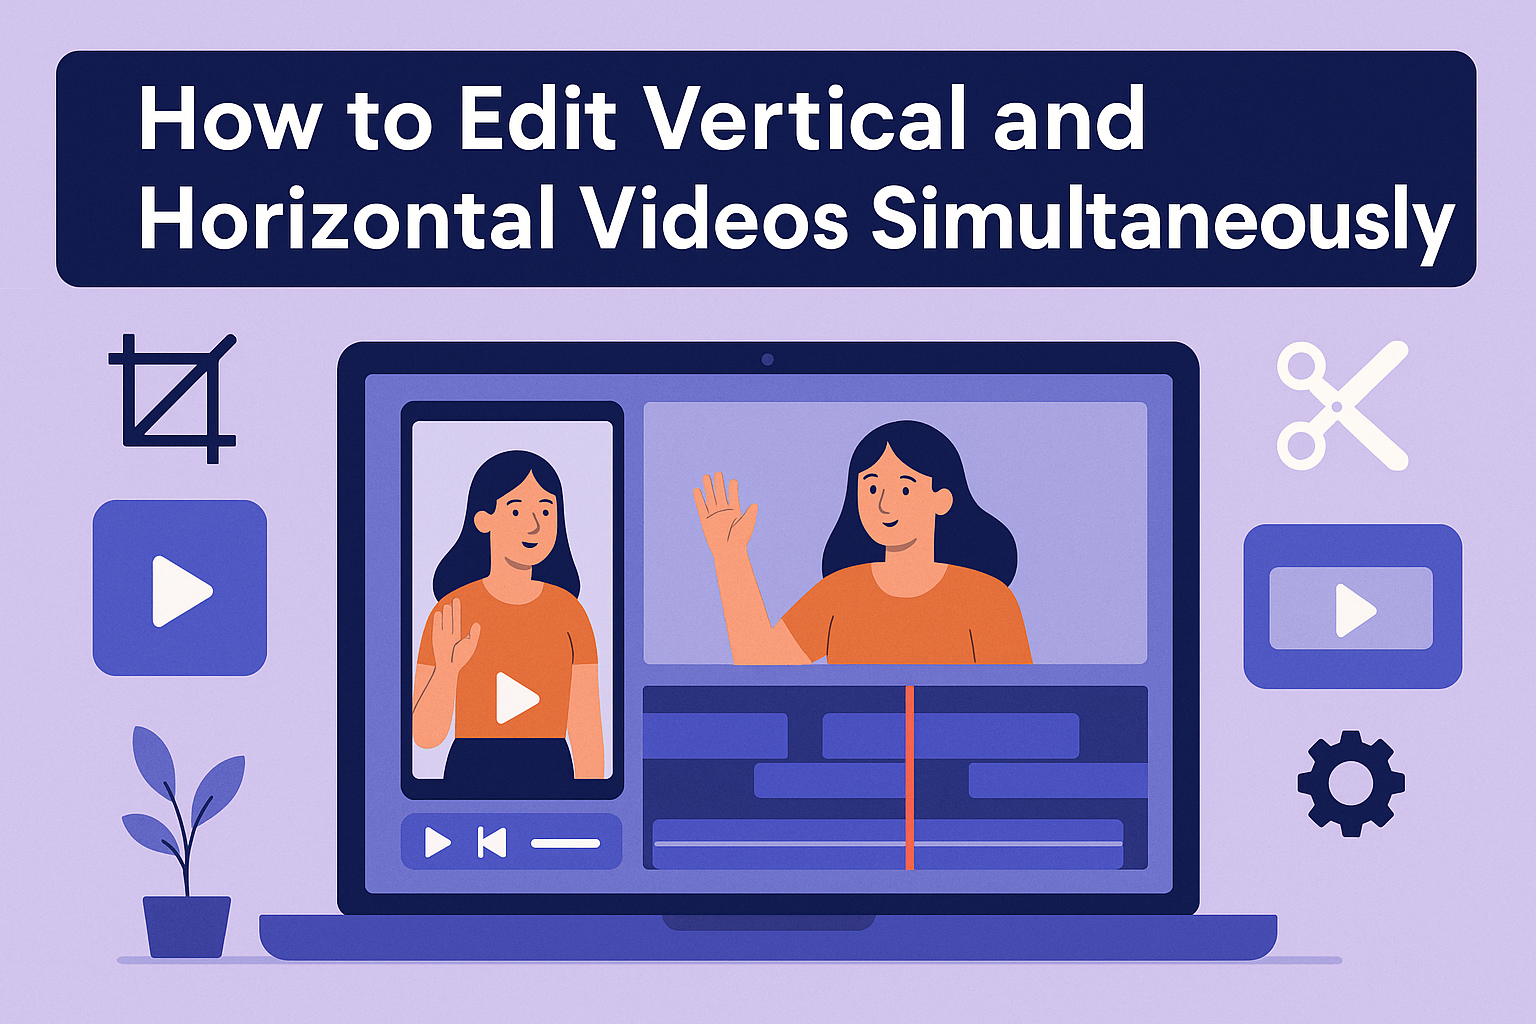
Editing both vertical and horizontal videos at the same time can seem tricky, but it’s actually quite manageable with the right approach. Utilizing specific editing techniques allows creators to save time while producing engaging content for different platforms. This process not only enhances efficiency but also ensures that the final product meets the needs of various viewers.
Many creators struggle with whether to film in vertical or horizontal formats, often facing the challenge of having to choose one. There are effective methods that let them capture both types of video simultaneously. By following the right steps during filming and editing, they can maintain the quality and composition of their footage.
Proper techniques can transform the editing experience, making it simpler and more enjoyable. With a little guidance, anyone can learn to navigate the duality of video formats, resulting in polished and visually appealing content. Understanding these strategies will be valuable for both beginners and seasoned videographers alike.
Understanding Video Formats
Video formats play an essential role in content creation. Knowing the differences between vertical and horizontal videos, along with understanding aspect ratios, helps editors choose the right format for their audience and platform.
Vertical vs. Horizontal Videos
Vertical videos are designed to be viewed on mobile devices. They fit the phone screen perfectly, allowing for a better viewing experience when users hold their phones upright. This format is beneficial for platforms like Instagram Stories and TikTok, where mobile use is dominant.
Horizontal videos, on the other hand, are ideal for traditional media like TV and cinema. They offer a wider view that enhances the viewing experience for larger screens. Horizontal video is commonly used for platforms such as YouTube and Facebook, where users may watch on both mobile and desktop.
The Importance of Aspect Ratios
Aspect ratio refers to the width-to-height relationship of a video. Common aspect ratios include 16:9 for horizontal videos and 9:16 for vertical ones. Choosing the correct aspect ratio is crucial for maintaining video quality and ensuring it displays well on different platforms.
For instance, using the wrong aspect ratio can lead to cropping or stretching, which affects the viewer’s experience. Content creators must check the recommended aspect ratios for each platform to ensure their videos look their best. This attention to detail can significantly impact viewer engagement and satisfaction.
Essentials of Video Editing
Video editing is key for creating impressive content. It involves selecting the right tools and working efficiently with different video tracks to enhance the final product.
Selecting the Right Software
Choosing the right video editing software can make a big difference. Popular options include Adobe Premiere Pro, Final Cut Pro, and CapCut. Each has unique features and capabilities.
For beginners, user-friendly options like CapCut offer intuitive interfaces and essential editing tools. They allow users to edit both vertical and horizontal videos easily.
Advanced users may prefer Adobe Premiere Pro for its robust tools. It supports multiple video formats and allows for detailed editing.
Consider features such as cropping, transitions, and audio editing. This ensures the software meets specific editing needs.
Working with Multiple Tracks
When editing videos, utilizing multiple tracks enables greater creativity. Each track can contain different video clips, images, or audio. This way, users can layer content seamlessly.
For vertical and horizontal video projects, having separate tracks is essential. It allows easy alignment and adjustments without affecting other elements.
Users should organize tracks clearly. For instance, label each track by content type or purpose.
Using a timeline view helps in managing these tracks effectively. It provides a visual representation of the project’s flow.
This organization leads to smoother editing and quicker access when adjustments are necessary.
Synchronizing Video Content
Synchronizing video content is crucial when editing both vertical and horizontal videos at the same time. Proper alignment ensures a smooth viewing experience and keeps the focus on the intended message. Here are some key techniques to effectively sync videos.
Timeline Alignment
Timeline alignment is the first step to ensure both video formats play in harmony. Import all video clips into the editing software and place them on separate tracks.
Adjust each clip’s start point so that both the vertical and horizontal videos begin at the same moment. This can often involve dragging the clips until they line up perfectly.
Additionally, if one video is longer, trim the excess to match the duration of the shorter clip. This helps maintain a consistent flow.
For enhanced precision, using a software with a visual waveform can be beneficial. It allows editors to see the audio levels, ensuring that audio tracks are synchronized as well.
Using Markers for Synchronization
Markers can significantly aid in synchronizing video content. They act as guides that help identify important points within the clips.
To use markers, just play through your videos and pause at key moments, like when specific actions occur or when dialogue starts. Then, place a marker at these points.
This technique offers a visual reference, making it easier to line up the clips during the editing process. Once the markers are set, editors can adjust the clips to match those highlighted moments.
Using markers not only improves the syncing process but also helps in organizing the timeline, making it clearer and simpler to follow. This approach is especially useful for complex edits involving multiple clips.
Editing Techniques for Vertical and Horizontal Videos
Editing vertical and horizontal videos together can be a fun challenge. It requires the right techniques to ensure both formats look great. Here are some key methods to consider.
Cropping and Scaling
Cropping and scaling are essential when working with different video orientations. When converting a horizontal video to vertical format, the editor must focus on the most important content. They can crop the sides to fit the vertical frame, ensuring that the main subjects remain in view.
For both video types, scaling helps to maintain quality. If the video appears too zoomed in after cropping, scaling can adjust the size without losing too much detail. Using software like CapCut can aid in this process, as it offers straightforward tools for cropping and scaling.
Keyframing for Dynamic Edits
Keyframing adds movement and excitement to videos. This technique allows an editor to create smooth transitions or animations between clips. For instance, if a clip is originally shot horizontally, the editor can keyframe the scale to shift the focus to different parts of the frame.
When editing simultaneously, they must set keyframes for both orientations. This will ensure that the vertical version has the same dynamic feel as the horizontal one. By using keyframing effectively, they can engage viewers and bring energy to their videos.
Applying Effects and Transitions
Effects and transitions help create a professional look. Applying effects like color grading can enhance both vertical and horizontal videos. This can be done using software that offers features optimized for different formats.
Transitions are equally important for seamless viewing. Simple wipes or fades can work well between clips shot in different orientations. Ensuring that transitions fit both video styles will help maintain a consistent flow, making the final product visually appealing and easy to watch.
Audio Considerations
When editing both vertical and horizontal videos, audio plays a crucial role in enhancing the viewer’s experience. Balancing sound levels, adding background music, and ensuring audio synchronization are key elements that contribute to a polished final product.
Balancing Sound Levels
Keeping sound levels consistent is essential. This ensures that dialogue and sound effects are clear.
-
Track Dialogue: Start by adjusting dialogue levels. They should be audible without being too loud or too soft.
-
Check Background Noise: Remove unwanted background noise using editing software.
-
Use Metering Tools: Use metering tools to visualize sound levels. Aim for a balance where no sound peaks into the red zone, indicating distortion.
Regularly listening to your audio on different devices will also help ensure quality and clarity across various platforms.
Adding Background Music
Background music can enhance a video’s mood and tone. Selecting the right music involves considering the video’s content and audience.
-
Choose Appropriate Music: Select tracks that fit the video’s theme. For instance, a fun tutorial might use upbeat music, while a serious topic may require softer tones.
-
Adjust Volume Levels: Background music should complement, not overpower, dialogue. Lower the music volume during speech, and slightly increase it during pauses.
-
Looping and Fading: If your video is long, consider looping the music. Use fade-in and fade-out effects so the music transitions smoothly.
This adds a professional touch to the final product.
Audio Synchronization
Synchronizing audio is crucial for maintaining viewer engagement. Mismatched audio can confuse the audience and detract from the content.
-
Align Clip Timing: Ensure dialogue or sound effects match visual cues. This makes the content feel cohesive.
-
Utilize Editing Tools: Many video editing programs offer tools for syncing audio. They allow precise adjustments to achieve perfect timing.
-
Double-Check before Exporting: Before finalizing the video, play it back to spot any synchronization issues. Fixing these can greatly enhance the overall quality.
These audio considerations create a more enjoyable viewing experience, making the video appealing to a wider audience.
Optimizing Workflows
Creating videos for both vertical and horizontal formats can be challenging. Here are some tips to help make the process smoother.
-
Edit in a Square Format First
Starting with a 1:1 ratio, like 1080×1080, allows easy adaptation for both vertical and horizontal videos. This way, content is centered and can be cropped later. -
Use Markers for Key Points
Placing markers on important segments helps in identifying what to maintain in both formats. This cuts down on time spent searching for clips during editing. -
Maintain Quality with Proper Settings
Using high-resolution files ensures that both vertical and horizontal videos look great. Set the project resolution to 4K or Full HD to improve video quality. -
Batch Export Different Formats
When the editing is complete, exporting in batches helps streamline the workflow. This includes creating vertical and horizontal versions in one go. -
Consider Specific Platform Guidelines
Each platform has its preferred video dimensions. Familiarizing oneself with these can save time and prevent re-editing.
Exporting Final Products
When exporting final videos, it is crucial to select the right settings and test the video on different devices. This ensures that viewers enjoy the best quality experience.
Choosing the Right Export Settings
Export settings play a vital role in video quality. It is important to choose the correct resolution. For vertical videos, a common resolution is 1080×1920. For horizontal videos, 1920×1080 is standard.
Key Settings to Consider:
- Format: MP4 is widely supported and offers good compression.
- Bitrate: Higher bitrates mean better quality. Aim for at least 8 Mbps for HD quality.
- Frame Rate: Match the frame rate of the original footage, typically 24, 30, or 60 FPS.
Selecting these settings correctly helps maintain video clarity and prevents issues like pixelation or blurriness.
Testing on Multiple Devices
To ensure videos look great everywhere, testing on different devices is essential. Formats and resolutions may behave differently across screens. Checking mobile devices, tablets, and computers helps catch any problems.
Things to Check:
- Compatibility: Verify that the video plays smoothly on various platforms like TikTok, Instagram, and YouTube.
- Visual Quality: Look for any stretching or cropping in vertical and horizontal formats.
- Audio: Test sound quality, ensuring it’s clear on all devices.
Testing helps identify and fix issues before sharing with a wider audience, enhancing the viewing experience.