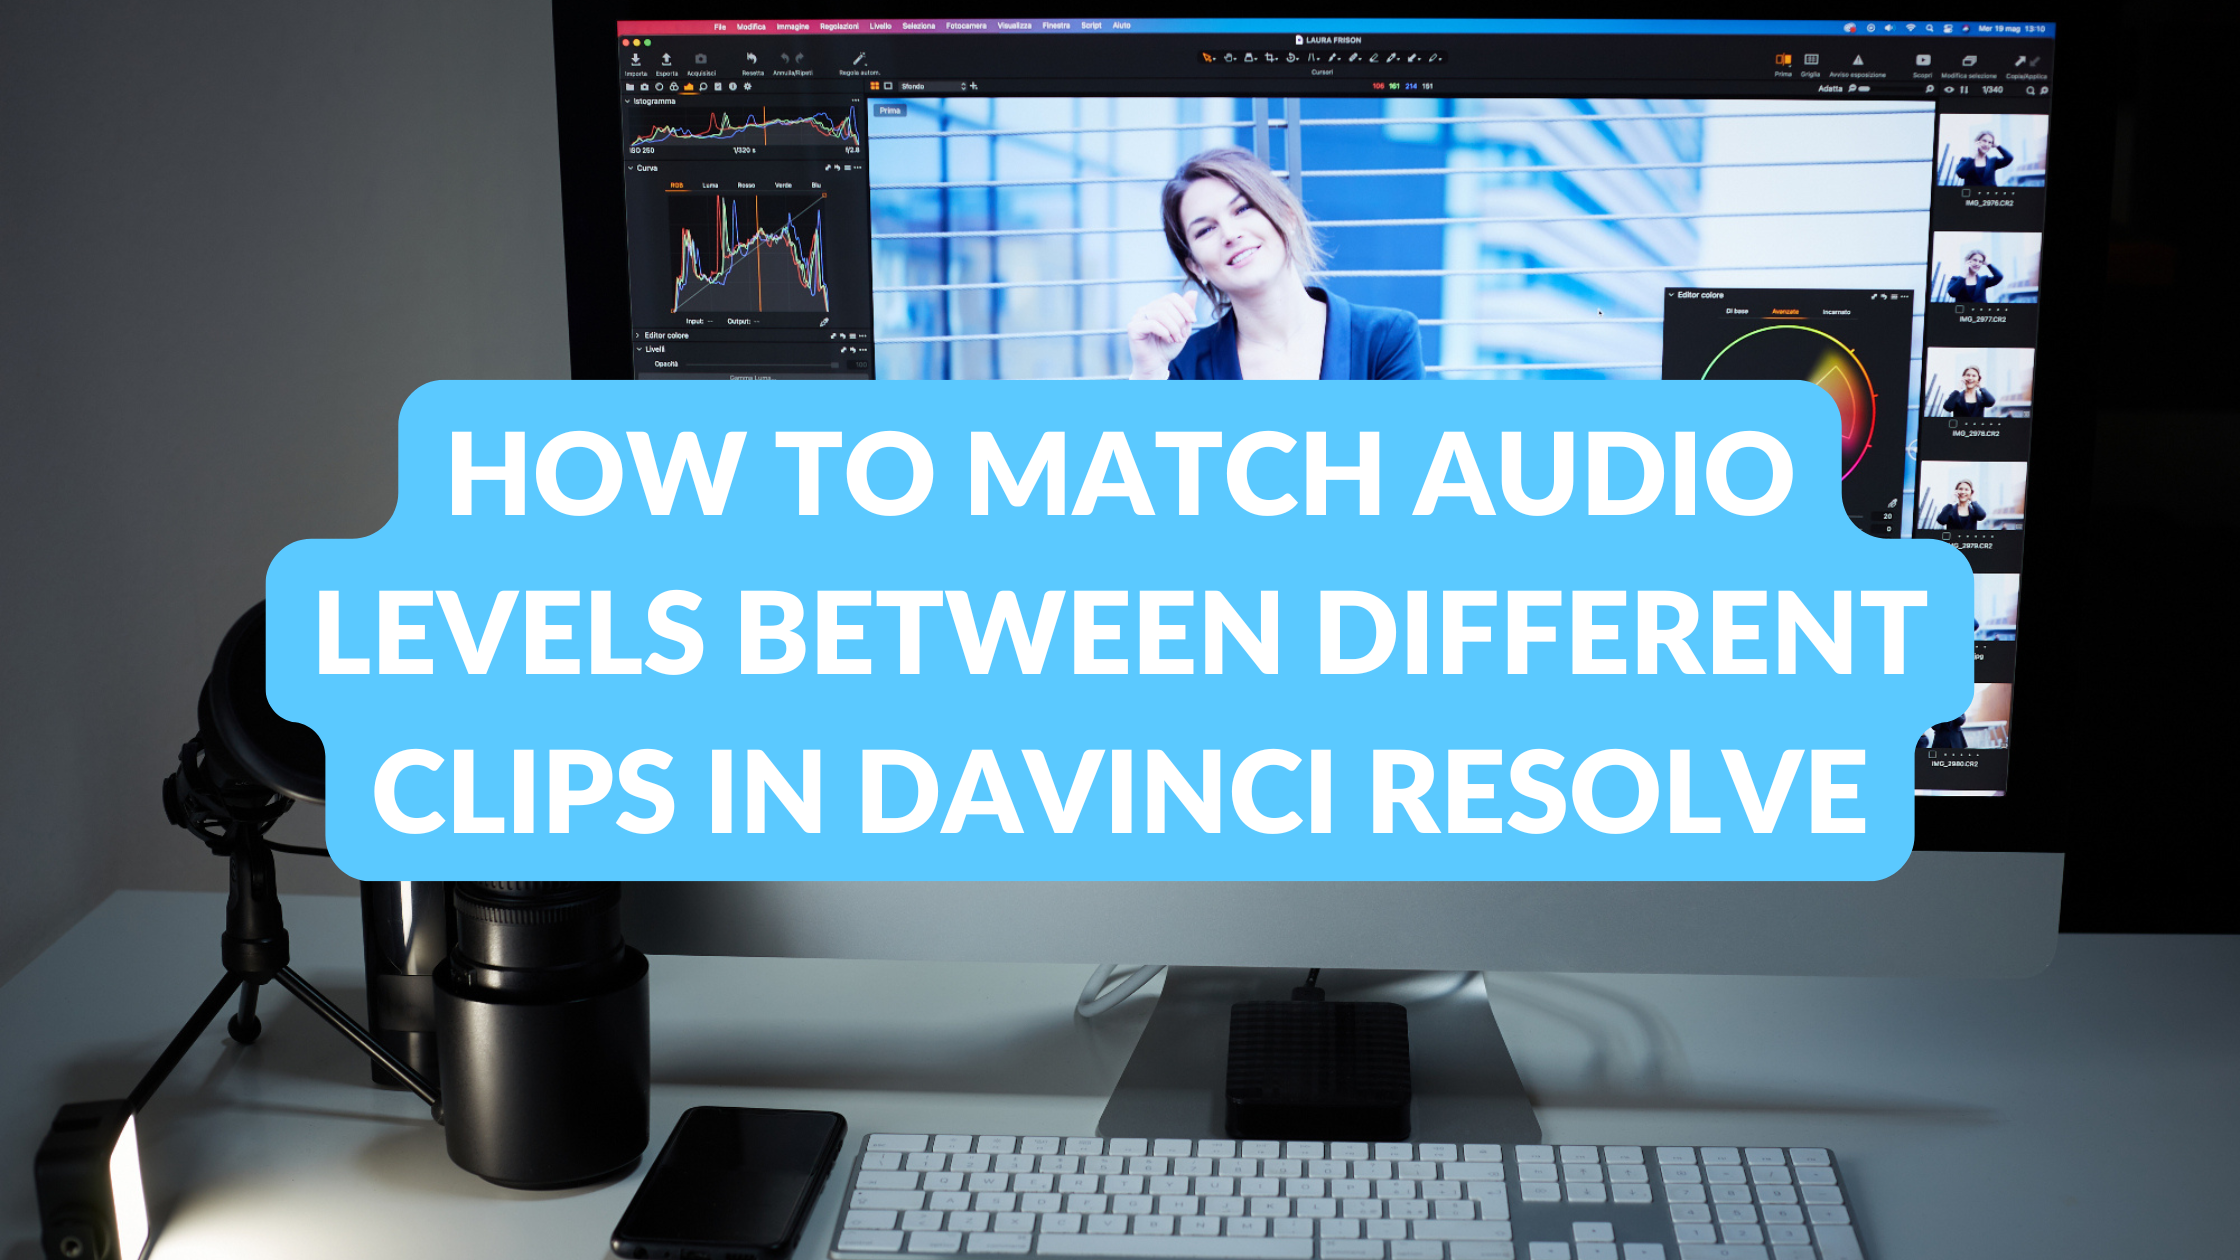
Matching audio levels between different clips in DaVinci Resolve can be a challenge, especially when dealing with varying sound sources.
To achieve consistent audio levels, users can utilize the audio normalization feature in DaVinci Resolve. This tool helps ensure that dialogues, music, and effects blend seamlessly, enhancing the overall viewing experience.
Many videographers encounter issues where some clips sound louder or softer than others. By adjusting these levels, they not only improve audio quality but also maintain viewer engagement.
DaVinci Resolve offers various methods and settings that make this task straightforward, allowing creators to focus more on their creative vision.
For those looking to enhance their audio editing skills, understanding how to match audio levels is essential. With the right techniques, anyone can transform their audio from inconsistent to polished, making their projects stand out.
Understanding Audio Levels in DaVinci Resolve
Audio levels are crucial for making videos that sound polished and professional. In DaVinci Resolve, understanding these levels can help ensure every clip balances well with the others.
There are two main types of audio levels to consider:
- Peak Levels: These represent the highest volume a sound reaches. It’s important to avoid clipping, which happens when the levels peak too high.
- RMS Levels: These reflect the average loudness over time. They help gauge how loud the audio feels to the audience.
To adjust audio levels effectively, users can utilize several tools:
-
Normalize Audio Levels: This feature automatically adjusts audio clips to a set volume, ensuring they match across different clips. For example, a target level of -15 dB is commonly recommended.
-
Audio Metering: DaVinci Resolve includes metering options to visualize audio levels. This helps users see if their audio is too loud or too soft, allowing for necessary adjustments.
-
Clip Gain: Users can modify the gain directly on clips to raise or lower volume levels without effects. This can be helpful for quick adjustments.
Setting Up Your Project for Audio Editing
Before diving into audio editing, it’s essential to prepare your project properly. This involves importing your audio and video clips and getting familiar with the Fairlight workspace, where audio adjustments are made efficiently.
Importing Audio and Video Clips
To begin, he should import the necessary audio and video files into DaVinci Resolve. This can be done by opening the Media Pool at the bottom of the interface.
Then, clicking the “Import Media” button allows him to browse and select files.
It’s crucial to organize files in a way that makes sense. Creating bins for different categories, like dialogue, music, and sound effects, can help keep everything tidy.
After files are imported, dragging them onto the timeline will make them ready for editing.
He should ensure that the sample rate and frame rates match to avoid syncing issues. Properly preparing clips makes audio editing smoother down the line.
Navigating the Fairlight Workspace
Once the clips are ready, it’s time to navigate the Fairlight workspace. This section is specifically built for handling audio tasks. To access it, he can simply click on the “Fairlight” tab at the bottom.
In this workspace, the audio tracks are displayed in a clear layout. Each track has options to adjust volume, pan, and add effects.
He can enable features like the mixer panel to see all tracks at once, which helps in balancing audio levels. The Inspector panel also allows for detailed adjustments, making it easy to refine the sound. Familiarity with these tools will enhance the editing process significantly.
Matching Audio Levels Between Clips
Achieving balanced audio levels across different clips is essential for a smooth viewing experience. Several methods can help with this process, including analyzing waveforms, using normalization tools, manual adjustments, and applying audio effects.
Analyzing Audio Waveforms
Analyzing audio waveforms is a crucial step in matching audio levels. DaVinci Resolve allows users to visualize the audio for each clip. By looking at the waveforms, one can quickly identify which clips are quieter or louder compared to others.
To analyze waveforms, users should enable the audio waveform display in the timeline. This visual aid helps in spotting discrepancies.
They can then note the peaks and troughs in the waveforms to determine which clips require adjustment.
By comparing waveforms side by side, users can make informed decisions about how to align audio levels effectively. This method lays the groundwork for the adjustments that follow.
Using Normalization Tools
Normalization tools in DaVinci Resolve are excellent for balancing audio across multiple clips. These tools automatically adjust levels to reach a target loudness. Users can typically find normalization options in the audio panel.
To use these tools, one must select the audio clips they wish to normalize. Right-clicking on the clips will reveal a menu where “Normalize Audio Levels” can be chosen.
Users can adjust parameters, such as setting the desired loudness level.
After applying normalization, it’s wise to listen to each clip. This ensures the adjustments sound natural and cohesive. It simplifies the process of creating a balanced audio experience.
Manual Adjustment of Audio Levels
Manual adjustment offers precise control when matching audio levels. In DaVinci Resolve, users can adjust audio gain settings for individual clips. This method is especially useful when normalization doesn’t achieve the desired effect.
To manually adjust levels, users can select a clip and access the audio mixer. Here, they can increase or decrease the gain as needed.
It is helpful to use a consistent reference point, such as a clip with ideal volume levels.
Listening carefully is important during manual adjustments. Users should play back the clips to ensure the levels blend well together. Fine-tuning in this way enables personalized control over the audio mix.
Applying Audio Effects for Consistent Volume
Applying audio effects can also contribute to consistent volume levels. Effects like compression can help even out fluctuations in volume. DaVinci Resolve includes built-in effects that are user-friendly and effective.
Users can add a compressor to their audio clips through the effects panel. This tool reduces the dynamic range, making louder sounds quieter and softer sounds louder.
By adjusting the compression settings, one can tailor the audio to fit the desired mix.
It’s essential to test and tweak these effects. Users should listen to how the audio blends with visuals. Doing so ensures that the final product has a polished and professional sound.
Exporting Your Final Mix
Exporting the final mix in DaVinci Resolve is an important step. This ensures that the audio levels are consistent and balanced across all clips.
To start, go to the Fairlight page. Here, users can review all audio adjustments before export.
It’s essential to listen carefully to ensure everything sounds just right.
Next, they should navigate to the Deliver page. This is where the export settings are adjusted.
Users can choose their preferred format, like MP3 or WAV, depending on their needs.
When setting export options, remember these key points:
- Audio Format: Select from various formats based on where the audio will be used.
- Bit Depth: Higher bit depths allow for better audio quality. Common choices are 16-bit or 24-bit.
- Sample Rate: Typically, 44.1 kHz or 48 kHz works well for most projects.
Once the settings are configured, click Add to Render Queue. This prepares the audio for export.
Finally, hit Start Render to begin the export process. Users should monitor the progress to ensure everything completes smoothly.
After the process finishes, it’s a good idea to listen to the exported file to confirm it meets expectations.