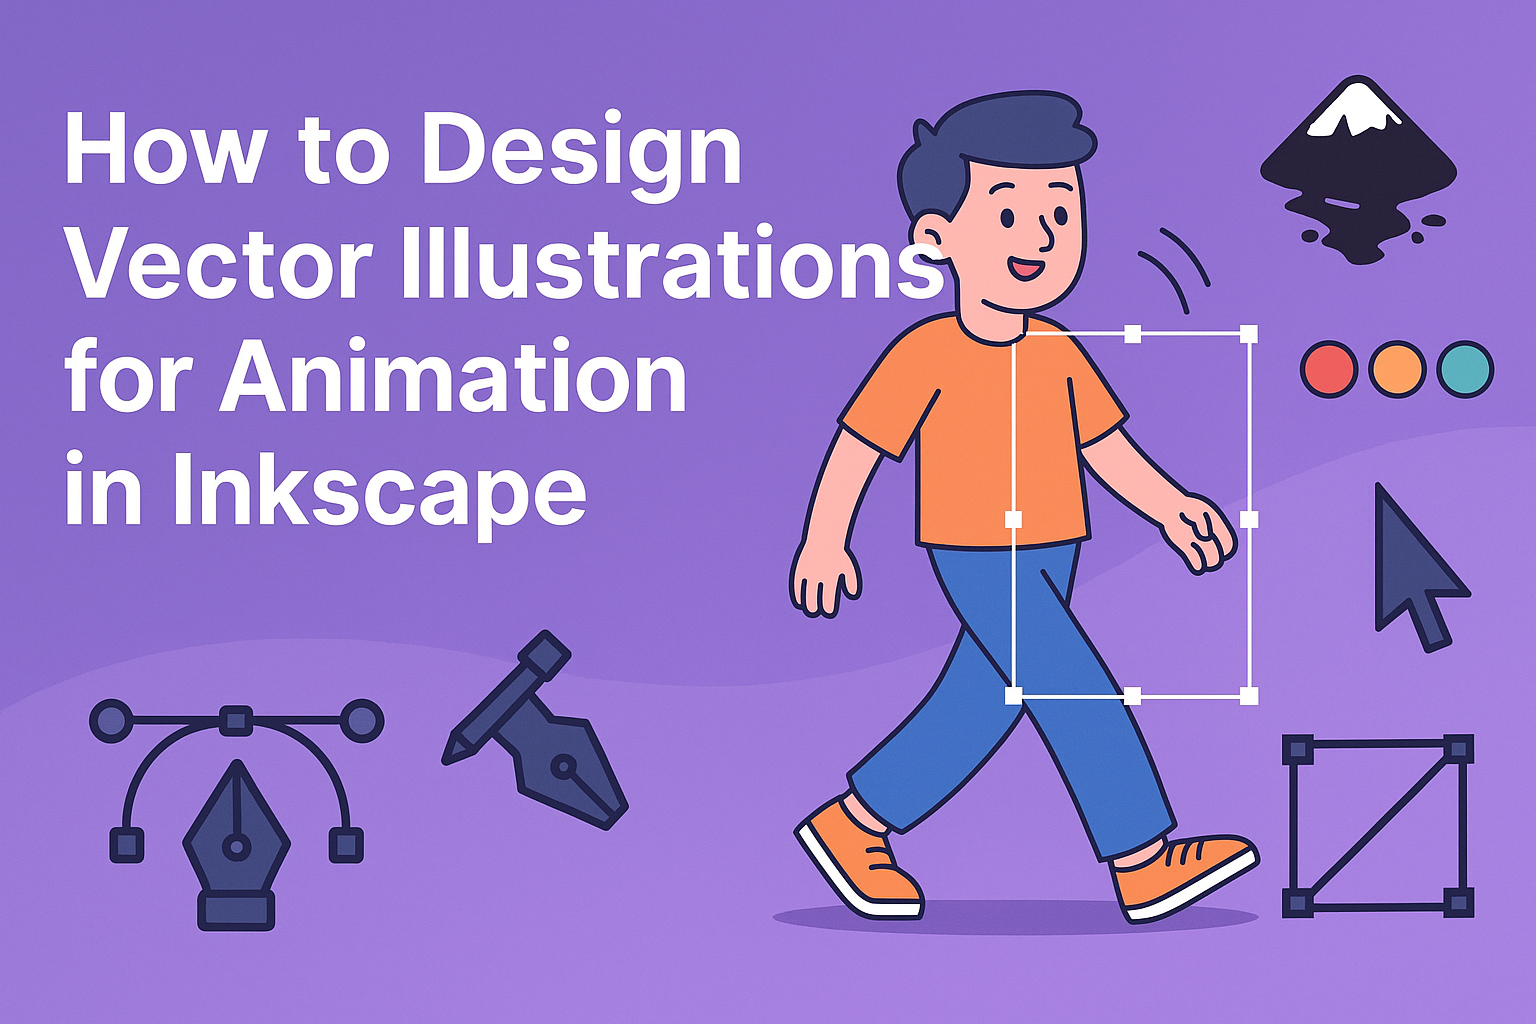
Designing vector illustrations for animation can be a fun and fulfilling task, especially with Inkscape. This free software has powerful tools that help artists transform simple sketches into captivating vector graphics. The key to designing vector illustrations for animation in Inkscape is mastering the creation and manipulation of SVG files.
Inkscape’s capabilities make it easier to animate vector art. Users can work with paths, shapes, and layers to create detailed art ready for animation. For those interested in learning specific techniques, there are step-by-step guides available online, such as this YouTube tutorial on vector animation.
Users can also benefit from existing resources like Inkscape’s animation feature guides. These guides provide valuable tips and tricks for creating engaging animations that bring vector illustrations to life. With practice and creativity, anyone can create stunning animations that stand out.
Understanding Vector Graphics
Vector graphics play a crucial role in digital illustration, especially for animation. They consist of points, lines, and curves to create images that you can scale without losing quality. These graphics offer a flexible and precise way to design detailed illustrations.
The Basics of Vectors
Vectors represent images using mathematical equations. This means each shape, line, or curve in a vector graphic is defined by its coordinates and relationships between points. Unlike raster graphics, which consist of pixels, vectors remain crisp when resized.
In animation, vectors allow for smooth transitions and transformations. Artists use software like Inkscape to craft these dynamic images. They have tools for creating paths and shapes with precision, enabling the creation of complex designs efficiently.
Comparing Vector and Raster Graphics
While both vector and raster graphics are used in digital art, they differ significantly in structure and purpose. Vector graphics, defined by mathematical paths, can be scaled indefinitely. This makes them ideal for animation and printing.
Raster graphics are made up of pixels, which can cause blurriness if enlarged. They are often used for detailed images like photographs. In terms of resources, vectors typically use less storage and can load faster, an advantage for animations designed for web use.
For creators using Inkscape, mastering vectors is key to producing clean, scalable artwork that looks great in any medium.
Getting Started with Inkscape
Inkscape is a robust, free vector design tool that artists and designers can use to create illustrations. To begin, users need to install the program, get acquainted with its interface, and learn about the tools and shortcuts it offers.
Installing and Setting Up Inkscape
To install Inkscape, visit the official Inkscape website and download the version compatible with your operating system, whether it’s Windows, macOS, or Linux. The installation process is straightforward. For Windows, download the installer, run it, and follow the steps provided. On macOS, download the DMG file, open it, and drag the Inkscape icon to your Applications folder. Linux users can often find Inkscape in their package manager or use terminal commands to install it.
Once installed, open the program to configure preferences. Users can adjust settings such as the canvas size and default units. Setting up your workspace to be comfortable and efficient is key. Choose between light or dark themes according to personal preference. There are various presets and toolbars that can be arranged to suit individual needs, enhancing productivity.
Familiarizing Yourself with the Interface
The interface can seem overwhelming at first, but it becomes intuitive with practice. The main parts include the Canvas, where designs take shape, and the Toolbar on the side, which houses basic tools. At the top, the Menu Bar provides access to most of the program’s features. The Control Bar underneath it shows options for the selected tool, allowing for quick adjustments.
On the right, the Panels provide access to properties like layers and align options. Knowing the layout helps in switching quickly between tools and features. Beginners may find exploring the software’s tutorials beneficial to learn how to navigate and utilize the interface efficiently.
Important Tools and Shortcuts
Understanding important tools and shortcuts saves time and effort. Commonly used tools include the Selection Tool, Node Tool, and the Pen Tool for drawing precise shapes. The Text Tool is essential for adding and editing text.
Keyboard shortcuts streamline workflow. ‘Ctrl + Z’ for undo, ‘Ctrl + C’ and ‘Ctrl + V’ for copy and paste actions are simply essential. ‘Ctrl + D’ duplicates selected objects, while ‘Ctrl + G’ groups objects together. Familiarity with these shortcuts boosts productivity and enhances creative output. As users grow more comfortable, they can customize shortcuts to fit their needs.
Creating Your First Vector Illustration
Designing vector illustrations begins with setting up your workspace, sketching out basic shapes, and experimenting with colors. Each step builds on the last to create a polished animation-ready graphic.
Setting Up Your Document
Before drawing, it’s important to set up your Inkscape document properly. Select your canvas size based on the project’s needs. A standard size for animations is 1920×1080 pixels. This format is suitable for most screen displays.
Next, adjust grid and guide settings to help align your shapes. Go to File > Document Properties and enable Grid. This feature helps in maintaining proportions. You may want to set up snapping options for precise alignment.
Finally, save your document to prevent losing progress. Use File > Save As and choose a convenient location and name for easy finding.
Drawing Basic Shapes and Lines
Begin drawing by using the Rectangle, Ellipse, and Line tools. These tools create the basic form of your illustration. Start with simple shapes to outline major parts of your design.
To draw a rectangle, select the Rectangle Tool and click and drag on the canvas. For smoother shapes, use Ctrl to maintain proportions while drawing. The Ellipse Tool works similarly and is useful for curves.
For more complex shapes, utilize the Node Tool. Modify points and paths for detailed customizations. Experiment with combining shapes using the Path > Union option to create interesting patterns.
Applying Colors and Gradients
Once shapes are in place, add colors using the Fill and Stroke panel. Click on a shape and choose a color from the palette. Use this to convey mood and style.
For more depth, apply gradients by selecting Linear or Radial Gradients. Adjust gradient handles directly on the object for precise control over color transitions. This adds dimension to your illustration.
Be mindful of color theory principles. Consider the project’s tone and message, choosing complementary or contrasting colors as needed. This ensures visual appeal and effective communication through colors.
Advanced Vector Illustration Techniques
When designing vector illustrations for animation in Inkscape, understanding advanced techniques can greatly enhance creativity and efficiency. Mastering Bezier curves and nodes, working with layers and groups, and using clipping and masking are crucial skills.
Working with Bezier Curves and Nodes
Inkscape offers powerful tools for shaping paths using Bezier curves and nodes. These curves allow artists to create complex and smooth outlines by adjusting control points. This flexibility is essential for designing precise and intricate vector illustrations.
Nodes are key in defining the shape of any path. Users can add, delete, or move nodes to refine their artwork. Switching between different types of nodes like corner nodes and smooth nodes enables sharp or rounded edges, enhancing detail and realism.
Efficiently using these tools can save time and improve the quality of vector illustrations. Practice is essential, as working with Bezier curves can initially be challenging. The more familiar one becomes, the easier it is to create perfect curves for dynamic designs.
Using Layers and Groups
Organizing vector illustrations is crucial for complex animations. Layers in Inkscape are an effective way to manage different elements of a design. Layers allow for easy editing and manipulation of parts without affecting others, promoting an organized workflow.
Groups are another useful feature, enabling the combination of several objects into one. This helps in scaling, rotating, or moving multiple elements together, keeping the relationships between objects intact. Grouping related paths or objects makes adjustments simple and efficient.
Using layers and groups ensures that designs remain structured, avoiding clutter and confusion. This organization not only aids in editing but also streamlines the transition from design to animation, where precision is key.
Mastering Clipping and Masking
Clipping and masking are advanced techniques that refine vector illustrations. Clipping paths crop elements to fit a specific shape, hiding unwanted parts without deleting them. This approach adds flexibility and creativity to designs, maintaining editability while controlling visibility.
Masking, on the other hand, allows for gradual transitions and transparency effects within illustrations. Masks overlay objects to reveal or conceal parts using gradients and shapes, enabling depth and dimension. This technique is particularly useful for creating realistic lighting and shading effects.
Mastering these techniques expands the possibilities for creating detailed and visually appealing vector illustrations. They enhance the ability to control how illustrations are presented, making animations more engaging and professional.
Animating Your Illustration
Designing vector illustrations is the first step in creating animations using Inkscape. Smooth preparation, a clear animation process, and understanding the export options are key to bringing static images to life.
Preparing Illustrations for Animation
Before starting animation, it’s important to set up your illustrations correctly. Make sure each element you want to animate is on a separate layer. This will allow you to move and modify them independently during the animation.
Use simple and clean paths for better performance in animation software. Check for any unnecessary nodes and simplify them. Color-coding layers can help keep track of different elements.
Before moving to the animation process, ensure that your artwork’s resolution and dimensions are suitable for the platform it will be displayed on.
Breaking Down the Animation Process
Creating animations involves several steps. Start by deciding what movement you want to achieve. Whether it’s a simple bounce or a complex sequence, having a plan helps.
Use techniques like keyframing to define the start and end states of a motion. This tells the software how to transition between states. Incorporate tools in Inkscape for path interpolation to smooth transitions.
Consider timing and pacing. Adjust how long each movement takes to ensure a natural flow. These elements contribute significantly to the animation’s overall feel and quality.
Exporting for Animation Software
Once your illustration is ready for animation, export it in a compatible format. Inkscape can save files as SVG, which is widely accepted in animation software. This format maintains the vector quality, ensuring sharp visuals.
For advanced animations, import these SVG files into tools like friction.graphics or Adobe After Effects. These platforms provide additional features for refining and polishing animations.
Ensure all exported files are organized and named clearly. This makes it easier to import and manage them in animation software, keeping the workflow smooth and efficient.
Optimizing Workflow
Improving your workflow in Inkscape can save time and enhance creativity. Focusing on customizing preferences and utilizing extensions can streamline the process and reduce repetitive tasks.
Customizing Preferences for Efficiency
Inkscape offers a range of settings that can be tailored to fit individual working styles. By adjusting preferences, users can create an environment that boosts productivity. Starting with tool preferences, users can set default units, colors, and shapes.
Another smart choice is setting up shortcuts for frequently used actions. This reduces the need to navigate through menus and speeds up the design process.
Saving settings enables a consistent workspace across different projects. It’s also beneficial to adjust the canvas size and grid preferences to suit the specific needs of the project. This ensures precision when designing vector illustrations, especially for animation.
Using Inkscape Extensions
Inkscape is expandable, thanks to a variety of extensions. These tools can add extra capabilities and enhance workflows. Extensions like JorHPlugin can simplify creating joints for animation by providing quick transformations.
For those interested in animations, friction.graphics assists in exporting Inkscape files for motion graphics. This tool helps animate SVG files effectively, making it easier to transition designs to video platforms.
Another extension, Ink/Stitch, is essential for those converting vector designs into embroidery. Users can efficiently prepare designs for stitching, eliminating manual adjustments. Importantly, these extensions are often updated, adding new features and ensuring compatibility with the latest Inkscape versions. They are incredibly useful for anyone looking to optimize their design process.
Best Practices and Tips
Working with Inkscape for vector illustrations requires attention to detail and efficiency. Keeping files clean and understanding the dos and don’ts of vector illustration will enhance the design process.
Maintaining Clean and Organized Files
Keeping files organized is crucial for efficient workflow in Inkscape. Designers should make use of layers. Layers help separate different elements, allowing for easy access and edits. Naming each layer clearly can save a lot of time during revisions. It’s also helpful to group related objects when they are part of a bigger design.
Consistently saving your work is important. Using descriptive file names, including dates and a version number, can help track progress and changes. With Inkscape, saving files in SVG format ensures that all vector data remains intact. When sharing or printing, exporting to a format like PNG can be useful.
Vector Illustration Do’s and Don’ts
When illustrating vectors, start with simple shapes and gradually add complexity. This approach helps maintain precision and balance in the design. Do use grid and snap tools in Inkscape to align objects perfectly. It helps to create a neat and professional look.
Avoid overusing filters or effects. While they can enhance an illustration, too many may clutter the design. Ensure that paths are closed, especially when designing for animations. Open paths can lead to issues during the animation process. Finally, always double-check the illustration for any unwanted nodes or points that might disrupt the design’s flow.