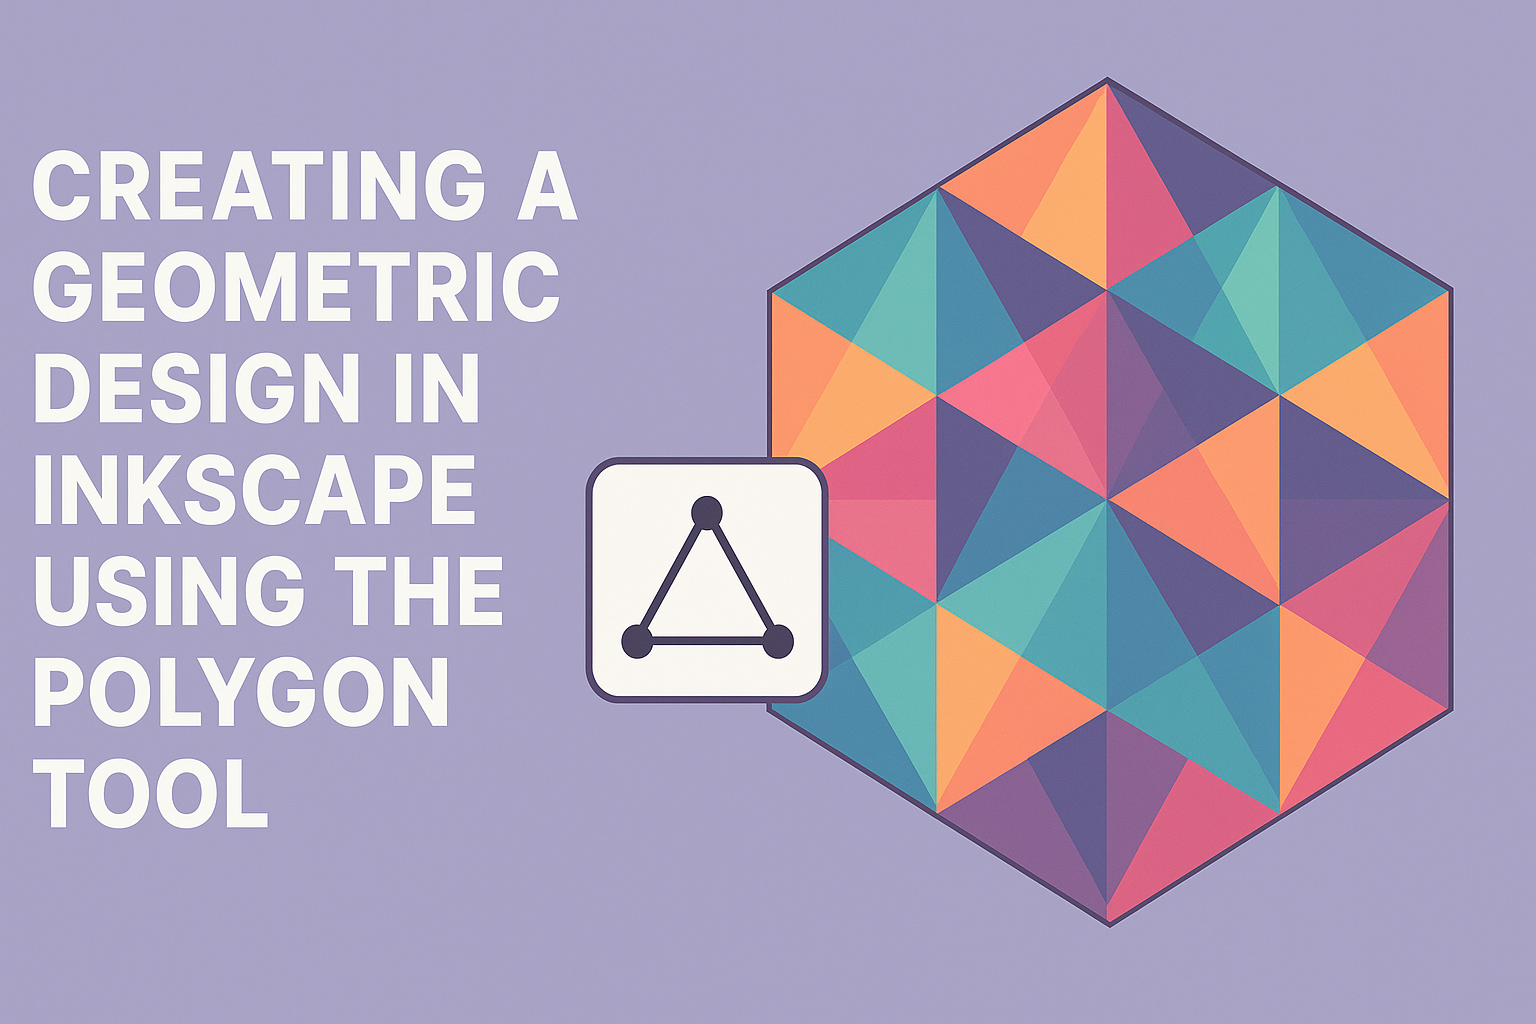
Exploring the world of vector graphics can be exciting, especially with tools like Inkscape. If you’re looking to create stunning geometric designs, the Polygon Tool in Inkscape is a game-changer. This tool allows users to effortlessly create both regular polygons and intricate star shapes, perfect for any design project.
Inkscape offers a variety of features, but the Polygon Tool stands out because of its versatility. By adjusting the number of sides and angles, designers can quickly transform simple polygons into complex patterns. For those eager to experiment, the tool also provides options to modify how sharp or rounded the points appear, opening up endless design possibilities.
Beginners and seasoned designers alike can benefit from learning this tool’s tricks. Mastering it can significantly speed up workflow and enhance creativity. For a step-by-step guide and some helpful tips, check out the detailed instructions available on how to use Inkscape’s Polygon Tool.
Understanding Inkscape
Inkscape is a powerful tool for creating detailed vector graphics. It’s especially useful for designing geometric shapes with precision. By mastering the interface and vector graphics principles, users can create intricate designs efficiently.
The Interface of Inkscape
Inkscape’s interface is user-friendly, designed to provide easy access to a wide range of tools. Upon opening the software, users are greeted with a blank canvas flanked by toolbars and menus. The selection tools are typically located on the left, allowing users to pick shapes and manipulate them easily.
On the top menu, users can find options for file operations, such as opening, saving, or exporting projects. The right side often includes layers and object properties panels. This separation helps keep the workspace organized, making it easy to locate tools when needed. Customizable shortcuts are available that can streamline workflow. For beginners, mastering the interface is key to efficient design work, enabling them to focus more on creativity rather than navigation.
Vector Graphics Basics
Vector graphics differ from raster graphics in that they use paths instead of pixels. This means designs remain crisp and clear, regardless of size. Inkscape uses these paths to create and edit shapes with great precision. Unlike bitmap images that can blur when resized, vector graphics are used for logos and illustrations that require scalability.
Inkscape tools such as the Bezier curve tool allow users to draw complex paths. Paths can be modified later, offering flexibility in design changes. The fill and stroke properties of shapes can be adjusted for color and line style, providing a wide array of customization options. Understanding these basics helps users make the most of Inkscape’s capabilities, creating high-quality graphics with ease.
Getting Started with the Polygon Tool
To create geometric designs in Inkscape, the Polygon Tool offers a range of options for drawing complex shapes efficiently. This guide explains how to access the tool and customize it using different settings.
Accessing the Polygon Tool
Inkscape provides an easy way to use the Polygon Tool. Users can find it by clicking on the star-shaped icon in the toolbar or by using the shortcut Shift + F9. This tool allows the creation of both regular polygons and star shapes directly on the canvas.
Once the tool is active, it’s simple to start by clicking and dragging on the canvas to draw shapes. As the mouse is dragged, the shape begins to form and users can adjust the size as needed. The tool instantly responds, making shape creation intuitive and fast.
The Polygon Tool is perfect for those new to vector graphics, as it offers a straightforward drawing experience. It enables users to explore creative possibilities with ease.
Tool Options Overview
The Polygon Tool in Inkscape comes with several features that help adjust the look of shapes. Users can change the number of corners for polygons or the tips of stars, allowing for diverse design options. Additionally, it’s possible to modify parameters like corner rounding and star inner angles.
These adjustments can be made using a set of on-canvas handles and numerical fields in the tool’s settings. By experimenting with these options, users gain greater control over their designs.
This tool’s flexibility makes it ideal for artists seeking to create varied geometric designs without complications. With practice, complex shapes become easier to produce, enhancing the user’s skills and finished artwork.
Drawing Your First Polygon
Inkscape’s Polygon Tool lets users create and modify polygons with ease. This section guides beginners through setting the number of sides and adjusting the polygon’s properties.
Setting the Number of Sides
To begin, select the Polygon Tool from the Inkscape toolbar. It’s represented by a star icon. Once selected, look for a setting bar at the top that allows changing the number of sides.
For a simple polygon, enter a number for the sides. A basic triangle requires three sides, while a square needs four. These numbers shape the polygon visually, so users should choose based on their design goals.
After setting the sides, click and drag on the canvas to draw. The shape appears as the mouse moves, giving real-time feedback on the design. Releasing the mouse finalizes the polygon, making it ready for further adjustments.
Adjusting Polygon Properties
Inkscape provides various options to fine-tune polygons. Once the basic shape is drawn, users can adjust corner rounding. This smooths the edges, creating a softer appearance.
Below the side setting, locate a handle or node. Drag this to change the inner radius and add a unique twist to the design.
Another option focuses on rotation. Holding the “Shift” key while dragging the polygon allows users to rotate it to any angle. This feature is useful for aligning polygons within a larger design.
Experimenting with these properties offers endless customization, letting users create anything from regular shapes to intricate patterns. Using these tools, even beginners can produce professional-looking geometric graphics.
Advanced Polygon Techniques
Inkscape’s polygon tool offers powerful options to create interesting geometric designs. This section covers advanced techniques like designing star shapes and adjusting corners to add complexity and flair.
Creating Star Shapes
To craft unique star shapes in Inkscape, the polygon tool is a fantastic resource. By selecting this tool, users can draw either regular polygons or stars. Adjusting the settings allows users to modify points, angles, and the length of the star’s tips.
In the tool options, they can change the number of tips to make the star more or less complex. Users can also tweak the “Spoke ratio” to see how sharp or rounded the star tips will appear.
Using nodes, it’s possible to manually alter each point of the star. This lets users create custom designs that can be easily modified on the canvas. These options ensure each star design remains distinctive and tailored to the designer’s vision.
Round Corners and Randomized Variants
Creating smooth, rounded corners on polygons adds a softer touch to designs. To do this, use the “rounded” setting in the polygon tool options. This will give polygons a gentler appearance, which can be perfect for more casual or playful designs.
Adding randomness to shapes can inject creativity and spontaneity. By using the “randomized” setting, users can distort the edges and points of the shape. This setting creates an irregular and unique look for polygons, adding personality and dynamism to the overall design.
Experimentation with these techniques results in diverse and engaging designs. Whether it’s a playful twist or a polished finish, leveraging these tools maximizes creativity when using Inkscape’s polygon capabilities.
Applying Color and Style
Inkscape offers a variety of tools for users to customize geometric designs with vibrant colors and styles. This section will discuss how to fill polygons with color and add strokes and borders to enhance your design.
Filling Polygons with Color
To fill polygons with color in Inkscape, users can use the Fill and Stroke panel. Access it by selecting Object > Fill and Stroke. This panel allows users to choose solid colors, gradients, and pattern fills.
For a solid color, simply click the Fill tab, then choose the color using the color wheel or by entering color codes. For more dynamic designs, gradients can be applied. Select the gradient option and click on the polygon to set the gradient start and endpoint.
Adding pattern fills gives a unique texture to the polygon. Inkscape provides several patterns, which can be applied by selecting the pattern option and choosing from the list. Experimenting with different colors and patterns can create a visually appealing design.
Adding Strokes and Borders
Enhancing a design with strokes and borders is done through the Stroke Style tab in the Fill and Stroke panel. After selecting a polygon, navigate to the Stroke paint tab to pick a color for the border.
The Stroke Style tab offers options to adjust the border’s width. This is useful for making borders more prominent or subtle. Users can also select dashed or dotted borders by choosing from preset styles or creating a custom pattern.
To add flair, users can modify the join and cap styles of the borders. For a rounded look, opt for round joins and caps. Using different stroke styles can add definition and interest to the geometric design.
Transforming and Editing Polygons
Inkscape’s Polygon tool allows users to modify shapes through the use of transform tools and by adjusting nodes and paths. Learning these techniques helps create dynamic and precise designs with ease.
Using Transform Tools
The transform tools in Inkscape offer a variety of options for changing a polygon’s size, position, and orientation. Users can access these tools via the toolbar or by right-clicking the shape. Options like scale, rotate, and skew allow for quick adjustments.
For instance, to scale a polygon, users should select it and drag the corner handles while holding the Ctrl key to maintain proportions. Rotation can be achieved by clicking twice on the shape to activate the rotation handles. For skewing, click the shape again and drag the side handles while holding the Shift key.
Transform tools are crucial for achieving desired designs and are frequently used to align elements precisely or change design compositions. Experimenting with these tools helps users become more proficient in creating balanced and visually appealing layouts.
Editing Nodes and Paths
Editing nodes and paths is another key feature when working with polygons in Inkscape. This process involves switching to the Node tool, which lets users directly manipulate the polygon’s vector points.
Clicking on the polygon with the Node tool displays its nodes and control handles. Nodes can be moved individually or in groups to alter the shape. Additionally, users can adjust path segments by pulling the handles, allowing fine-tuning of curves and lines.
Inkscape also supports adding or deleting nodes for more control over the shape’s geometry. By refining nodes and paths, users can create intricate designs and achieve detailed customization. Consistent practice with these techniques can greatly increase control and precision in creating complex designs.
Combining Polygons for Complex Designs
When creating intricate designs in Inkscape, combining polygons is a crucial technique. This involves using path operations to merge shapes and arranging them strategically to achieve a unique layout.
Path Operations
Path operations in Inkscape allow users to merge, intersect, or subtract parts of polygons to create complex shapes. By using commands like Union, Difference, Intersection, and Exclusion, designers can alter how polygons overlap.
For example, the Union command merges multiple polygons into one. This is useful for creating a continuous shape from different parts. Using Difference, one can subtract one polygon from another, which is helpful when trying to remove specific areas from a shape.
One key to mastering these operations is to practice with simple shapes first. This builds familiarity with how different commands affect shapes and prepares users for working on more complex designs. Each operation can add a unique flair to a design, providing endless creative possibilities.
Arranging and Grouping Objects
Arranging and grouping objects is essential for managing multiple polygons in a design. Aligning objects can help create symmetry or visual flow. Inkscape provides tools like Align and Distribute to easily organize polygons. This ensures everything is placed where it should be.
Grouping is another important feature. By grouping objects, designers can move and scale them as a single unit. This reduces the effort needed for editing individual polygons. Grouping also simplifies the design process, especially in projects with numerous shapes.
Designers can ungroup these objects when further editing is needed. This flexibility allows for continuous refinement and improvement of a design. Grouping and arranging are vital for maintaining order and enhancing the complexity of a geometric design.
Design Tips and Tricks
Designing with Inkscape’s Polygon Tool can be both fun and powerful. Aligning elements effectively and using layers can significantly enhance your design workflow and ensure a polished outcome.
Aligning and Distributing Elements
Aligning and distributing elements in a design can create balance and harmony. In Inkscape, the Align and Distribute tool is essential for this process. It allows users to precisely position objects relative to each other or the canvas.
To access these options, go to Object > Align and Distribute. Once the panel is open, various options become available, like aligning objects to the left, right, or center. Distributing objects ensures equal spacing between them, which is crucial for maintaining symmetry in geometric designs.
One tip is to always keep the alignment options handy while working, especially when arranging complex shapes. This feature significantly speeds up the design process and helps avoid manual adjustments that can be time-consuming.
Using Layers Effectively
Layers are powerful tools for organizing different elements of a design. They help manage complex designs by separating parts that can be edited individually without affecting other elements.
In Inkscape, layers can be found under Layer > Layers…. Users can create, delete, or rename layers depending on their needs. Hiding or locking layers allows focus on specific parts of the design without distraction.
It’s a good practice to name layers clearly based on the content they hold, such as “background” or “text elements.” This makes it easier to navigate the design as it grows. Using layers thoughtfully can simplify working with intricate geometric designs.
Exporting Your Geometric Design
When you’re ready to share your geometric design made in Inkscape, it’s important to know the best file formats for your needs and how to optimize designs for both web use and print media. By understanding these processes, you can ensure your designs look their best wherever they are displayed.
File Formats and Compatibility
Inkscape offers various file formats for exporting designs. The most common formats include SVG, PNG, PDF, and EPS. SVG is ideal for web use because it maintains quality at any size. It’s a good choice if you need to edit the design later.
For images, PNG is popular because it supports transparency and high resolution. PDF is suitable for sharing with others who might not have design software. It’s also widely used in print. When working with professional printers, EPS is recommended as it retains vectors and colors without loss.
Compatibility is crucial. Ensure that your chosen format is supported by the software where the design will be used. Always check requirements before exporting to avoid issues.
Optimizing for Web and Print
When preparing designs for the web, reducing file size is important for faster loading times. Using tools within Inkscape, like simplifying paths and reducing nodes, can help. Adjust image resolution and dimensions to fit the web platform’s specifications. Use raster formats like PNG carefully to maintain balance between quality and file size.
For print, resolution needs to be higher. A common standard is 300 DPI (dots per inch) to ensure sharp prints. Pay attention to color modes, using CMYK rather than RGB, as printers typically use CMYK for better color accuracy. Double-check print settings to avoid unexpected results and consider a test print for quality assurance.