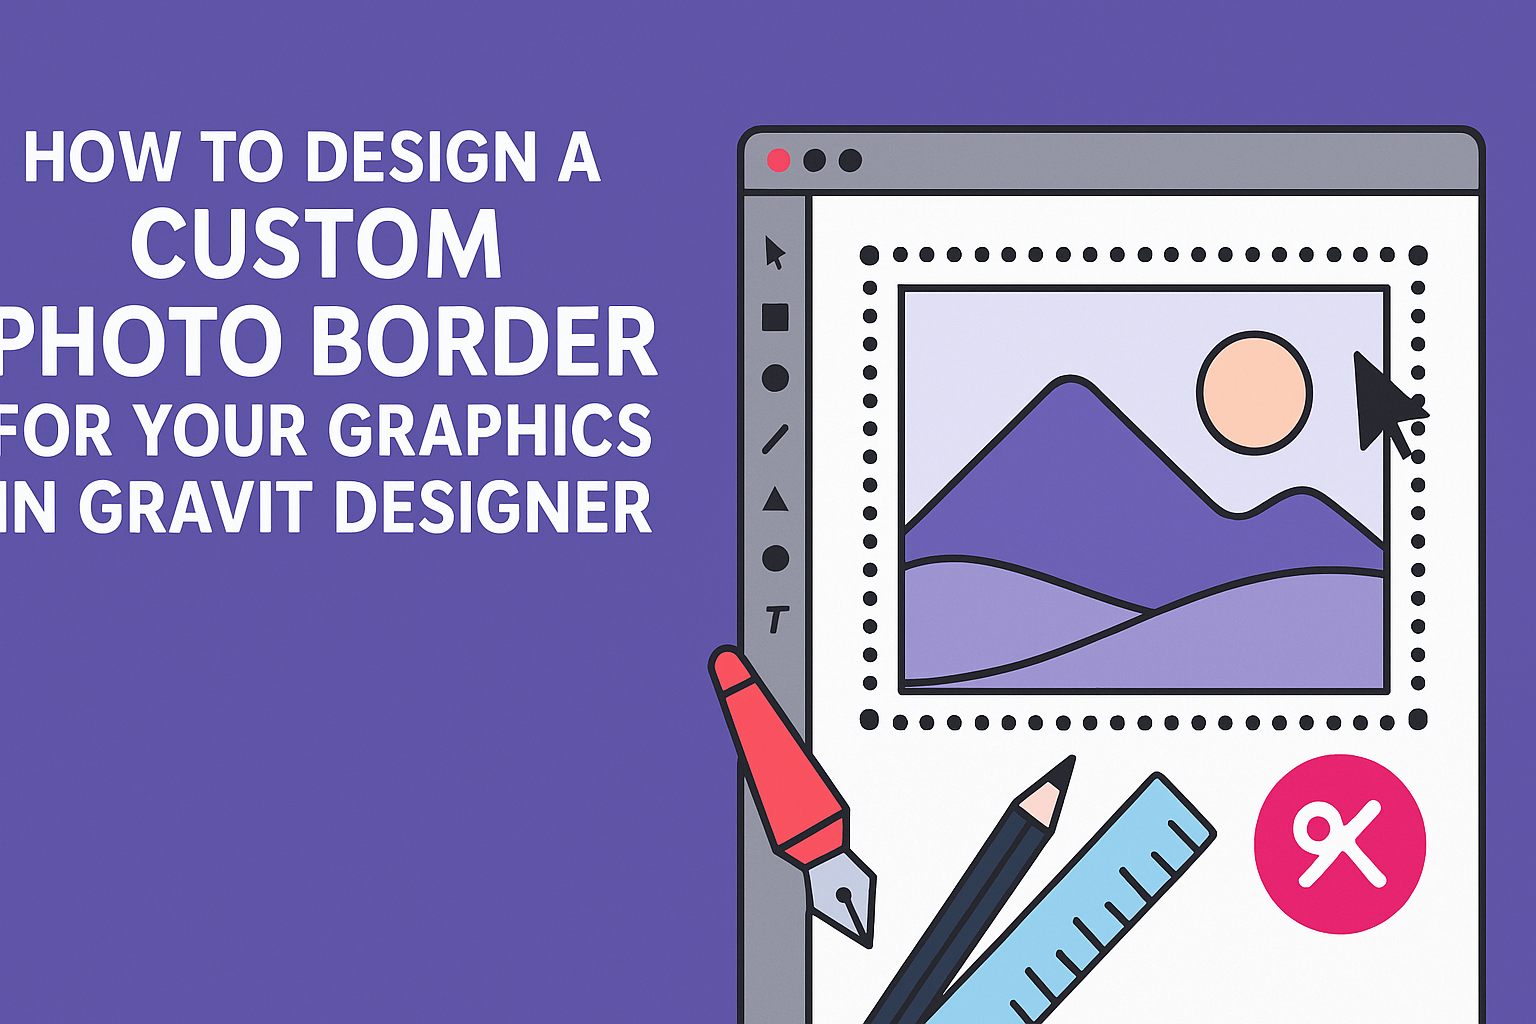
Designing a custom photo border can greatly enhance the look of graphics in Gravit Designer. Creating a unique border allows for more personalized and eye-catching designs that stand out.
With just a few simple steps, anyone can achieve a professional finish that elevates their visual projects.
Gravit Designer offers a variety of tools to help designers craft the perfect border for their images.
By exploring options like dashed and dotted lines, users can tailor their designs to match their style and the overall theme of their graphics. This flexibility encourages creativity and experimentation, making it easy to find the right fit for any project.
Whether working on social media graphics, posters, or personal artwork, mastering custom photo borders is a valuable skill. With the right guidance, designers can transform ordinary images into stunning visual statements.
Discovering how to navigate these features will make the design process not only easier but also more enjoyable.
Understanding the Gravit Designer Interface
Gravit Designer has a clean and user-friendly interface that makes designing easy for beginners and experts alike. Familiarizing oneself with the different panels and tools is crucial for effective use of the software.
Exploring the Toolbar
The toolbar is usually located at the top of the Gravit Designer window. It contains tools vital for creating and editing designs.
Key tools include the selection tool, shape tool, and text tool.
Users can find the Pen Tool for creating custom shapes and the Rectangle Tool to make basic shapes quickly. Each tool provides options in the context menu when selected.
Shortcuts are also available for faster access. For instance, pressing V selects the selection tool. This helps users work more efficiently.
Navigating the Layers Panel
The Layers Panel helps manage different elements in a design. It’s typically on the left side of the interface.
Each layer represents an object, making it easier to select and modify them individually.
Users can rename layers for better organization. This helps when working with multiple elements in a project.
Layers can be grouped, hidden, or locked to prevent accidental changes. Understanding how to manage layers is essential for complex designs.
Using the Properties Panel
The Properties Panel appears on the right side and shows options for the selected object. Here, users can modify various aspects such as size, color, and opacity.
For instance, to change a shape’s fill color, simply click on the color box in the Properties Panel. A color picker will appear, allowing for precise selections.
Users can also adjust stroke settings, add shadows, and access grids. These features enhance the design process, allowing for more customization and detail.
Setting Up Your Document
Before diving into creating a custom photo border in Gravit Designer, it’s important to set up the document correctly. The right canvas size and background make a big difference in the design process.
Choosing the Right Canvas Size
When starting a project in Gravit Designer, selecting the right canvas size is essential. The canvas should match the dimensions of the final graphic.
This can be based on where the graphic will be displayed, such as social media or print.
To choose the size, click on File and then New. In the dialog box, options for standard sizes are available.
For example, selecting A4 or 1080×1080 pixels is suitable for many designs. Adjusting the width and height manually is also an option for custom sizes.
Always keep DPI in mind. For print, a 300 DPI is standard, while 72 DPI is sufficient for digital use. This ensures that your design maintains quality no matter the format.
Working with Backgrounds
Once the canvas size is set, working with backgrounds comes next. A solid background can enhance the visual appeal of the photo border.
Gravit Designer allows designers to choose colors, gradients, or even images.
To set a background, first use the Fill tool. Click on the canvas, then select a color or gradient from the options.
A lighter color may help the border stand out, while a darker one can create a more dramatic effect.
If using an image, it can be added by dragging and dropping it onto the canvas. Make sure to adjust its size and position as needed.
Transparency settings can also be utilized to let the border’s details shine through. This creates a more cohesive look for the overall design.
Creating the Photo Border
Designing a custom photo border can greatly enhance the visual appeal of graphics. It allows for personalization and helps to make images stand out. Here are key steps to create an amazing photo border in Gravit Designer.
Selecting the Perfect Border Style
Choosing the right border style is essential for making an image pop. Gravit Designer offers various options.
Users can select from solid lines, dashed styles, or even creative patterns.
It’s helpful to consider the theme of the project. For a fun and casual look, a playful dotted or striped border works well. A sleek, solid line might be better for professional graphics.
Experimenting with different styles using the tool’s preview feature helps refine choices. This process ensures that the selected style complements the photo instead of overpowering it.
Adjusting Border Thickness and Color
Once a style is chosen, adjusting the thickness and color is next. Gravit allows users to customize these properties easily.
Thicker borders can create a bold statement, while thinner ones provide a subtle touch.
To find the perfect color, users can utilize the color picker. Matching the border color with elements within the photo can create harmony. Alternatively, choosing a contrasting color can add vibrancy.
It’s wise to test different thicknesses as well. A balanced approach ensures the border enhances the image without distracting from the main subject.
Applying Effects and Textures
Adding effects and textures can elevate a simple border into something special. Gravit Designer provides options such as shadows, glows, and gradients.
Using a soft shadow can create depth, making the border appear three-dimensional. Meanwhile, gradients add a dynamic feel, blending colors for a modern look.
Textures, like a wood grain or brush strokes, can give the border character.
Users should choose textures that align with the overall design theme. Trying different combinations of effects can yield exciting results. It’s all about letting creativity guide choices while keeping the design cohesive.
Finalizing and Exporting Your Design
Before saving the project, it’s important to double-check the design for any final adjustments and ensure it’s ready for export. This section covers reviewing the work for completeness and exporting it for specific uses, such as web or print.
Reviewing Your Work
Before exporting, reviewing the design is essential. He or she should take a closer look at each element.
Check for proper alignment and spacing, ensuring the border complements the main graphic.
It’s helpful to zoom in on details to spot any imperfections. If needed, make adjustments to colors or sizes.
Use the grid and guides in Gravit Designer to align elements accurately.
Taking a moment to preview the entire design can also reveal issues. Ensure that the visual flow is effective and that the border enhances, rather than distracts from, the main image.
Exporting for Web and Print
When the design is finalized, exporting it correctly is key.
He or she can choose between various formats, such as PNG, JPEG, or PDF, depending on the intended use.
For web, a PNG or JPEG is often suitable. It’s best to use a resolution of 72 DPI to keep file sizes small while maintaining quality.
On the other hand, for print, export the design in PDF or TIFF format at 300 DPI for optimal clarity.
In Gravit Designer, simply go to the export options and select the desired format.
Always remember to check the quality settings before saving to maintain the integrity of the design when viewed or printed.