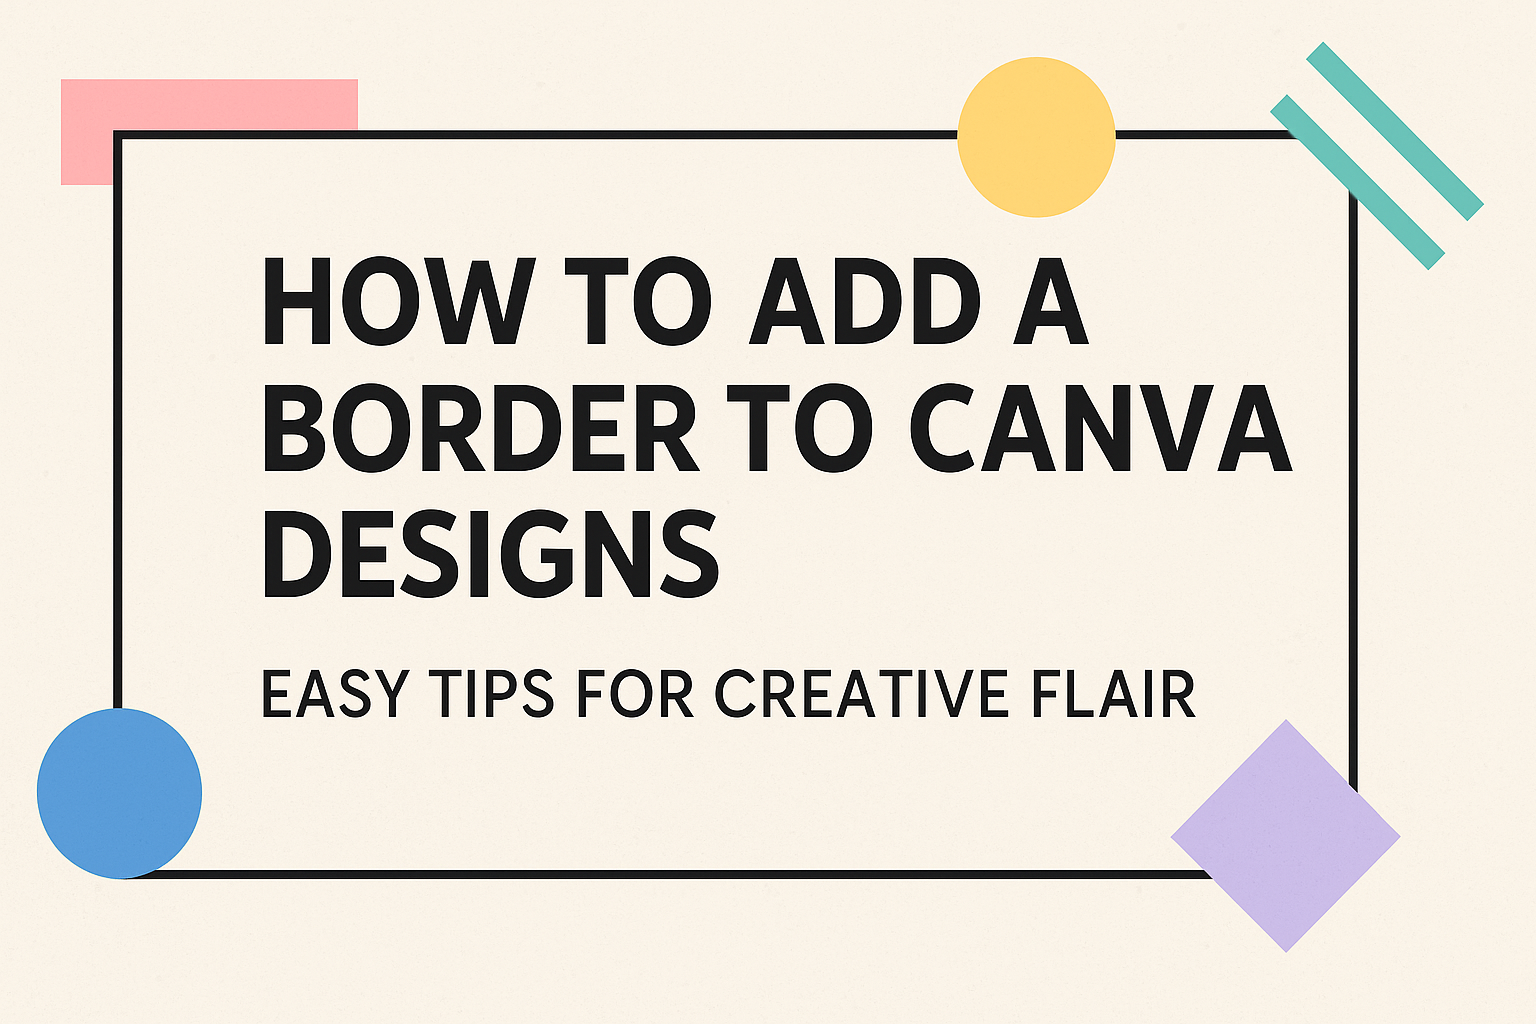
Adding a border to a Canva design can transform a simple graphic into something eye-catching and polished.
Borders give structure and depth, enhancing the overall aesthetic of any project.
In Canva, the quickest way to add a border is by using the “Elements” tab to search for ready-made borders and lines. This feature allows users to explore a wide range of border styles that can be tailored to fit their unique design needs.
Canva offers a variety of options, from simple lines to intricate patterns, making it easy to find the perfect border for any design.
By adjusting colors and sizes, one can easily customize these borders to match the theme and mood of the project. This versatility ensures that every design is unique and personal.
Exploring the creative possibilities of borders in Canva can inspire fresh design ideas and enhance creative projects.
With easy-to-use tools and an array of options available, Canva makes it effortless to add that finishing touch to your designs. Whether it’s for social media graphics, presentations, or print materials, borders can add style and professionalism to all types of content.
Understanding Canva Borders
Canva is a versatile tool for adding stylish borders to your designs. It offers a wide range of border types and customization options that are easily accessible and user-friendly.
The Basics of Border Design
In Canva, you can start enhancing your design by adding borders.
Borders help in framing the content and making it stand out.
To begin, open your design and navigate to the Elements tab. In the search bar, type “borders” to explore options.
Shortcuts like CMD+D (for Mac) or CTRL+D (for Windows) allow users to duplicate elements, including borders, for quick changes.
Adjust the size, style, and color of a border to suit your design needs. These features make it easy to give your design a polished look.
For those new to Canva, it’s essential to experiment with different borders.
Users can try using lines, shapes, or frames as borders, altering them to match their vision. Adding borders in Canva is straightforward, even for beginners.
Types of Borders Available in Canva
Canva provides a variety of border styles in its library, catering to different design tastes.
Users can choose from solid lines, dotted or dashed lines, and even more decorative options. These borders can be resized to fit any part of the design.
Some borders in Canva are free, while others are tagged as Pro, requiring a paid account for access.
Utilizing different borders, like curved edges or intricate patterns, can add a unique flair to your design.
Borders are not limited to static designs. Users can apply them to photos, graphics, or text boxes to highlight key elements. This flexibility ensures that there is a border option for every design challenge in Canva.
Starting with a Blank Canvas
Creating a design in Canva begins with a blank canvas. Key considerations include selecting the appropriate size and becoming familiar with the interface to maximize design efficiency.
Choosing the Right Canvas Size
Choosing the right canvas size is crucial for the final outcome.
Canva offers preset dimensions for various projects like social media posts, presentations, and business cards. These templates save time and ensure the design will look great on the intended platform.
Users can also enter custom dimensions. This option is useful for personalized projects that do not fit standard sizes.
To enter a custom size, users specify width and height in pixels, inches, or millimeters.
Selecting the best canvas size ensures that the designs fit their purposes perfectly. When the size matches the project’s aim, it enhances the design’s impact and prevents future resizing hassles.
Navigating the Canva Interface
Navigating the Canva interface might seem daunting at first, but it is designed to be user-friendly.
The dashboard is divided into sections such as elements, uploads, and text, which helps users easily find what they need.
On the left sidebar, users can access several tools and libraries. Clicking the “Elements” tab allows users to browse shapes, lines, and borders. The “Uploads” section enables uploading personal images to the project.
At the top, the toolbar provides options like undo, redo, and zoom, which assist throughout the design process.
Getting comfortable with the interface boosts productivity and unleashes creativity.
Adding Borders to Your Design
Adding borders in Canva can enhance the visual appeal of any design. Whether you want a simple line around an image or a more intricate frame, you can easily customize your border’s style, thickness, and color using Canva’s tools.
Using Canva’s Elements for Borders
In Canva, borders can be created using the Elements feature. By navigating to the “Elements” tab, users can find a variety of border styles.
To find borders, simply type “borders” into the search bar. Canva offers different options, including decorated borders and simple lines.
Users can browse through the options and select a preferred style. Ready-made borders can be added directly to the design. This approach allows for a quick way to frame images or text.
Paid options are marked with a $ sign, while free ones have no marking. This feature makes it simple to match the border style to the overall theme of the design.
Customizing Border Thickness
Adjusting the thickness of a border in Canva is an important step in getting the desired look.
Once a border is added to the design, selecting it brings up customization tools.
To change the thickness, find the line weight option. By adjusting the slider, users can increase or decrease border thickness as needed.
Thicker borders can emphasize a certain section, while thin lines add subtle highlights.
Playing with the thickness can change the design’s focus without drastic alterations. Experimenting with different thicknesses is an easy way to find the perfect balance for the design’s layout and style.
Applying Color to Your Borders
Color can transform a simple border into a striking feature of your design.
In Canva, changing the border color is easy and offers creative flexibility. After selecting a border, look for the color palette tool.
With this tool, users can choose from pre-set colors or create custom hues.
Matching the border color to the design’s color scheme helps maintain a cohesive look. Alternatively, a contrasting color can make the border stand out.
Playing with shades and tones allows designers to emphasize different elements of their creations through color contrasts. This feature makes it fun to adapt borders to suit any project, big or small.
Enhancing Borders with Advanced Techniques
Enhancing borders in Canva involves creating unique designs by incorporating patterns, textures, and multiple layers. These techniques add depth and sophistication to any project.
Creating Patterns and Textures
To give borders a creative twist, users can apply patterns and textures. This involves using Canva’s element library.
By typing patterns or textures in the search bar, a variety of options appear. These elements can overlay or blend seamlessly with the border.
For example, adding a subtle texture makes a design stand out. Users can adjust transparency to control how bold or light it appears.
Experimenting with different combinations helps achieve the desired effect. Each texture can completely transform the border’s look, offering a unique style tailored to specific project needs.
Adding Multiple Layers of Borders
Layering adds complexity and depth to designs. By stacking multiple borders, users can create an eye-catching effect.
Start by selecting a primary border from Canva’s extensive selection. Next, add additional borders by repeating the process, ensuring each layer complements the previous one.
Users can adjust the colors, thickness, and styles of each border layer. This flexibility allows for endless customization.
Using contrasting colors, for instance, can highlight particular elements of the design. By carefully arranging layers, one can create intricate and dynamic visuals that draw the viewer’s attention.
Using Frames for Unique Border Designs
Using frames in Canva can elevate your design by giving it a distinct and creative touch. Frames offer versatility, allowing users to tailor both the look and feel of their borders.
Incorporating Frames into Your Borders
Canva provides a wide range of frames that can be used as borders around your designs. To start, users can find frames by navigating to the “Elements” tab and searching for “frames.”
These frames can be adjusted easily by dragging them around the design area. This method allows users to surround their content effortlessly with unique shapes, enhancing the overall design.
Frames are not just rectangular; there are various shapes like circles, hearts, and more. This variety ensures that any design style can find a suitable frame to match its theme.
For instance, a floral frame may complement a nature-themed flyer, while geometric frames might be perfect for a modern aesthetic. Using frames as borders adds creativity without requiring advanced design skills.
Customizing Frame Styles
To further personalize borders using frames, Canva offers customization options.
Users can modify frame colors to better align with their design’s color scheme. This can be done by clicking on the frame and selecting the color tool.
It’s also possible to adjust the frame’s thickness to make it more or less prominent in the design, depending on what fits best.
Additional design elements, like icons or images, can be layered on top of frames.
By doing this, borders become even more linked to the main content of the project. Frames can be used creatively by combining multiple frames to create a layered border effect. This adds depth and complexity without overwhelming the design.
Finalizing Your Border Design
When finalizing a border design in Canva, it’s important to ensure that it complements the content while maintaining a cohesive look. Careful adjustments and thoughtful previewing can make your design truly stand out.
Adjusting the Border to Your Content
To make sure your border fits well with your overall design, begin by looking at the color and style.
Choosing colors that echo or contrast the main theme of your project can add a polished touch.
Experiment with different thickness levels, as a thicker border can create a bold look, while thinner lines might offer a subtler elegance.
Consider the shapes, too. Customizing borders using shapes like circles or squares can frame the content uniquely.
Integrating these shapes can help highlight key elements, drawing the viewer’s eye where it matters most.
Combining elements creatively, such as adding shadows or gradients, can further enhance the visual impact and overall aesthetic appeal of your project.
Previewing and Editing Before Finalizing
Before wrapping up your design, take a moment to preview your work. This step helps ensure everything looks good and works together.
Viewing your design in different sizes can reveal details you might miss otherwise. Adjust any elements that seem out of place.
It helps to take a break and return with fresh eyes to identify possible tweaks.
Canva’s features allow for easy editing, letting you make adjustments without starting over.
Pay attention to alignment and spacing to keep your design neat and organized. Don’t hesitate to move borders a bit for balance.
Print a test copy if you plan to use your design in physical form. Colors can look different on paper, so doing this can ensure your final product looks as great as it does on screen.
Saving and Exporting Your Design
Once your Canva design is complete with the perfect border, saving and exporting your project is the next vital step. Choosing the right file format ensures the best quality for your purpose, whether you’re aiming for a digital display or print.
Choosing the Right File Format
In Canva, there are several file formats available to suit different needs.
PNG is ideal for high-quality digital graphics, especially when transparency is needed.
JPG is often used for photos and web images due to its smaller file size, which helps with faster loading times.
For print jobs, PDF Print is recommended because it preserves quality and layers well, which is important for detailed work.
It’s essential to consider where and how the design will be used to make the best choice.
SVG is another option for vector graphics, useful for scalable images without losing quality.
Understanding each format ensures that the design maintains its integrity wherever it’s used. Proper selection is key to avoid unnecessary rework and ensure the design looks professional in any setting.
Exporting for Web or Print
Exporting your Canva design requires careful attention to detail depending on your end-use.
For web purposes, exporting as PNG or JPG is common. Selecting the correct resolution is crucial.
72 DPI is generally enough for web use, ensuring good quality and fast download.
For print, ensure you select the PDF Print option for the best results.
Consider setting a 300 DPI resolution for sharp, clear images in printed materials.
Always check for issues like margins and bleed areas before finalizing the export.