Creating stunning text effects in Photoshop can transform any design project into a professional masterpiece. With just a few tools and techniques, anyone can add flair and depth to text, making it stand out beautifully. From adding textures and shadows to incorporating vibrant colors, text effects open up endless creative possibilities.
Photoshop offers numerous tutorials and resources to guide users through crafting these eye-catching effects. The process often involves choosing the right font, using layers effectively, and applying the appropriate styles. Techniques such as adding a texture with a layer mask or designing a retro-inspired text effect can significantly enhance visual appeal.
For those eager to learn, there are plenty of easy-to-follow tutorials available online that cater to all skill levels. Whether creating a poster, a website banner, or a digital ad, these effects can elevate the overall design, making it more dynamic and engaging.
Understanding the Basics
Creating text effects in Photoshop involves mastering a few essential skills. This includes navigating the workspace, using the text tool effectively, and understanding the role of layers in editing text.
Navigating the Photoshop Workspace
In Photoshop, understanding the workspace is key to creating stunning text effects. The program’s interface is filled with various panels, such as Layers and Tools. These panels can be rearranged to suit each user’s needs.
The Tools panel, usually on the left, contains tools for selection, drawing, and resizing, among others. Each tool has its unique function, making it crucial for users to explore what each one offers. Familiarity with these helps users quickly select the right tool for different tasks.
On the right, the Layers panel allows users to manage text, images, and effects. Each element is on a separate layer, simplifying the editing process. Users can turn layers on or off, or rearrange them as needed.
Exploring the Text Tool
The Text Tool in Photoshop is fundamental for adding and editing text. Located in the Tools panel, it can be selected by clicking the “T” icon or pressing “T” on the keyboard. Once activated, users can click anywhere in the document to start typing.
With the text selected, users can adjust font, size, style, and color directly from the Options bar at the top. This bar also provides control over text alignment and character spacing, which are important for achieving the desired effect.
For more detailed changes, the Character and Paragraph panels offer advanced options. These panels allow users to fine-tune the typography, which can elevate the overall design.
Layers and Text Editing Basics
Layers are essential in managing text and effects in Photoshop. Each text element is placed on its own layer, which can be manipulated without affecting other parts of the design. This flexibility is one of the program’s strengths.
To edit a text layer, users can double-click the layer’s name in the Layers panel. This opens options for altering the font and style or applying effects like shadows or glows. Such effects are adjusted in the Layer Style dialog, accessible by double-clicking the text layer.
Photoshop’s non-destructive editing means changes can be undone without losing quality. This allows for experimenting with various looks until the desired effect is achieved.
Starting with Simple Text Effects
Learning to create text effects in Photoshop can make projects more dynamic and visually appealing. This section focuses on applying drop shadows, utilizing glows and strokes, and creating 3D text effects to enhance any text design.
Applying Drop Shadows
Drop shadows can add depth and dimension to simple text. To start, select the text layer in Photoshop. Navigate to the Layer Styles by double-clicking the text layer. In the Layer Style dialog, choose Drop Shadow. Adjust the settings such as angle, distance, and opacity to match the desired effect.
Experimenting with these settings can create anything from a subtle shadow to a dramatic look. The blend mode ‘Multiply’ is often used for shadows, as it seamlessly blends into the background.
Playing with color can also personalize the shadow effect. A subtle colored shadow can add harmony between the text and its background. Shadows can make text stand out, helping viewers focus on the message.
Utilizing Glows and Strokes
Glows and strokes can give a vibrant look to text and highlight it on a busy background. To add a glow, go to the text layer’s Layer Styles and choose Outer Glow. Control the spread and size to create a soft or intense glow effect.
Adjust the glow’s color to match the design theme. Soft pastel glows often give a soothing look, while bright colors can add excitement.
Strokes outline the text, making it pop. In the Layer Style dialog, select Stroke. Set its size and color to complement the glow. A harmonious combination of glow and stroke can dramatically enhance text and make it legible against complicated backdrops.
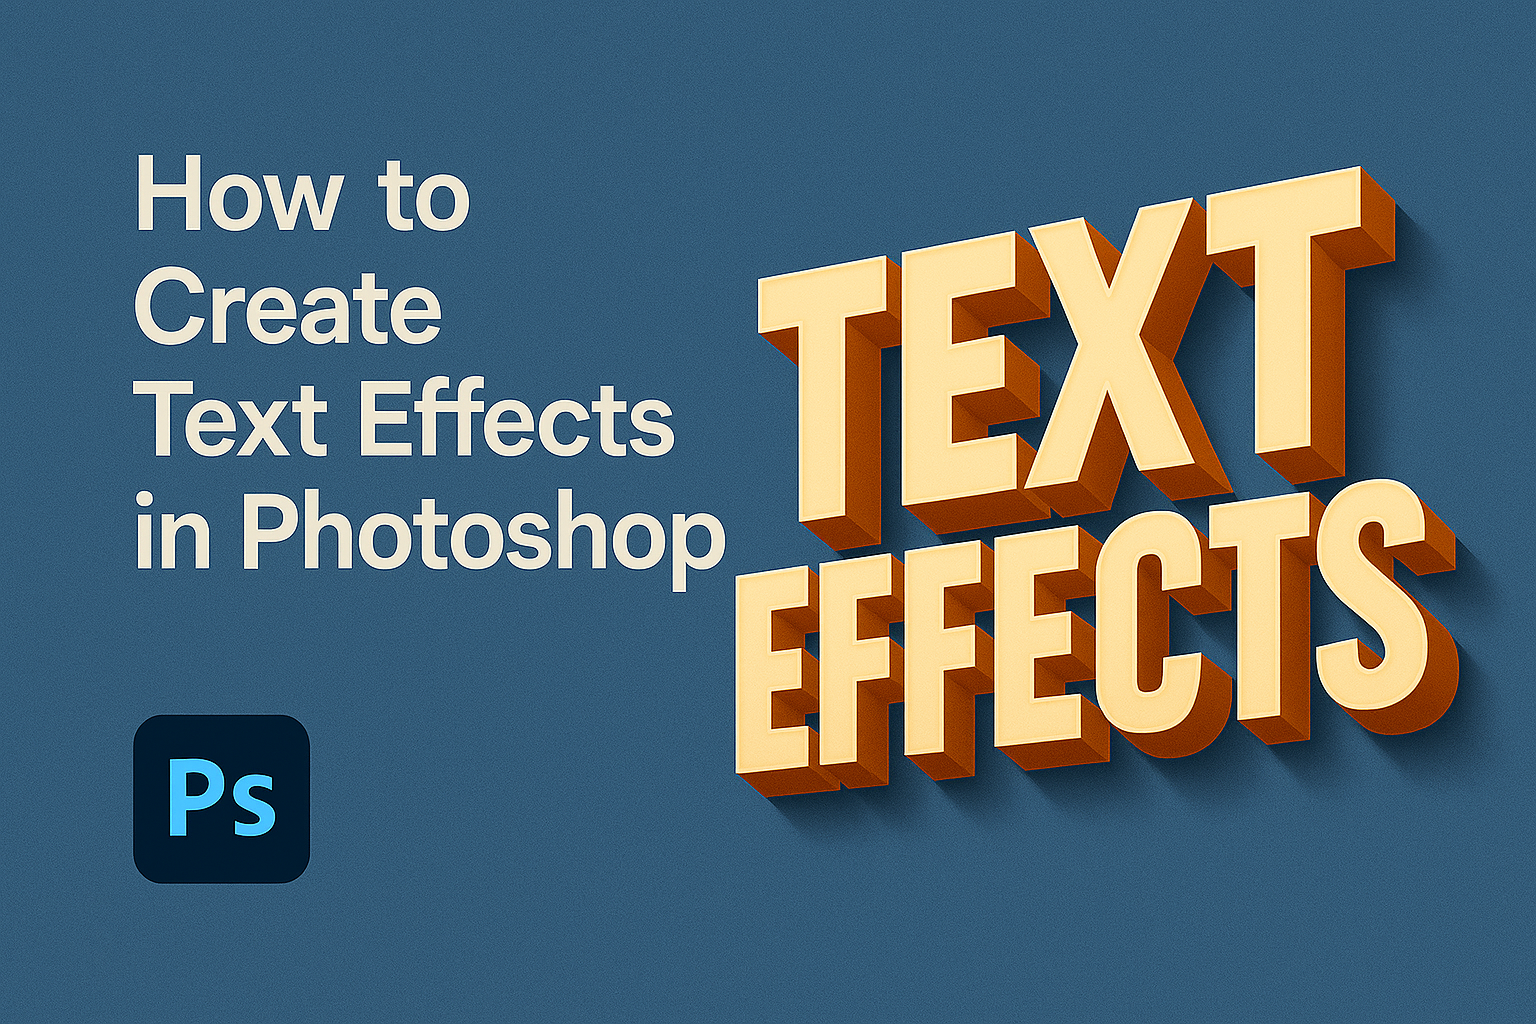
Creating 3D Text
Creating 3D text gives depth and sophistication to designs. First, select the text and go to the 3D menu to convert it into a 3D layer. This enables working with multiple properties like depth and angle.
Once converted, rotating the text provides a new perspective. Adjusting the extrusion depth gives it a more pronounced 3D appearance. Playing with lighting and shadows enhances the realism of the text.
Textures and materials can be added to the 3D text, offering unique finishes such as metallic or glossy surfaces. This transforms flat text into a striking three-dimensional feature, grabbing the audience’s attention and enhancing the overall design.
Advanced Text Effect Techniques
Advanced text effect techniques in Photoshop can turn simple text into visually stunning artwork. These techniques involve using layer styles, creating warped text, and masking techniques to add depth and intricacy to designs.
Using Layer Styles for Sophistication
Layer styles are essential for achieving sophisticated text effects. They allow designers to add effects such as shadows, glows, and overlays without permanently altering the text. A popular example includes creating shiny metallic text using gradients and bevels. Designers can quickly adjust and experiment with different looks.
Additionally, layer styles make it easy to achieve a consistent design. By saving and reapplying styles, users save time and effort. Techniques like using a drop shadow and gradient overlay can bring text to life by adding depth and vibrancy.
Warped Text and Custom Shapes
Warped text and custom shapes enable designers to fit text into unique designs and layouts. By using the Warp Text tool, text can be twisted and bent into various shapes, making it adaptable to different artistic requirements. This flexibility is key for creating eye-catching banners and logos.
Custom shapes can also be used to house text creatively. Imagine words warped around a circle or shaped like a wave. This design choice can significantly impact the reader’s visual experience and adds character to the text.
Text Masking and Clipping Masks
Text masking and clipping masks offer dynamic options for integrating text with images. These techniques allow for the addition of textures and patterns to text, enhancing its impact. A clipping mask places an image within the shape of the text, making it a perfect choice for advertisements or posters that need striking visuals.
Text masking involves revealing parts of the text through another layer, giving the text an intricate appearance. This technique is particularly useful when needing layered, complex designs without distracting from readability.
Working with Brushes and Textures
In Photoshop, brushes and textures are key tools for creating exciting text effects. They help add special touches, making text stand out with unique and vibrant looks. Here’s how to use these tools effectively.
Incorporating Brushes for Unique Effects
Using brushes in Photoshop can elevate text by adding intricate details. Brushes can mimic anything from paint splatters to distressed textures, giving text an artistic flair. To apply a brush effect, one can use the Brush Tool from the toolbox.
It’s important to choose a brush style that matches the overall design. Adjust the brush size and opacity to control its impact on the text. Exploring various types of brushes available in Photoshop or downloading more from online resources can offer even greater creativity. Custom brushes can be created too, by transforming images into brush presets. This customization allows users to tailor effects specifically to their design needs.
Adding Textures for Depth
Textures enrich text by introducing depth and dimension. In Photoshop, textures are often added by using layer masks. To start, a texture image can be opened and placed above the text layer.
Creating a clipping mask limits the texture to just the text area. Adjusting the texture’s layer blending mode can further refine the effect, allowing the text beneath to interact in interesting ways with the texture above. Popular blending modes like Overlay or Multiply can be used. Combining textures with different opacities and blending modes enhances the complexity of the design and creates visually compelling text effects that are both striking and memorable.
Using Gradients for Color Effects
Gradients provide smooth transitions between colors, adding vibrancy and a modern touch to text effects. In Photoshop, the Gradient Tool allows users to apply these color transitions effortlessly. Users can choose from the preset gradients or create their own by selecting colors within the Gradient Editor.
Adding a gradient overlay to a text layer can make the text pop. Changing the angle, scale, and style of the gradient can yield varied results, from subtle to bold color shifts. An interesting approach is to combine gradients with other text effects like textures or brushes, which can enhance the dynamic appearance and result in more eye-catching designs.
Animation and 3D Effects
Creating animated text effects in Photoshop can be a game-changer for web and video content. Meanwhile, 3D text effects offer depth and dimension, making your designs standout.
Animating Text for Web and Video
Animating text in Photoshop involves using tools like smart filters and gradient fills. These features allow creators to give their text layers movement and style, perfect for web and video projects. Photoshop’s capabilities ensure that animations are smooth and professional-looking. Additionally, using video overlays can add an extra layer of creativity. Many tutorials and actions are available that simplify this process, enabling users to create engaging effects with just a few clicks. For instance, a VHS-style 3D effect is popular among designers, providing a retro look with modern tools. It’s important to ensure animations are optimized for the target platform to avoid performance issues.
Advanced 3D Text Options
When creating 3D text, Photoshop offers a range of advanced options. Users can adjust materials, lighting, and textures to achieve realistic effects. For example, changing the diffuse color affects the main appearance of the text, while the specular color impacts highlights and shine. Setting consistent ambient colors can create natural shadows. By using features like “New 3D Extrusion From Selected Layer,” users can transform flat text into stunning 3D models. These models can then be further customized with different color intensities and shadow adjustments. For those looking to expand their capabilities, downloadable templates and resources are readily available online. This allows for greater creativity and quicker implementation of complex designs.
Fine-Tuning Your Designs
Creating text effects in Photoshop is more than just choosing a font and color. Fine-tuning involves precise adjustments to make your design unique. It’s important to focus on details like spacing and style to ensure that your text is both readable and visually appealing.
Adjusting Kerning and Leading
Kerning and leading are crucial for improving text readability and aesthetics. Kerning adjusts the space between individual characters. This helps prevent letters from looking awkwardly spaced or too close together. Fine-tuning kerning can transform a good text layout into a great one. Photoshop offers a simple way to adjust kerning through the Character Panel. Highlight the text and use the kerning box to experiment with different settings until the text looks just right.
Leading impacts the vertical space between lines of text. Proper leading ensures that text isn’t too cramped or spread out. In Photoshop, adjust leading also in the Character Panel. Good leading contributes to an easy-to-read design, especially for longer text blocks.
Customizing with Character and Paragraph Styles
Character and paragraph styles allow designers to apply consistent text formatting across projects, saving time and keeping a uniform appearance. Character Styles include attributes like font, size, and color. Once defined, they can be quickly applied to any text. This is especially useful when designing multi-page documents or ensuring brand consistency.
Paragraph Styles take customization a step further by including alignment, spacing, and indentation options. These styles are ideal for managing large text areas like articles or reports. By using paragraph styles, designers ensure that text remains uniform and organized, which is crucial for readability and professional presentation.
Experimenting with these settings will give your text effects a polished and professional look. Including specific styles and adjustments in your workflow can elevate any design project.
Saving and Exporting for Different Media
Creating text effects in Photoshop is only the beginning. Knowing how to save and export your work properly ensures it looks great on both print and digital platforms. This involves preparing files for print and optimizing them for web use.
Preparing Files for Print
When preparing files for print, it’s essential to set the correct resolution and color mode. Print materials often require a resolution of 300 DPI (dots per inch) for clarity. Ensure the color mode is set to CMYK, which is standard for printers.
Consider using file formats like TIFF or PDF for high-quality printing. These formats preserve detailed information and support CMYK color profiles. Exporting in these formats helps maintain the text effects and ensures they print as intended.
Bleeds and crop marks are vital for print materials. They ensure that text or other elements near edges are not trimmed off during printing. Enable these features when saving the file to avoid any unwanted surprises once it goes to print.
Optimizing for Web and Screens
For digital use, file size and load time are key. Lower the resolution to 72 DPI, which is sufficient for screen viewing. This helps reduce file size without losing clarity on screens.
The RGB color mode is recommended for web use as most screens display colors this way. Save images as JPEG, PNG, or GIF based on the needed quality and transparency. These formats load quickly and maintain vibrant colors.
Use tools like Save for Web in Photoshop to compress images without losing much quality. This feature allows for easy adjustment of file size and ensures the final image is optimized for fast loading across web platforms.