Creating custom product mockups is a great way to showcase designs and attract potential buyers.
Using Pixlr, anyone can easily make stunning mockups in just a few simple steps. Whether it’s for t-shirts, mugs, or digital products, these mockups help bring ideas to life.
With the right tools and techniques, transforming an ordinary image into a professional-looking mockup can be straightforward.
By following a few easy tutorials, one can quickly learn to edit designs and create eye-catching visuals. This not only enhances the presentation but also boosts the chances of making sales.
The skills gained from making custom mockups extend beyond just one product. It opens the door to creativity and experimentation, allowing for unique branding opportunities. Readers will discover how to harness the power of Pixlr for their own projects, making their designs stand out in a crowded marketplace.
Understanding Pixlr
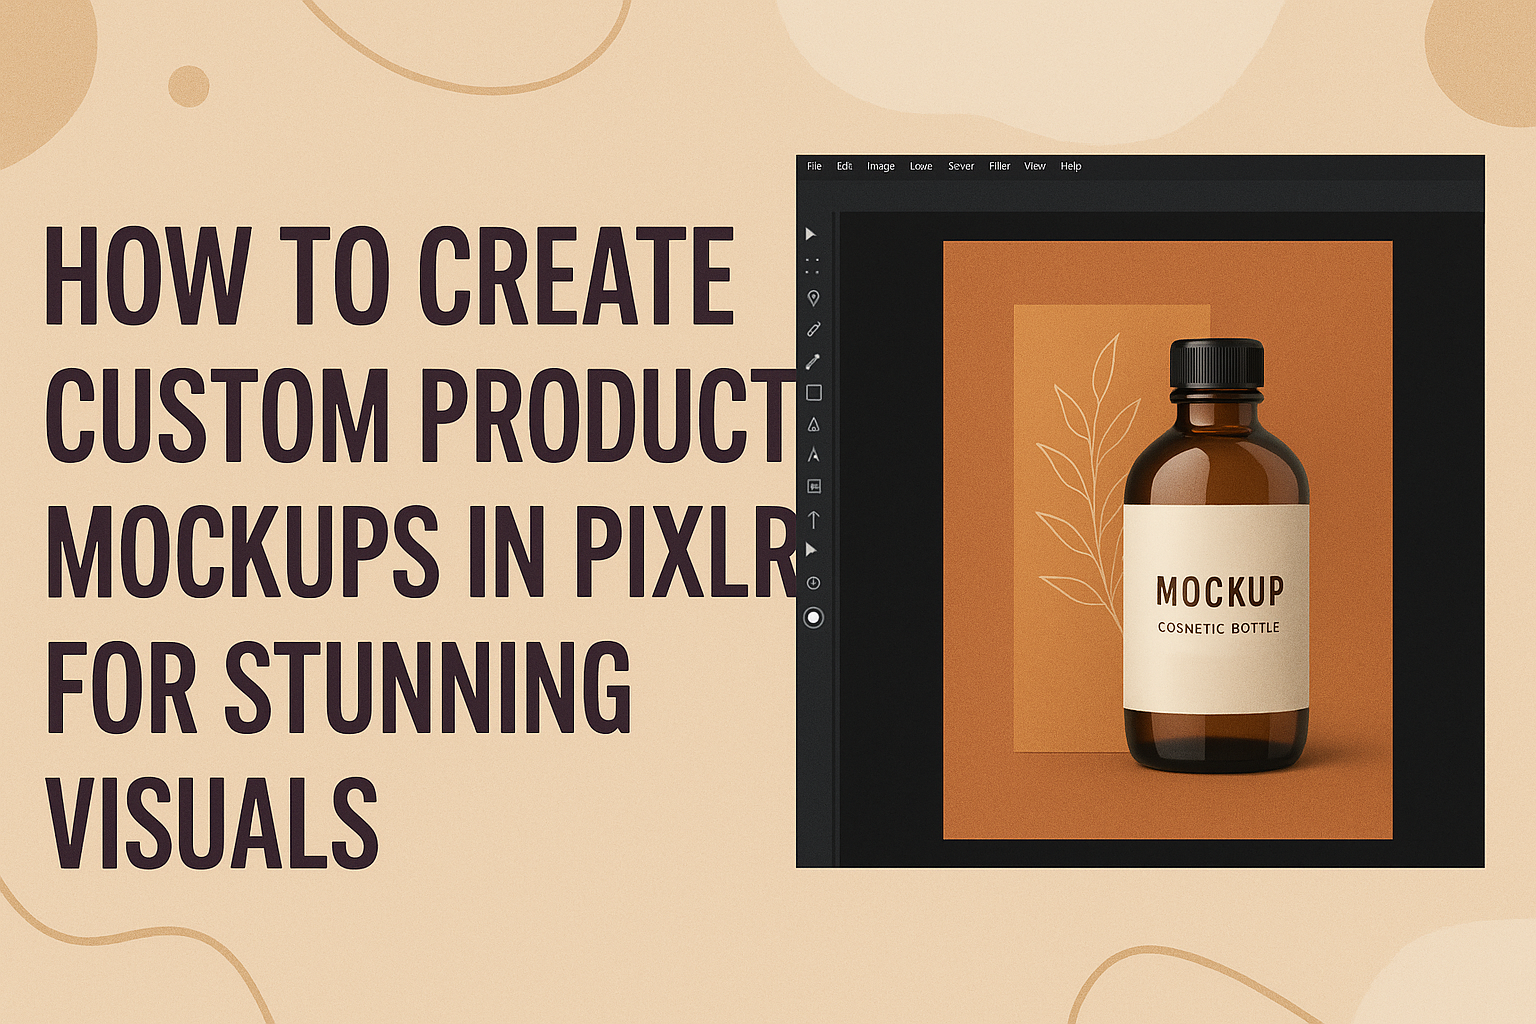
Pixlr is a user-friendly online photo editing tool that offers a range of features perfect for creating product mockups. It allows users to easily edit images and design custom visuals without needing advanced skills.
Overview of Pixlr Features
Pixlr provides a variety of features tailored for different design needs. Users can enjoy tools like layers, filters, and adjustments to enhance their images.
It supports masking, which lets them blend designs seamlessly. The interface is intuitive, making it accessible for beginners.
Pixlr also offers preset templates which can save time and help streamline the process. The ability to work in different formats including PNG and JPG makes it versatile for various projects.
All these features make it easier to visualize designs and create attractive product displays.
Benefits of Using Pixlr for Mockups
Using Pixlr for mockups has several advantages. First, it is accessible; no downloads are needed since it’s web-based.
Its availability on multiple devices allows users to work anytime and anywhere.
Pixlr’s cost-effectiveness is another benefit, as it offers many features for free, with optional upgrades. This makes it ideal for freelancers and small businesses.
Moreover, the platform is perfect for quickly visualizing ideas. Users can create, edit, and share content without hassle. This efficiency can speed up the design process and enhance creativity.
Getting Started with Pixlr
To begin using Pixlr, it’s important to create an account and familiarize oneself with the interface. Setting up the workspace can enhance the overall editing experience, making it smoother and more enjoyable.
Creating an Account
Creating an account in Pixlr is the first step. It’s free and straightforward.
Users should visit the Pixlr website and click on the “Sign Up” button. They can use an email address or sign in with Google or Facebook.
After entering the required information, users will receive a confirmation email. Clicking on the link in the email completes the registration.
With an account, users can save projects and access them anytime. This feature is especially useful for ongoing designs and mockups.
Navigating the Interface
Once logged in, users will encounter the Pixlr interface. The main screen features a toolbar on the left side. This toolbar includes tools for editing, such as crop, brush, and text.
At the top, there is a menu bar with options for file management and support. Users can open new projects or import images directly.
The right side of the screen displays layers, providing options for managing multiple elements. Familiarity with these tools enhances the ability to create effective mockups.
Setting Up Your Workspace
Setting up the workspace in Pixlr can greatly improve productivity.
Users should start by organizing their toolbars. They can customize which tools they want readily available by dragging and dropping them.
Adjusting the canvas size is also essential. Users can set the size of their mockup according to their product dimensions.
Lastly, arranging windows for layers and effects can help keep everything visible. This setup allows for easier access to necessary functions while working on a project. A well-organized workspace can make the design process more efficient.
Designing Your Product Mockup
Creating a product mockup requires careful attention to detail. Key steps include choosing a template, importing visual elements, working with layers, and adding branding elements. These steps help in creating a polished and professional-looking mockup.
Selecting the Right Template
Choosing the right template sets the foundation for a great mockup. Pixlr offers various templates that cater to different product types, like t-shirts, mugs, or electronics.
Consider the product you want to showcase. Pick a template that best fits that product’s shape and style. This makes it easier to visualize how the final design will look.
Accessing the template library in Pixlr is straightforward; users can filter options based on their needs.
After selecting, ensure the template resolution is high enough. This avoids pixelation and helps in presenting the design clearly. A solid template choice can enhance the appeal of the final mockup.
Importing Images and Graphics
Once a template is selected, the next step is importing images and graphics.
To do this, users can easily drag and drop files into Pixlr. This is often the best way to get custom designs into the mockup.
When importing, make sure to use high-resolution images. Low-quality images can harm the overall look of the mockup. If necessary, users can resize their images to fit the template perfectly.
Additionally, consider using graphics that complement the product. This means choosing images that reflect the product’s style and target audience. A good match will enhance the mockup’s appeal.
Using Layers for Detailed Editing
Layers are essential for creating detailed mockups. Using layers allows users to edit each element individually. This means adjustments can be made without affecting the overall design.
In Pixlr, users can easily add, delete, or rearrange layers. For instance, if a background needs changing, it can be done without altering other elements. This flexibility is key for achieving a polished look.
Users should label their layers clearly as they work. This helps in keeping track of different elements. A well-organized layer structure simplifies the editing process, making it more efficient.
Adding Text and Branding
Adding text and branding is crucial for personalizing the mockup.
Users can incorporate their brand name, slogan, or product details to create a unique visual identity.
Pixlr allows for various text options, including font styles, sizes, and colors. Users should choose fonts that align with their brand’s image. Consistency in style and color can enhance brand recognition.
Incorporating logos is also important. A clear logo placement builds trust with potential customers. Text and branding elements should be visually balanced with other design components for the best effect.
Finalizing and Exporting
In this part, the focus is on perfecting the mockup design before sharing it. The steps include applying final touches, saving the project for future edits, and exporting it in the best format for use.
Applying Final Touches
After completing the design, it’s time for some final adjustments.
Check the colors, shadows, and overall layout. This ensures everything looks polished.
Using the adjustment tools in Pixlr, one can enhance brightness and contrast. Tik-tok effects like shadows and highlights also add depth to the design.
It is helpful to zoom in and inspect all areas closely. This avoids any small errors that could disrupt the final look. Once satisfied, the mockup is ready for the next steps.
Saving Your Project
Before exporting, saving the project is crucial. This allows for future edits without starting over.
In Pixlr, saving is easy. Click on the “File” option and select “Save”.
Choose the Pixlr format to retain all layers. This keeps the design editable later.
It’s a good idea to name the file clearly, so it can be easily found later. Adding the date or version number can also help in organizing.
Exporting the Mockup
Now that the design is finalized and saved, it’s time to export the mockup. Pixlr offers several formats for exporting, including JPEG and PNG.
To export, go to “File” and select “Export”.
Choose the preferred format based on where the mockup will be used. For web use, PNG is often recommended due to its high quality.
When exporting, adjust the quality settings if needed. Higher quality means larger file size, so find a balance.
After making selections, click “Download” to save the file to the computer.