Creating eye-catching designs can be a fun experience with the right tools.
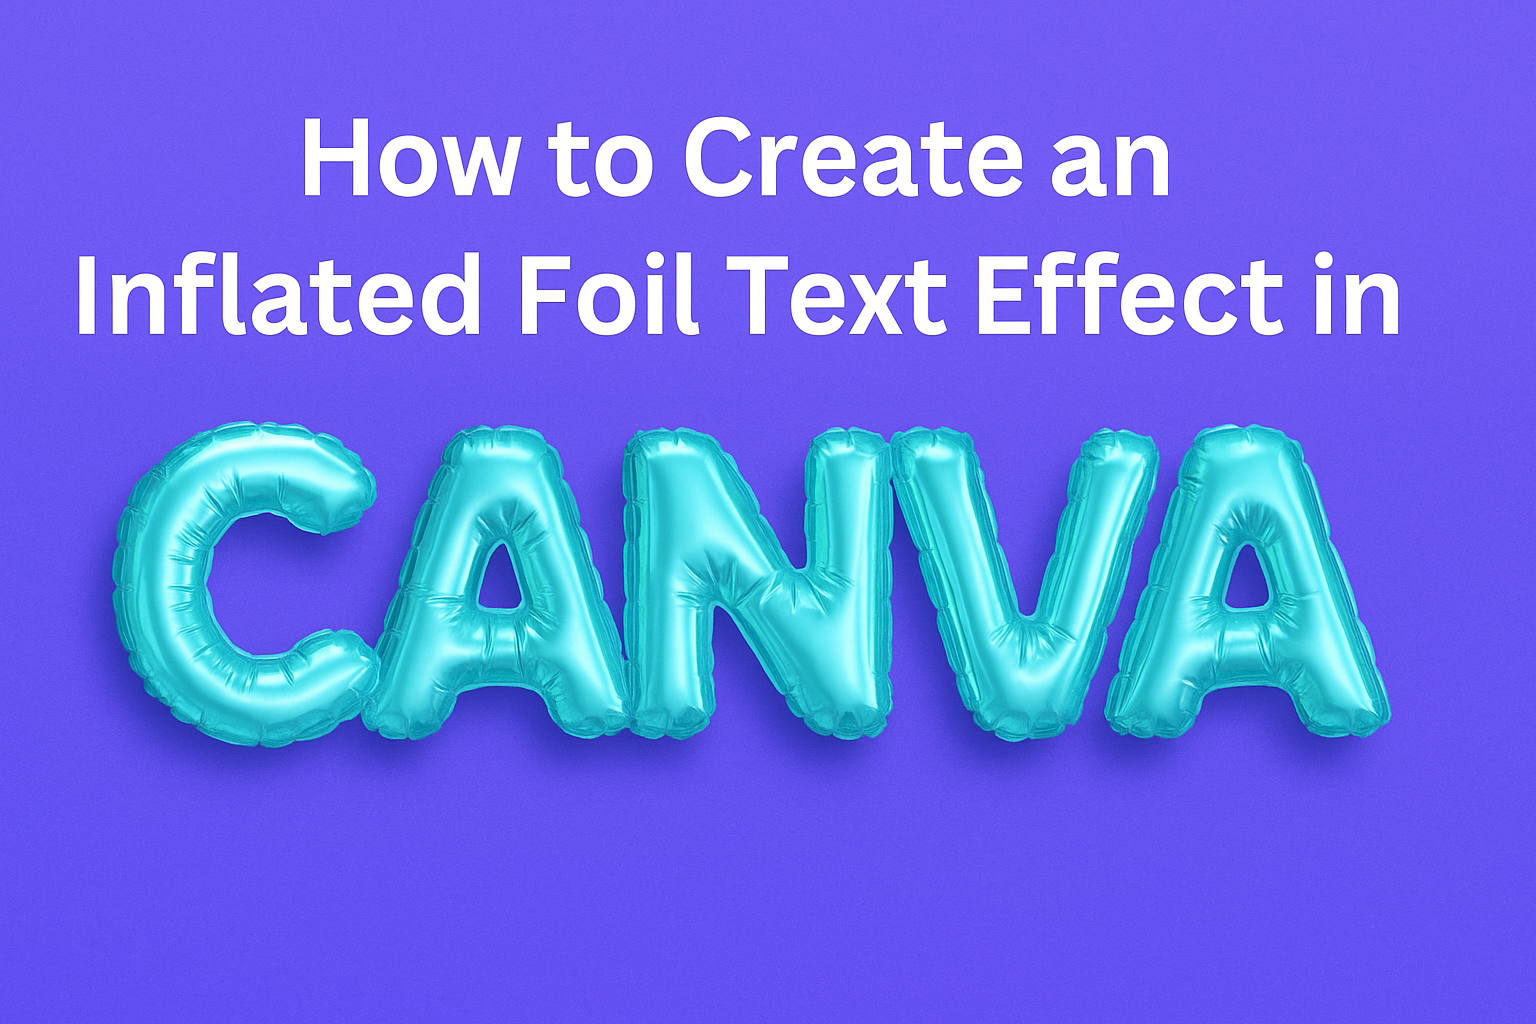
To achieve an inflated foil text effect in Canva, users can easily follow a series of simple steps that enhance any project. This effect adds a stylish, three-dimensional look that makes text pop and can be perfect for invitations, posters, or social media graphics.
By using Canva’s user-friendly interface, even those without design experience can make impressive visuals.
With just a few clicks, they can create a text box, choose their preferred font, and experiment with colors and shadows to achieve the desired inflated look.
This tutorial will guide them through each step, ensuring that the final design catches the eye.
Whether for personal use or professional projects, mastering the inflated foil text effect can significantly improve the appeal of any design.
Readers will discover how to unleash their creativity and make their text stand out with bold, shiny letters that attract attention.
Getting Started with Canva
Canva is a user-friendly design tool that makes it easy for anyone to create stunning graphics. To start, individuals need to know how to create a new design and understand the Canva interface.
Creating a New Design
To begin, users should log into their Canva account.
Once logged in, they will find a button labeled “Create a design” on the top right. Clicking this will open a dropdown menu with options like “Instagram Post,” “Presentation,” and more.
Users can either choose a preset size or enter custom dimensions. For example, selecting “Custom size” allows for precise control over width and height in pixels or inches.
After choosing the desired format, a blank canvas will appear, ready for design.
Understanding the Canva Interface
The Canva interface is intuitive and organized. It features a side panel that includes elements such as Templates, Photos, and Text. These categories help users easily access different design tools.
At the top, users can find the main toolbar. Here, options for Undo, Redo, and Download are readily available. The navigation bar also includes a search bar to quickly find specific items.
Additionally, the bottom right corner has helpful options like a Help Center. This feature can assist users who have questions about using different tools in Canva. Familiarizing with these components will make the design process smoother.
Designing Your Foil Text Effect
Creating a stunning foil text effect starts with careful design choices. The font, text placement, and size adjustments are essential for achieving the desired look. Here are some key points to consider.
Choosing the Right Font
Selecting an appropriate font is crucial when designing foil text. A bold and playful font often works best. Consider using fonts like “Lobster” or “Bebas Neue” for a strong presence.
He or she should also try decorative fonts that have thick lines and curves. These styles enhance the inflated look and complement the shine of foil effects well.
Make sure the font is easy to read, especially if the design will be used for marketing purposes. It is important to balance style and clarity to engage viewers effectively.
Adding the Text to Your Design
Once the font is chosen, it’s time to add the text to the design.
Start by selecting the “Text” option in Canva. This allows the user to create a text box quickly.
After placing the text box, the next step is to type in the desired message. He or she can easily adjust the positioning by dragging the text box to the preferred area on the canvas.
Positioning is key; centering the text often works best for a balanced look. Users can also try placing the text at various angles for a unique twist in the design.
Adjusting Text Size and Spacing
The Text size and spacing significantly influence the overall design.
Begin by adjusting the size to ensure the text stands out. A larger size often enhances visibility and adds emphasis to the foil effect.
Next, consider the letter spacing, also known as tracking. Increasing the space between letters can give a more spacious and airy feel, which complements the inflated look.
He or she should also ensure consistent spacing throughout the design. This creates harmony and makes the text more visually appealing for the audience.
Applying the Inflated Foil Effect
Creating an inflated foil text effect in Canva involves choosing the right textures and colors, along with layering for a more realistic appearance. These steps are essential to achieving a polished look that captures attention.
Selecting Foil Textures and Colors
To start, selecting the right foil texture is crucial. Canva offers a variety of foil textures, which can resemble shiny metallic surfaces. Users can explore these options by navigating to the “Textures” section in the elements tab. Choosing the appropriate color can also impact the final look.
For a classic foil effect, colors like gold, silver, or rose gold are popular. When picking a color, it’s helpful to consider the overall design. Using contrasting colors helps the text stand out against the background.
A quick tip is to adjust the opacity of the foil texture. This can create a softer effect, making it blend beautifully with the text.
Layering and Blending for Realism
Layering is key to making the inflated foil text look more realistic.
Users should start by placing the textured foil layer over the text. They can then adjust the layer’s position and size for a perfect fit.
Next, blending options play a significant role.
Canva allows users to change how layers mix. Using blending modes like “Multiply” or “Overlay” can enhance the depth and shine of the foil effect.
After adjusting the blend, fine-tuning the opacity is also helpful.
A lower opacity can create a stunning shimmer, adding to the overall effect.
Finally, adding a shadow or a glow effect underneath the text can increase the three-dimensional feel.
This extra step makes the foil text appear inflated.