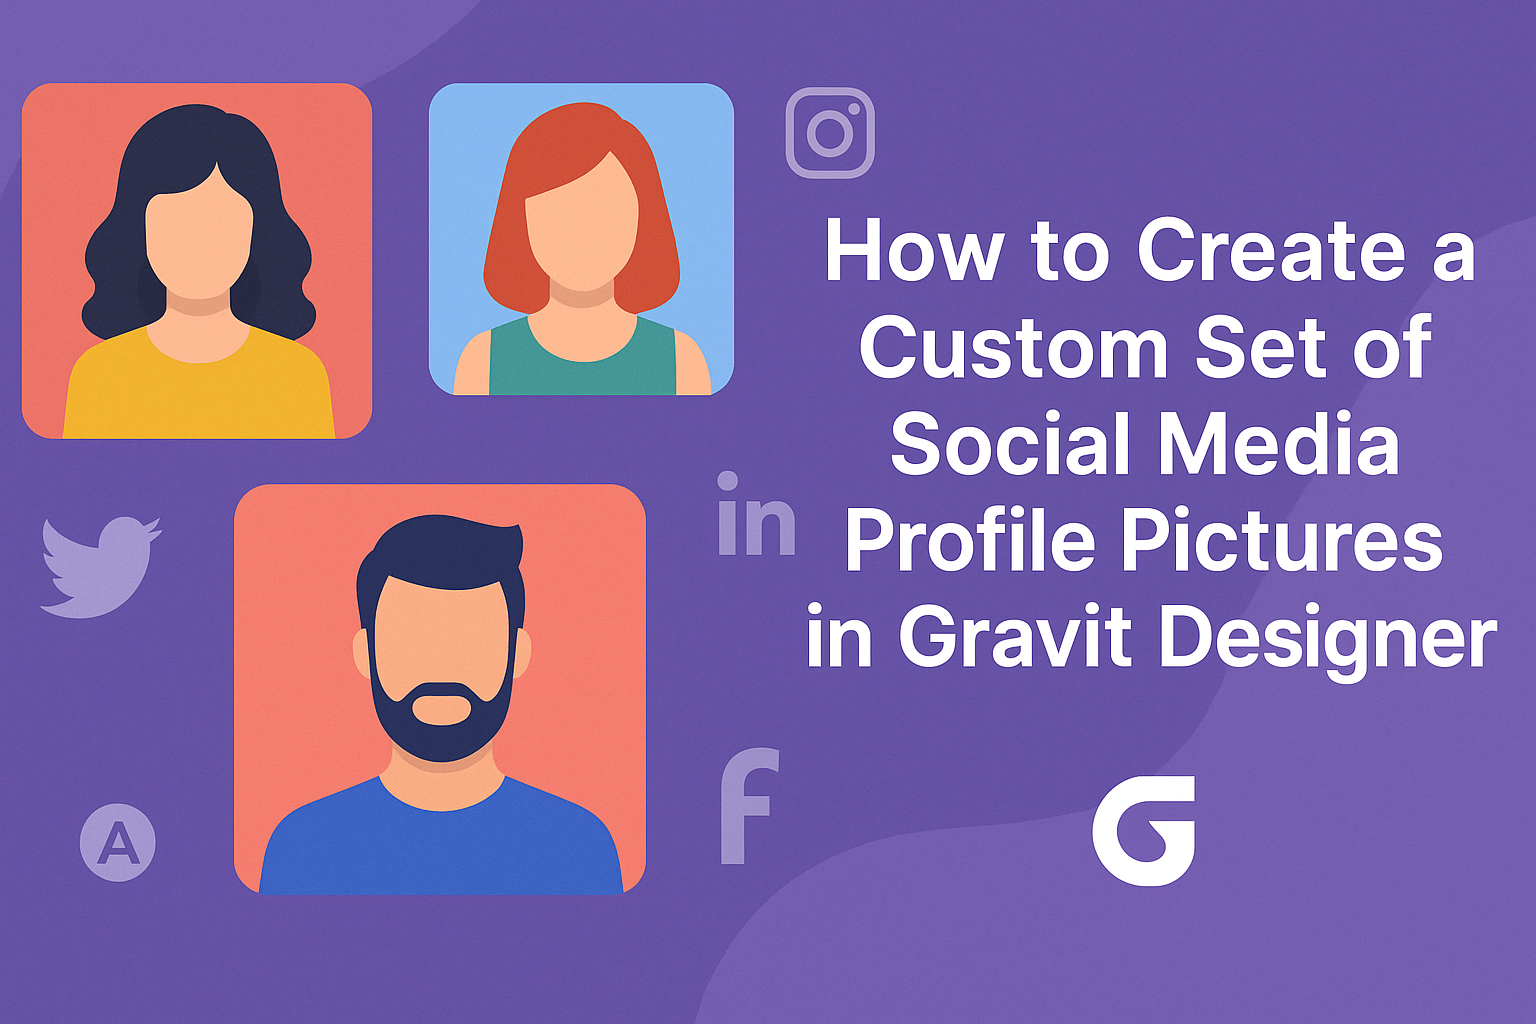
Creating a unique set of social media profile pictures allows individuals to express their personality and stand out online.
Gravit Designer is a powerful tool that can help anyone design custom profile images that reflect their style and brand. With user-friendly features and creative options, making eye-catching visuals becomes simple and fun.
In this blog post, readers will learn step-by-step how to utilize Gravit Designer effectively for their profile pictures. From selecting designs to adding personal touches, the process is accessible for both beginners and experienced users. By the end, readers will have the skills needed to create stunning profile pictures that make a lasting impression on their social media platforms.
Getting Started with Gravit Designer
Gravit Designer is a versatile design tool that offers many features for users. Understanding its capabilities and setting up a project canvas effectively are crucial for creating stunning social media profile pictures.
Overview of Gravit Designer Features
Gravit Designer provides a range of tools designed for both beginners and experienced designers. Some key features include:
- Vector Editing: Create scalable graphics without losing quality.
- Design Templates: Use pre-made templates to jumpstart projects quickly.
- Clipart Library: Access a library of images to enrich designs.
- Advanced Text Tools: Customize text with various fonts, sizes, and effects.
These tools make it easier to design unique and professional profile pictures. Users can also export designs in multiple formats, like PNG or SVG, ensuring compatibility across social media platforms.
Setting Up Your Project Canvas
To create a new project in Gravit Designer, first open the application and select “New Design.”
Choose the dimensions suited for social media profile pictures, typically a square format, such as 512×512 pixels.
Next, set the canvas color. It can be helpful to select a background color that contrasts with the elements you plan to add.
Users can also enable grids or guides to help align components accurately.
By utilizing these settings effectively, he or she can create an organized workspace. This preparation leads to a more efficient design process, allowing for a smoother experience when crafting unique profile pictures.
Designing Your Social Media Profile Pictures
Creating eye-catching profile pictures requires attention to detail, especially when it comes to dimensions and image quality. The right dimensions ensure that the images look great across various platforms. Editing images properly enhances their appeal and matches individual styles.
Choosing the Right Dimensions
Different social media platforms have specific size requirements for profile pictures. For instance, Facebook recommends a size of 170×170 pixels, while Instagram uses 320×320 pixels.
It’s important to check those requirements before designing.
Here’s a quick reference table:
| Platform | Recommended Size |
|---|---|
| 170×170 px | |
| 320×320 px | |
| 400×400 px | |
| 400×400 px | |
| TikTok | 200×200 px |
Using the correct sizes helps avoid pixelation or cropping. Designing with these dimensions in mind makes the images stand out and gives a professional look.
Importing and Editing Images
Once the right dimensions are set, it’s time to import images into Gravit Designer.
Users can easily drag and drop images into the workspace or use the Import option in the menu.
After importing, editing features such as cropping, resizing, and adding filters come into play.
It’s essential to focus on the main subject of the image.
Applying simple adjustments like brightness and contrast can enhance the visual impact.
Using features like layers allows for more complex designs, such as adding text or backgrounds.
Utilizing built-in templates can also save time and inspire creativity.
Remember to regularly save progress to avoid losing changes.
Customizing and Adding Effects
Customization is key to creating unique profile pictures. By applying filters, adjustments, and incorporating text or graphics, anyone can enhance their designs and make them stand out.
Applying Filters and Adjustments
To give a profile picture a special touch, filters and adjustments can be used. Gravit Designer offers various options like brightness, contrast, and saturation adjustments.
Filters can transform an image’s mood. For instance, a black-and-white filter can create a classic look, while a vibrant color filter can add energy. To apply a filter, simply select the image, navigate to the filter panel, and choose the desired effect.
Adjustments help fine-tune images. If an image looks too dark, increasing the brightness can bring details back. Individual elements within the picture, like shadows or highlights, can also be adjusted to create a balanced and appealing look.
Incorporating Text and Graphics
Adding text can personalize a profile picture. Gravit Designer allows users to choose from various fonts and styles.
It’s important to select a font that matches the overall theme of the image. For example, a playful font may suit a fun profile, while a clean, modern font is better for a professional look.
Graphics can further enhance the design. This might include icons, shapes, or illustrations that reflect personality or interests. These elements can be resized, rotated, and repositioned to fit perfectly in the composition. Layering graphics behind or in front of text can create depth and make the profile picture more engaging.
Combining these techniques results in a visually appealing and personalized profile picture ready for any social media platform.
Exporting and Uploading Your Designs
When finishing custom profile pictures in Gravit Designer, it’s essential to export them correctly for the best quality. The next step is to understand the best file formats and how to upload them on different platforms.
Optimizing File Formats and Sizes
Choosing the right file format is crucial for quality and performance. For social media profile pictures, the most common formats are PNG and JPEG.
- PNG: Ideal for images with transparent backgrounds and solid colors. It retains quality well, especially for logos.
- JPEG: Better for photos as it compresses images, reducing file size while maintaining decent quality.
To optimize your designs, keep file sizes under 1MB to ensure quick loading. Aim for dimensions of at least 400×400 pixels to avoid pixelation on various platforms. Always preview the image before uploading.
Uploading to Different Social Media Platforms
Uploading images can vary by platform, but knowing the basics can streamline the process. Here are a few tips for popular sites:
- Facebook: Profile pictures should be at least 180×180 pixels. Upload directly in the settings under the profile section.
- Instagram: Use images that are a minimum of 320×320 pixels. It allows higher resolutions for better display.
- Twitter: For profile images, aim for 400×400 pixels. Upload through the profile settings.
Always double-check the platform’s guidelines for specifications. This helps avoid issues with image display or quality. Taking these steps will make sure the designs look great across all social media.