Creating eye-catching social media profile pictures is essential for making a strong first impression online.
Using Pixlr, anyone can design personalized profile pictures that stand out, reflect their personality, and represent their brand. With user-friendly tools, Pixlr allows users to easily edit photos and create stunning graphics that grab attention.
In today’s digital world, a good profile picture is more important than ever. It helps convey professionalism and builds trust with followers.
With multiple features and templates available in Pixlr, users can explore their creativity and make unique designs without needing advanced skills.
Whether for personal use or business branding, having a great profile picture can increase engagement and visibility. This guide will explore simple steps to help users create impressive profile pictures using Pixlr, making it easy for anyone to capture their best self.
Getting Started with Pixlr
Starting with Pixlr is simple and fun. Users can create beautiful profile pictures with just a few clicks. Understanding how Pixlr works and setting up an account are key steps to unlock its full potential.
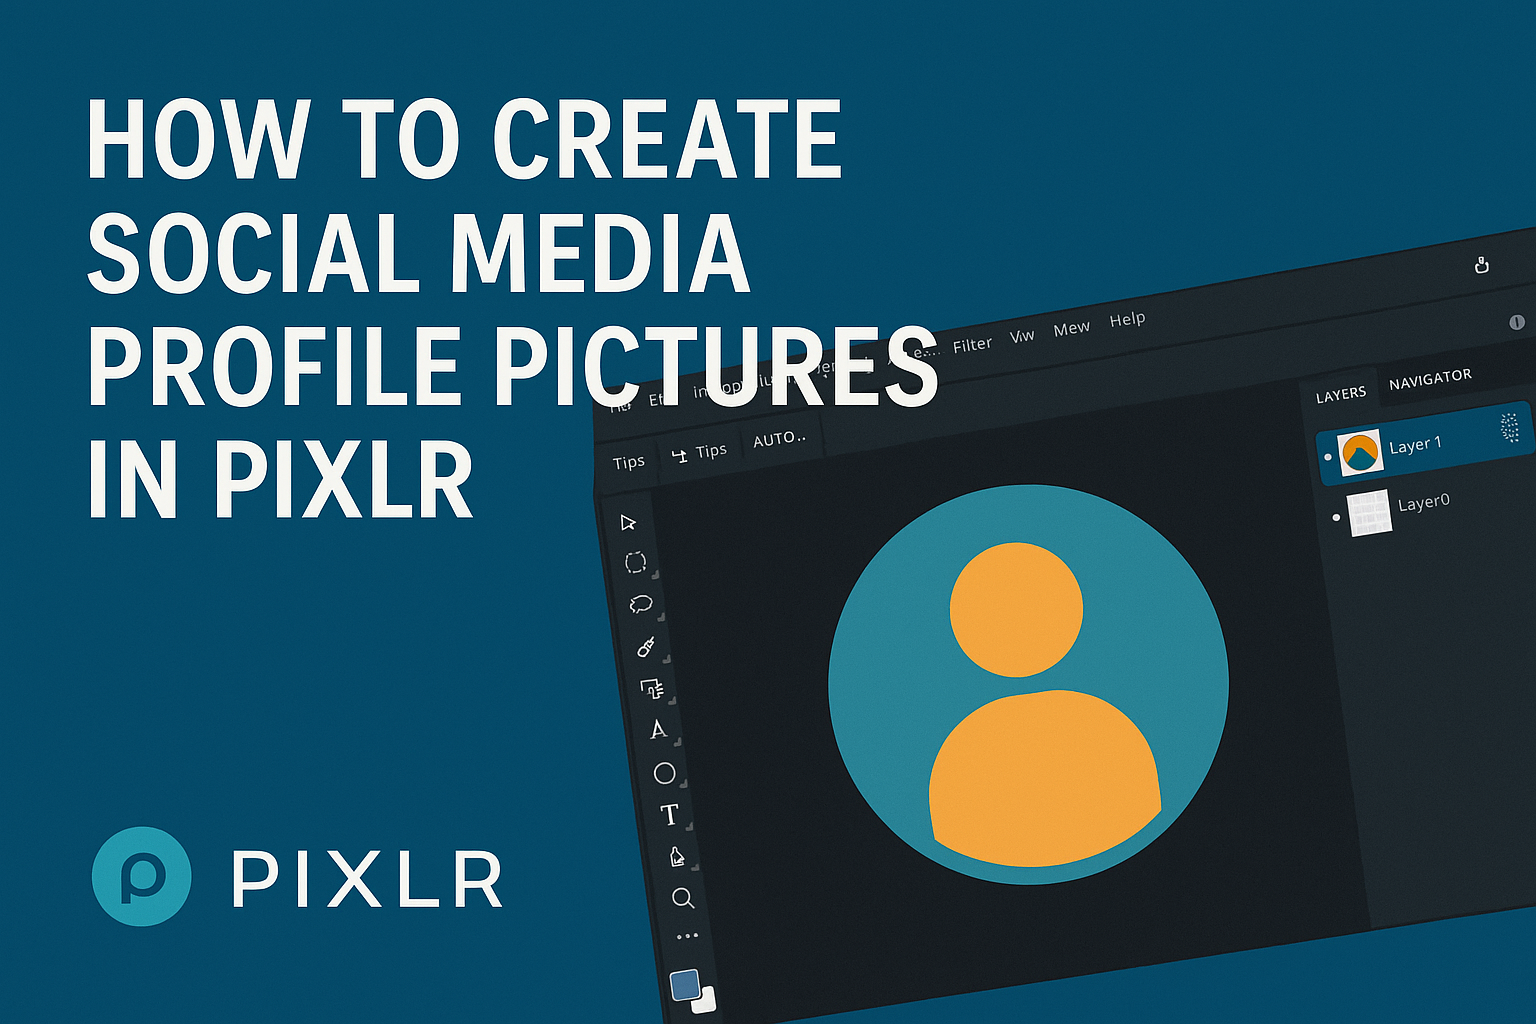
Overview of Pixlr
Pixlr is a free online photo editing tool that is perfect for creating stunning graphics. It offers an easy-to-use interface with many features, making it suitable for beginners and experienced users alike.
With Pixlr, users can access a variety of templates, filters, and effects. This allows them to customize their profile pictures quickly and creatively.
Additionally, Pixlr supports various file formats, which makes uploading and sharing images straightforward. Users can work directly in their web browser without needing to download software, making it accessible anytime.
Setting Up Your Account
Setting up a Pixlr account is quick and easy. Users can sign up using their email address or connect through social media accounts like Google or Facebook.
Once registered, they can access advanced features and save their work online. This is especially useful for users who want to return to their projects later.
After logging in, users are taken to the Pixlr dashboard. Here, they can explore different editing options and templates. It’s a user-friendly starting point that encourages creativity.
Getting started with Pixlr opens up a world of possibilities for crafting unique profile pictures that stand out.
Designing Your Profile Picture
Creating an attractive profile picture involves careful selection of the image and using the right tools effectively. It’s important to focus on clarity, brightness, and the overall appeal of the picture.
Selecting the Right Image
Choosing the right image is the first step to a great profile picture. The image should be clear and focused, showing the subject’s face well. Bright, natural lighting can enhance the photo’s quality.
A simple background works best to avoid distractions. Consider using an image that reflects personality or interests. If the aim is to look professional, a headshot in business attire is ideal. For a more fun approach, brighter colors or playful expressions can add character.
When selecting an image, make sure it fits the platform’s guidelines regarding size and dimensions.
Understanding Pixlr’s Tools
Pixlr offers various tools that simplify image editing. The toolbar includes options for cropping, adjusting brightness, and applying filters. Understanding these tools helps in creating a polished look.
The “Crop” tool is useful for removing unwanted parts of the image. Adjusting brightness and contrast can make the picture more vibrant. Filters can add unique effects, but it’s essential to use them sparingly.
Pixlr also allows users to add text or stickers for personalization. Familiarizing oneself with these tools can transform a basic image into an eye-catching profile picture.
Applying Basic Edits
Once the image is selected and tools are understood, basic edits can refine the profile picture.
Start by cropping to frame the subject nicely. This step enhances focus and removes distractions.
After cropping, adjust brightness and contrast to ensure the image stands out. Sometimes, a simple enhancement can drastically improve the overall look.
Adding filters can give a personalized touch but should still maintain authenticity.
Lastly, save the final product in the appropriate format. By following these steps, she or he can create a stunning profile picture that attracts attention on social media.
Customizing with Advanced Features
Pixlr offers several advanced features that allow users to enhance their social media profile pictures. Utilizing layers and effects can transform a basic image into something visually striking. Additionally, adding text and graphics can help convey personality and style.
Using Layers and Effects
Using layers allows for complete control over an image. Users can adjust each element without affecting the whole picture.
For instance, they can add a layer for the background and another for the subject. This makes it easy to modify colors or apply effects individually.
Pixlr also includes various effects like blur, brightness, and contrast adjustments. These can enhance the overall look of the profile picture.
By experimenting with different filters, users can discover unique styles that fit their brand or personal image.
Adding Text and Graphics
Adding text and graphics can make a profile picture stand out. Users can include their name, a catchy phrase, or fun graphics to personalize their image.
Pixlr provides various fonts and styles, allowing users to choose what matches their aesthetic.
Graphics such as shapes, icons, or even borders can also be integrated. This adds a layer of creativity.
Ensuring that the added text and graphics are readable on smaller screens is crucial, as many view social media on mobile devices.
Saving and Uploading
When your profile picture design is complete, saving and uploading it correctly is essential for getting the best results on social media. This section covers how to export your design and important tips for uploading on different platforms.
Exporting Your Final Design
To save the design, click on the “File” menu in Pixlr and select “Export.” This option allows you to choose the file format, like JPEG or PNG.
PNG is best for images with transparent backgrounds, while JPEG works well for colorful designs.
Next, adjust the quality slider to optimize the image. A higher quality results in a better picture, but it may increase the file size.
Once you’re satisfied, click “Download.” The file will save to your device, ready for uploading.
Tips for Social Media Uploads
He should consider the specific requirements for each social media platform. Different sites have unique size limits and image guidelines.
For example, Instagram prefers a square image format, while Facebook often uses a rectangular shape. Using the correct dimensions is crucial for a crisp appearance.
It’s recommended to check the latest guidelines on each platform. She should also remember to keep the file size under the limit, generally around 5 MB or less.
Before uploading, preview the image to ensure it looks great. This step helps her spot any issues with resolution or cropping that might affect how it displays online.