Creating a custom pattern brush in Gravit Designer can elevate any design project. With just a few simple steps, anyone can craft unique brushes that add a personal touch to their artwork.
This guide will walk you through the easy process of designing a custom pattern brush that can bring creativity and flair to your designs.
Many designers look for ways to stand out, and a custom pattern brush is a perfect solution. By following clear instructions, designers can transform ordinary shapes into exciting brushes, enhancing their workflow and output.
Whether for personal projects or professional work, a custom pattern brush opens up new possibilities in design.
As creativity flows, having the right tools makes all the difference. Learn how to utilize Gravit Designer’s features to create brushes tailored to individual preferences.
With this knowledge, designers can take their skills to the next level and inspire fresh ideas.
Getting Started with Gravit Designer
Gravit Designer is a versatile tool for graphic design. Understanding its interface and setting up projects correctly can greatly enhance the user experience.
Overview of Gravit Designer Interface
The Gravit Designer interface is user-friendly and organized. The main elements include the Toolbar, Canvas, and Inspector panel.
- The Toolbar at the top contains tools for selecting, drawing, and editing.
- The Canvas is where designs come to life. Users can zoom in and out for detail or overview.
- The Inspector panel on the right displays options related to the selected tool or object. Here, users can adjust colors, sizes, and effects.
Navigating through the interface is straightforward. With practice, users can quickly access their favorite tools.
Setting Up a New Project
Creating a new project in Gravit Designer is simple. Users can start by selecting File and then New Design.
When setting up a project, users can choose dimensions and unit types. Options include:
- Pixels
- Inches
- Millimeters
After selecting dimensions, users can opt for a blank canvas or use a preset template.
Once the project is set up, it can be saved in different formats like SVG or PDF. This flexibility allows users to export their designs for various applications. After that, users are ready to explore the features and start creating custom patterns.
Designing Your First Pattern
Creating a custom pattern brush can be a fun and rewarding task. By focusing on unique elements and basic shapes, anyone can develop a distinctive pattern that stands out.
Choosing the Right Elements for Your Pattern
Selecting the right elements is crucial for a successful pattern. These elements can be simple shapes, lines, or symbols that represent a theme.
For example, using leaves can enhance a nature theme, while geometric shapes may suit a modern design.
It’s important to decide how these elements will repeat. Will they create a uniform look, or will they be more random? This decision will greatly impact the final design.
Gather inspiration from existing patterns. Sketching ideas on paper before using Gravit Designer can also be helpful.
Creating Basic Shapes and Forms
After choosing the right elements, the next step is creating basic shapes in Gravit Designer. Start by using the shape tools, like rectangles, circles, and polygons.
These shapes can be combined, resized, or modified to create unique designs. Changing colors and gradients adds depth to the shapes.
Using the Pen tool allows for even more customization. Designers can draw custom shapes to fit their vision. This flexibility helps in making patterns that are truly original.
Once the basic shapes are ready, it’s time to arrange them into a pattern. Consider spacing and alignment to ensure a cohesive look.
These steps will lay a solid foundation for a custom pattern brush that can be used in future designs.
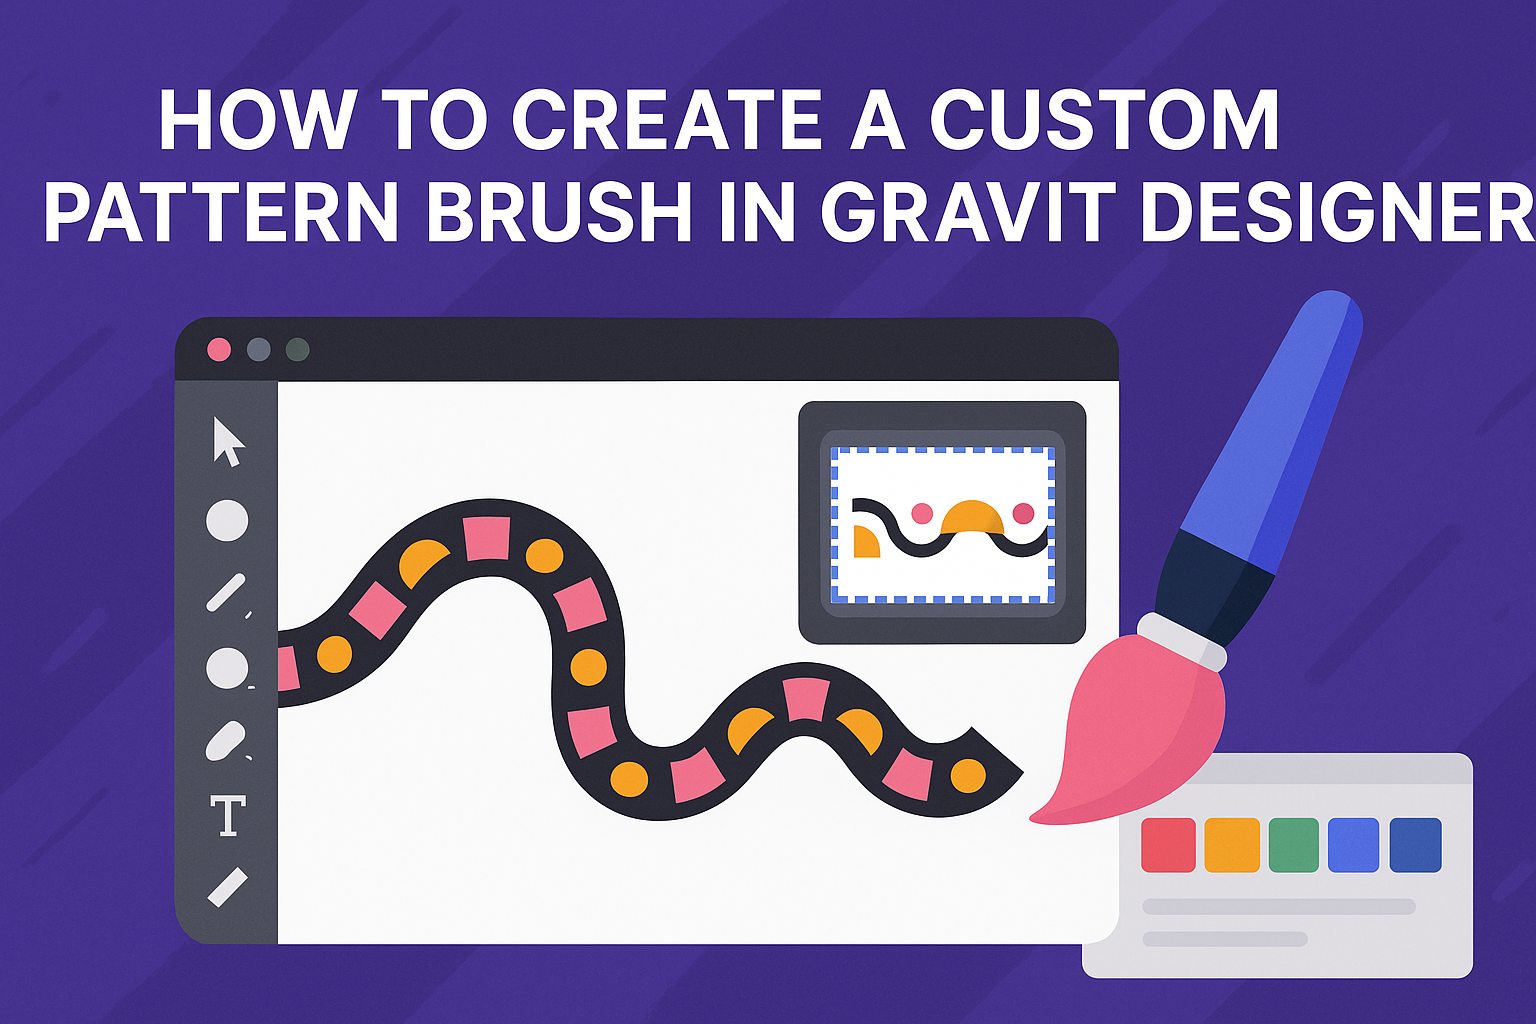
Creating the Custom Pattern Brush
To create a custom pattern brush, it is essential to define the boundaries of the pattern first. Next, applying the pattern to the brush and adjusting the settings will help achieve the desired look. Each step is crucial for a successful custom brush.
Defining the Pattern Brush Boundaries
Defining the boundaries of the pattern brush sets the limits of the design. Start by creating a small shape or pattern that will form the brush. He or she should ensure it is seamless, meaning that it can repeat without edges showing. A square or rectangle works well for this purpose.
Use the Rectangle Tool to draw the basic shape. After that, place your design within this shape. Make sure the design touches the edges of the shape for a smooth transition when repeating. This initial step is important, as it determines how the pattern will look when painted.
Applying Your Pattern to the Brush
Once the boundary is defined, the next step is applying the pattern to the brush. Select the created shape and go to the Brushes Panel. Here, you can drag your defined shape into the brushes palette. When prompted, label the brush for easy identification later.
This action turns your pattern into a usable brush. It is important to test the brush to see how it looks in practice. Apply it on a new layer and check if it repeats smoothly without noticeable gaps or breaks.
Adjusting Pattern Brush Settings
Lastly, adjusting the pattern brush settings is key for customization. Click on the brush you created in the brushes palette. Here, find options like size, spacing, and angle. Adjusting these settings allows for more control over how the brush will interact with the canvas.
For example, increasing the spacing will create more distance between repeats of the pattern. Users can also modify the angle to change how the brush lays down on the surface. Experimenting with these settings will help in creating unique effects that fit the specific project.
Applying and Modifying Your Pattern Brush
Applying a custom pattern brush in Gravit Designer is straightforward. Users can draw creative paths with the brush, making art and designs uniquely theirs. Modifying these brushes later adds flexibility, allowing for quick adjustments to fit different projects.
Drawing with the Pattern Brush
To draw with the custom pattern brush, first select the brush tool from the toolbar. Then, choose the desired pattern brush from the brush options.
Users can draw on the canvas by clicking and dragging the mouse.
The pattern will follow the path created. Adjusting the stroke width can enhance the brush’s appearance, making designs more prominent. Users can also change the color by selecting the desired shade from the color palette.
For more control, holding down the Shift key while drawing allows for straight lines. This feature helps in creating symmetrical and precise designs with the pattern brush.
Editing Brush Patterns on the Fly
Editing brush patterns in Gravit Designer is simple and efficient.
To modify a brush, first, select the path with the pattern applied.
From the style menu, users can adjust properties like color, stroke width, and opacity.
This real-time adjustment saves time and allows for flexibility in design.
Additionally, using the brush editor, users can make changes to the brush shape or style.
This includes rotating the pattern or scaling it up or down.
After making adjustments, the changes will automatically reflect on the artwork, ensuring that everything stays consistent without needing to redraw the paths.