Creating a mockup can be a great way to showcase designs in a realistic setting. With Canva’s easy-to-use tools, anyone can create an impressive iPhone mockup in just a few simple steps. This process not only enhances presentations but also helps in marketing apps and websites effectively.
Many people look for ways to make their designs stand out. By using Canva, they can access a variety of templates and customization options.
This allows them to effortlessly apply their designs to the iPhone mockups and present their ideas more professionally.
Mockups can capture attention and communicate ideas clearly. With the right approach and tools, creating a stunning iPhone mockup can be quick and enjoyable. This article will guide readers through the steps needed to achieve a polished result.
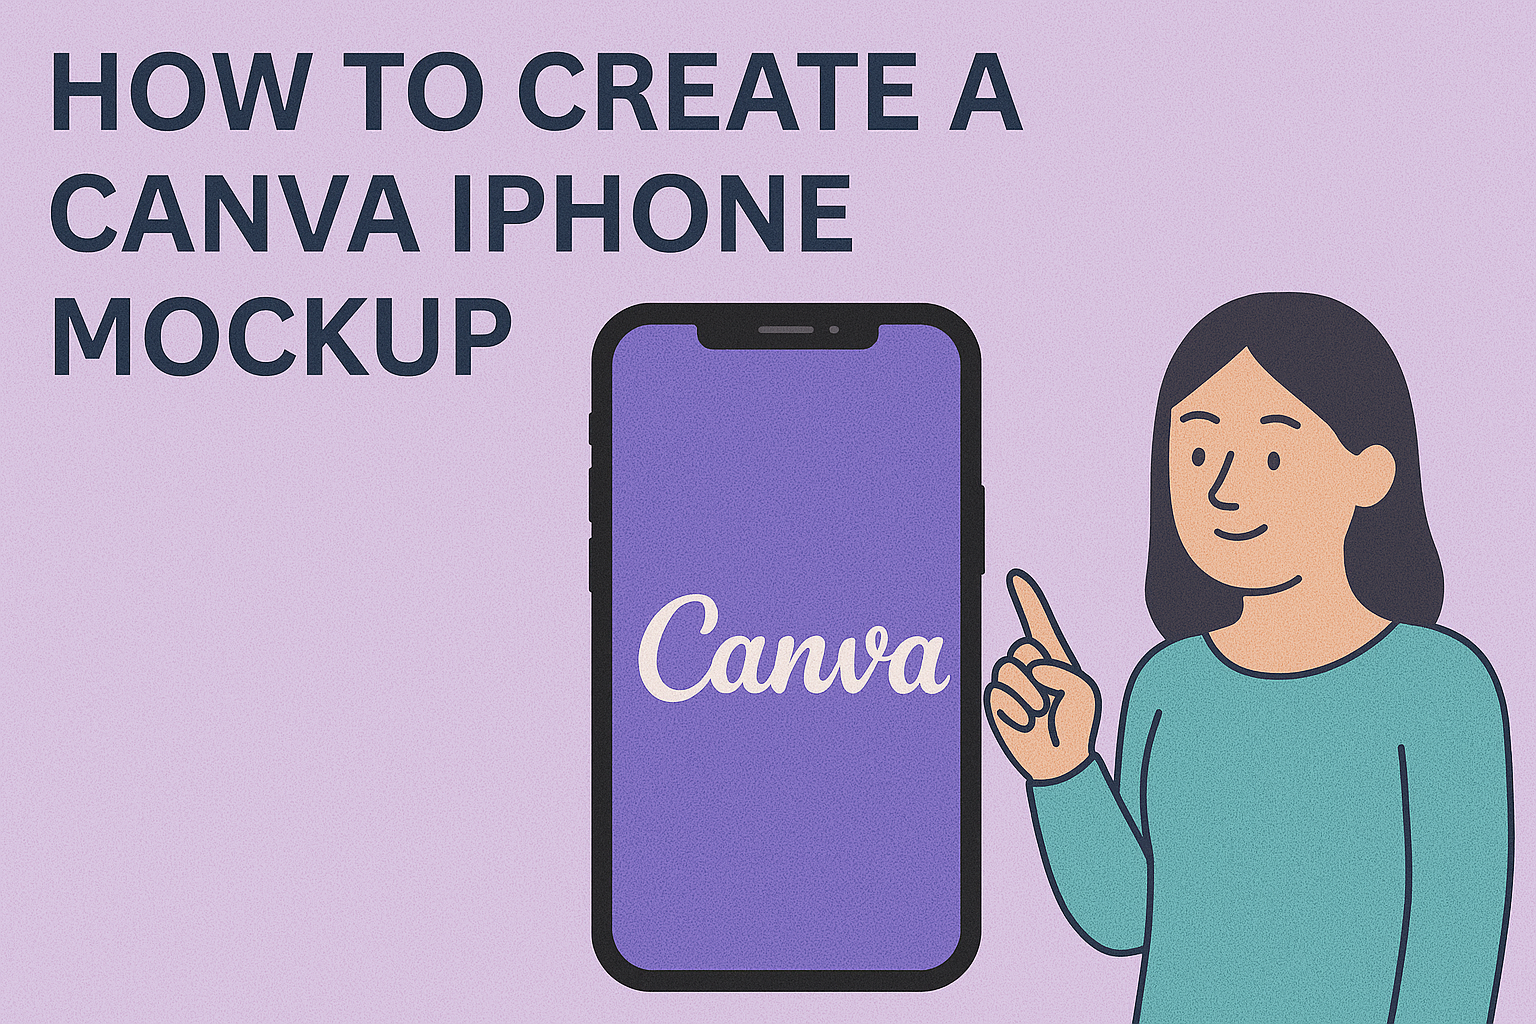
Getting Started with Canva
Canva is a user-friendly design tool that allows anyone to create stunning graphics, including iPhone mockups.
To begin, users need to sign up for an account and familiarize themselves with the platform’s interface.
Signing Up for Canva
To start using Canva, one must first create an account. This can be done by visiting the Canva website.
- An email address can be used to sign up, or users can opt for a Google or Facebook login for quicker access.
- After entering the required information, a confirmation email may be sent to verify the account.
Once confirmed, users can log in and start exploring various design options. Canva offers a free version with many features, perfect for beginners.
For those needing more advanced tools, there is also a paid subscription which includes additional templates and resources.
Navigating the Canva Interface
After signing up, users will encounter the Canva dashboard, which is organized and intuitive.
The main features include:
- Templates: A variety of pre-designed layouts for different purposes.
- Search Bar: Quickly find specific designs, photos, or elements.
- Design Area: This is where the actual design work takes place.
On the left side of the screen, the toolbar contains options for adding text, images, and other elements.
Users can drag and drop items into their design seamlessly. Understanding these basic features is crucial for creating effective mockups and designs within Canva.
Designing Your Mockup
When creating an iPhone mockup, it is important to select a suitable template, add your image, and customize your design. Each step plays a key role in ensuring that the final product looks professional and appealing.
Choosing the Right Template
Selecting the right template is crucial for a polished appearance. Users can start by opening Canva and searching for “iPhone mockup.” They will see various templates tailored for different iPhone models such as iPhone X, 8, and 7.
It’s helpful to choose a template that resonates with the intended purpose. For instance, select a design that showcases an app or website clearly.
The right template simplifies the process and serves as a solid foundation for the mockup.
Adding Your iPhone Image
After choosing a template, the next step is adding the image of the iPhone. This process usually involves dragging and dropping the image into the designated area in the template.
Canva allows users to upload their images easily.
It’s essential that the size and orientation fit correctly in the mockup. A well-placed iPhone image ensures that the design looks integrated and realistic. Users should double-check that the background complements the iPhone design for a cohesive look.
Customizing Your Design
Once the iPhone image is in place, the design can be customized to reflect the user’s vision.
They can change colors, fonts, and layouts to better match their brand or project goals.
Using Canva’s tools, users can add text or graphics to enhance the mockup.
Adjusting the colors or adding distinctive elements makes the design standout. It’s also a good idea to save progress frequently, ensuring no changes are lost.
Customization is where the magic happens, allowing the design to truly resonate with its intended audience.
Finalizing Your Canva iPhone Mockup
After creating a Canva iPhone mockup, it’s important to fine-tune various elements to make it visually appealing and impactful. Adjusting the layout, applying some filters, and using text effectively can enhance the overall look and functionality.
Adjusting Layout and Background
First, he can adjust the layout of the mockup to ensure all elements are aligned and coherent. Canva allows users to easily drag and position items.
Selecting a background is equally vital. Choosing a color or pattern that complements the design can draw attention.
For example, a light background often works well with darker content.
Steps to adjust layout:
- Click on the design element.
- Use the alignment tools for even spacing.
- Adjust layer order to bring important elements to the front.
Applying Filters and Effects
Adding filters can give the mockup a polished look. Canva provides various filters that change the image’s appearance quickly.
Taking the time to experiment with effects can yield surprising outcomes. For instance, a subtle shadow effect can make the iPhone appear more three-dimensional.
He should remember not to overdo it; subtlety is key. Here are a few popular effects:
- Blurring the background for focus.
- Enhancing colors to make the design pop.
- Using brand filters for consistency.
Using Text and Fonts Effectively
Text plays a crucial role in conveying a message. It’s important to select fonts that are easy to read and match the overall style of the mockup.
Canva offers a variety of font choices. Combining different font styles can attract attention, but consistency helps maintain a professional appearance.
Tips for text use:
- Limit font types to two or three.
- Ensure contrast between text and background.
- Keep the text clear and to the point.
Making these adjustments will enhance the visual appeal and effectiveness of the Canva iPhone mockup.
Saving and Sharing
After creating an iPhone mockup in Canva, it’s important to know how to save and share it effectively. This ensures that the design is accessible and can be showcased easily.
Exporting Your Mockup
Exporting the mockup is a straightforward process. Once the design is complete, the user should click on the Share button in the upper right corner.
From the dropdown menu, selecting Download will lead to options for file formats like PDF, JPG, PNG, or SVG.
Choosing the right format depends on how the mockup will be used. For crisp, high-quality images, PNG is often preferred.
After selecting the file type, pressing the Download button will save the mockup to their device.
This simple process allows for easy access to the finalized design at any time.
Sharing Your Design on Social Media
To share the mockup on social media, users can return to the Share button after downloading.
In the dropdown, selecting Share to social shows options for platforms like Facebook, Twitter, and Instagram. This feature allows for direct posting without extra steps.
Before sharing, it’s helpful for users to add a caption or description to attract attention. Images can gain more views with an engaging caption.
Canva also allows sharing via a link which can be copied and sent to friends or colleagues. This link provides direct access to the mockup in Canva, making collaboration easy.