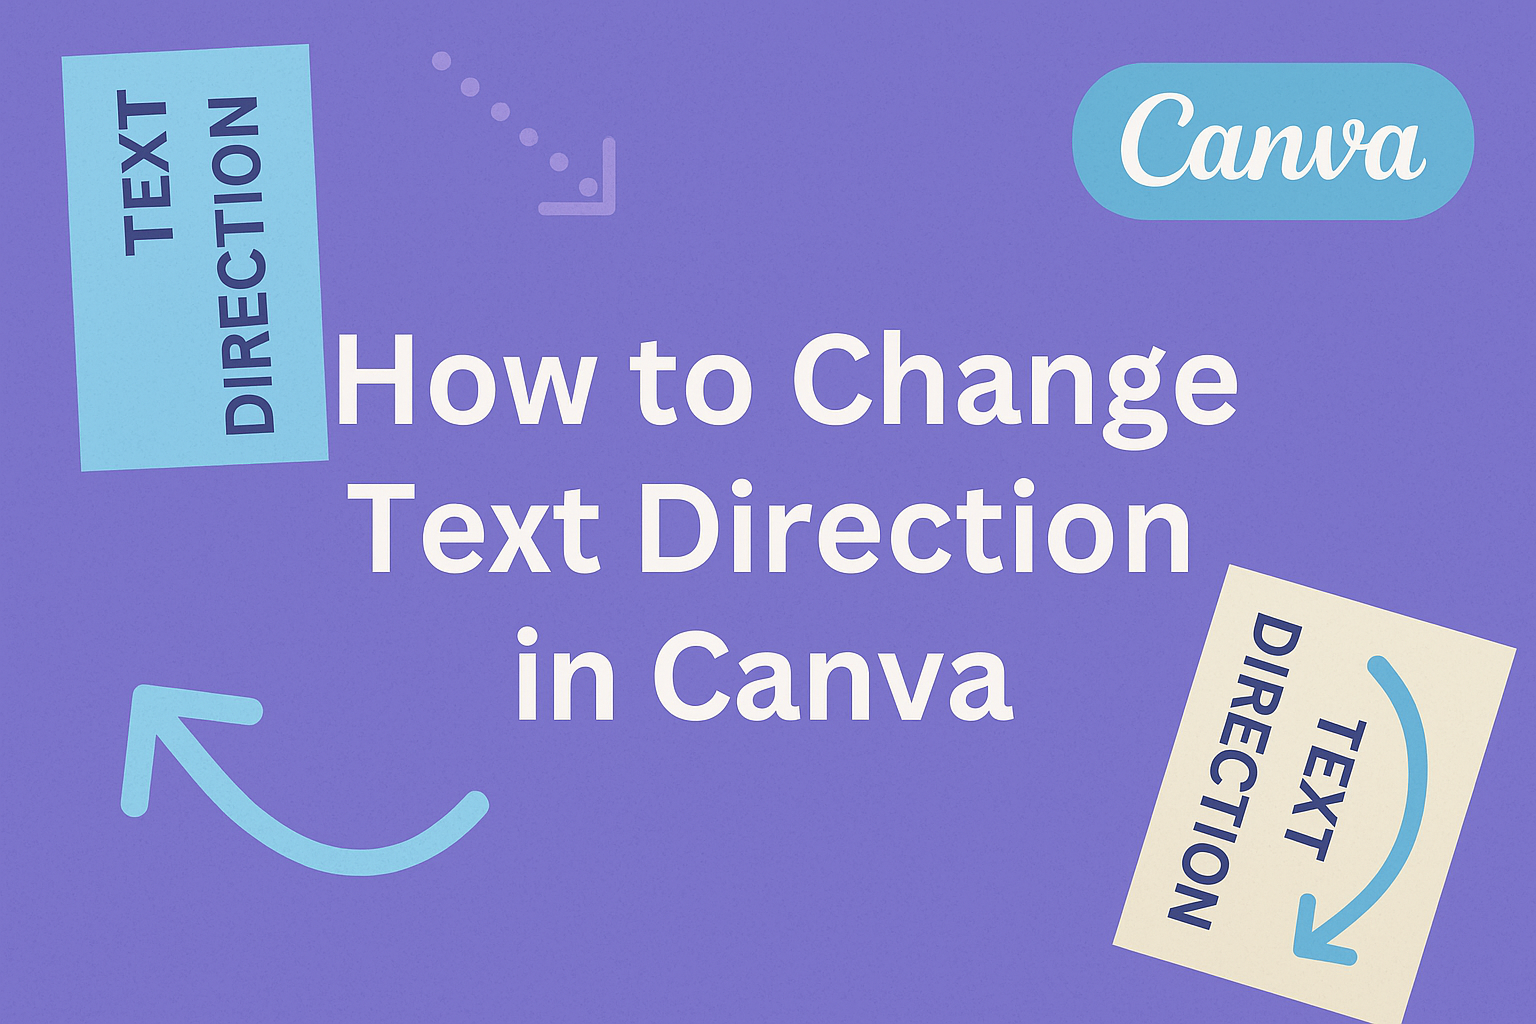
Changing text direction in Canva is a simple task that can add flair and creativity to your designs.
To change the text direction, select the text element, go to the Format tab, and choose the desired direction from the drop-down menu. This can be horizontal, vertical, or even diagonal, allowing for unique presentation styles.
For those looking to create vertical text, the process involves adding your text to the canvas via the Text Tab, then adjusting its placement as needed.
Vertical text can make headings stand out or add a unique touch to layouts, enhancing your design’s overall appeal.
Rotating text in Canva is also straightforward. By using the rotation handle on a text box, you can easily adjust the angle to suit your design needs.
This feature is perfect for creating dynamic and engaging visuals. For more detailed instructions, readers can explore a helpful tutorial on rotating text in Canva.
Understanding Canva’s Text Tools
Canva offers a variety of text editing tools that allow users to customize their designs.
These tools make it easy to edit text elements, control text direction, and enhance the overall look of your project.
The Basics of Text Editing
In Canva, editing text starts by clicking on the “Text” tab on the left toolbar.
Users can add new text boxes or choose from a variety of text styles. Once a text element is selected, users have access to a range of options to modify the text.
These options include changing the font, adjusting the size, and selecting different colors.
Users can also tweak spacing between characters and lines, making text more readable. Furthermore, various text effects like shadows can be applied for added flair.
These basic tools provide a foundation for creating visually appealing text elements that can be tailored to fit any design.
Text Direction Overview
Changing text direction in Canva allows for creative flexibility. Users can adjust text orientation to better fit their design needs.
To change text direction, users should first select the text they wish to modify.
Using the Format tab, they can choose from horizontal, vertical, or diagonal text directions. For more complex layout designs, users might explore how to rotate text in Canva using the rotation handles.
This feature enables easy angle adjustments to make text stand out.
These text direction options let designers express creativity and design layouts that are both functional and visually pleasing.
Setting up Your Canvas for Text Design
Setting up your canvas in Canva is a crucial step for effective text design. This includes picking the right template and adding text boxes where you need them.
Selecting the Right Template
Choosing a suitable template acts as the backbone for any design.
In Canva, users can start by browsing through various templates by type or theme. Selecting a template that matches the theme or intention of the design can save time and provide a good starting structure.
Each template is designed with specific dimensions in mind, catering to different needs like social media posts, flyers, or invitations. The right template ensures that the text and other design elements fit perfectly within the layout.
After selecting a template, users can customize colors, images, and, most importantly, text elements easily.
This flexibility helps to adapt the initial design to fit personal or brand aesthetics.
Adding Text Boxes
Text boxes are essential for placing and moving text anywhere on the canvas.
To add a text box in Canva, users simply need to click on the “Text” tab in the sidebar. This opens options for adding a heading, subheading, or body text onto the canvas.
Positioning text boxes requires thought about layout balance. Users can click and drag the text boxes to place them precisely where needed.
Adjusting size and alignment can make a big difference in the final appearance.
For more detailed text placement or style, Canva offers options like font changes, size adjustments, and alignment tools to enhance readability and visual appeal.
By using these tools, anyone can create a neat and professional-looking design.
How to Change Text Direction
Changing text direction in Canva can enhance your design by adding visual interest and creativity. This guide provides easy steps for rotating text, creating vertical text layouts, and adjusting orientation to suit your needs.
Rotating Text for Visual Impact
Rotating text in Canva can add an extra flair to your design.
To rotate text, first select the text box you want to modify. You’ll see a rotation handle near the selected text. Click and drag this handle to turn the text to the desired angle.
Experiment with different angles to see what fits best. For instance, a slight tilt can make the text pop, while a full rotation might fit more abstract or creative designs.
Rotating text is a simple yet powerful tool to grab attention and make your design stand out.
Vertical Text for Creative Layouts
Creating vertical text can give your design a unique look.
Start by selecting your text box and then look for the option to change the orientation. This is often in the toolbar or format options.
Turning your text vertical is great for banners or sidebars in your layout.
Vertical text can make your message the focal point in a tall, narrow space. Use this technique when you want the text to guide the viewer’s eyes up or down.
It’s especially effective for minimalist designs or where space is limited. Adjusting line spacing can also enhance readability in vertical layouts.
Adjusting Text Orientation
Sometimes, adjusting text orientation is needed to fit text seamlessly into your design’s background or angle.
Begin by selecting your text box, then explore the options to tilt or flip the text.
This makes it easy to align text with diagonal elements or slanted lines.
Text orientation can completely change how your design is perceived. For example, flipping the text can create a mirror effect for more abstract designs.
Tilting the text slightly can create harmony between text and other design elements. These adjustments ensure that your text complements the rest of your design, creating a cohesive look.
Advanced Text Direction Techniques
Changing text direction in Canva isn’t just about simple orientation; it’s also about enhancing design by applying effects and aligning text precisely using grids and frames. These techniques can make a design stand out by creating visually appealing pathways for the viewer’s eye.
Applying Text Effects
To add more depth to text direction, Canva users can apply various text effects.
Effects like shadow, lift, or echo can make text elements pop and draw attention. These effects help to create contrast, making text more readable.
Users can access text effects by selecting the text box and clicking on the “Effects” option in the Canva toolbar.
From there, they can experiment with different styles to see what works best for their design needs.
Customizing the intensity of these effects allows for subtle or dramatic changes, depending on the desired outcome.
By rotating text combined with effects, users can also create an engaging visual hierarchy.
Using Grids and Frames for Alignment
Ensuring that text aligns properly is crucial for a clean, professional look.
Canva offers a range of grids and frames that help with this task.
By dragging a predesigned grid onto the canvas, users can easily snap text boxes into place, ensuring consistent spacing and alignment across all elements.
Frames function similarly, providing a predefined area for text and images to fit within, which can enhance the layout’s balance.
Aligning text inside grids or frames is straightforward—users simply drop the text within the boundaries and let Canva do the alignment work.
This feature is especially useful for complex designs with multiple text elements, helping to maintain organization and clarity.
Tips for Readable Text Designs
Creating readable text designs in Canva involves careful selection of fonts, colors, and layouts. Focusing on these elements can enhance the visual impact of your designs and ensure your message is clear and engaging.
Choosing Fonts and Sizes
Selecting the right font is crucial.
Fonts should match the tone and purpose of your design. For instance, serif fonts often convey a classic feel, while sans-serif fonts offer a modern touch.
It’s essential to choose a font that is easy to read, even at smaller sizes.
Size matters too. Headings should be larger and more prominent to stand out. Meanwhile, body text should be comfortable for reading, typically between 12 and 14 points.
Pay attention to the hierarchy to guide the reader’s eye through the content. Use bold or italic styles sparingly for emphasis.
Color Contrasts and Backgrounds
Color contrast is key in ensuring text visibility.
Text should stand out against the background. For example, if the background is dark, using a light font color like white or yellow improves readability. Conversely, dark text works best on light backgrounds.
Always test your designs under different lighting conditions to ensure they are easily legible.
Additionally, consider the emotional impact of colors. Warm tones like red or orange create energy, while cool tones like blue or green offer calmness. Align color choices with the message you wish to convey.
Spacing and Symmetry
Proper spacing in text design ensures clarity.
Adequate line spacing or line height makes reading easier by preventing text from appearing cramped. Similarly, letter spacing or tracking can balance between too tight and too spaced-out letters.
Symmetrical designs can enhance readability by providing a balanced and appealing look. Aligning text and elements symmetrically avoids distraction.
For asymmetrical designs, maintain balance with contrasting sizes and placements. Lists and bullet points are effective for organizing information clearly, helping readers absorb details quickly.
Troubleshooting Common Issues
When using Canva to change text direction, users might encounter some issues. The two main problems often involve text alignment and font rendering. This guide highlights solutions to these issues, ensuring a smoother design experience.
Text Alignment Problems
Text alignment in Canva might not always go as planned. One common problem is text not aligning properly with other elements.
This can happen if the text box isn’t resized correctly. To fix this, the user should adjust the size of the text box to fit the content perfectly and ensure it aligns with other design elements.
Additionally, sometimes the alignment options might be overlooked.
It’s important for users to check the alignment settings in the toolbar. They can choose from left, center, or right alignment to achieve the desired layout.
If alignment issues persist, refreshing the browser or trying another browser version might help.
Font Rendering Glitches
Font rendering issues can cause text to appear differently than expected. This might result in fonts looking pixelated or distorted.
Canva users should first ensure they are using supported fonts that work well with the platform.
If glitches occur, they might try clearing the browser cache or switching to a different browser. Sometimes, Canva experiences temporary issues, so waiting for a bit before retrying can also help.
Additionally, it’s worth checking if the problem persists on another device, as it might be device-specific. If the problem continues, Canva’s support team should be contacted for further assistance.
Saving and Exporting Your Design
When your design in Canva is ready, the next step is to save and export it. This is a simple process that can be done in a few clicks.
First, ensure all your elements are in place and looking perfect. Alignment is key, so double-check your text and images to make sure everything looks right.
To save and export, locate the Share button at the top right corner of the Canva editor. Clicking it will open a menu with different options. They provide choices for how you want your design to be saved.
File Types
- PNG: Great for images with solid colors and texts.
- JPG: Suitable for photographs.
- PDF: Ideal for documents.
- GIF: For moving images or animations.
For those who need high-quality images, opting for PNG is advisable. It keeps details sharp and clear.
Export Settings
You can also adjust additional settings:
- Size: Change the dimensions of your design if needed.
- Download options: Choose standard or high-quality settings depending on your requirements.
Do not forget to select the correct file type based on your needs.
After setting everything, hit Download to save your file to your device. This makes it simple to share your design or print it.
Exporting your design correctly ensures it maintains its visual appeal and fits its intended use.
Whether you’re preparing it for social media, printing, or a presentation, these steps ensure you can save your creativity just the way you want.