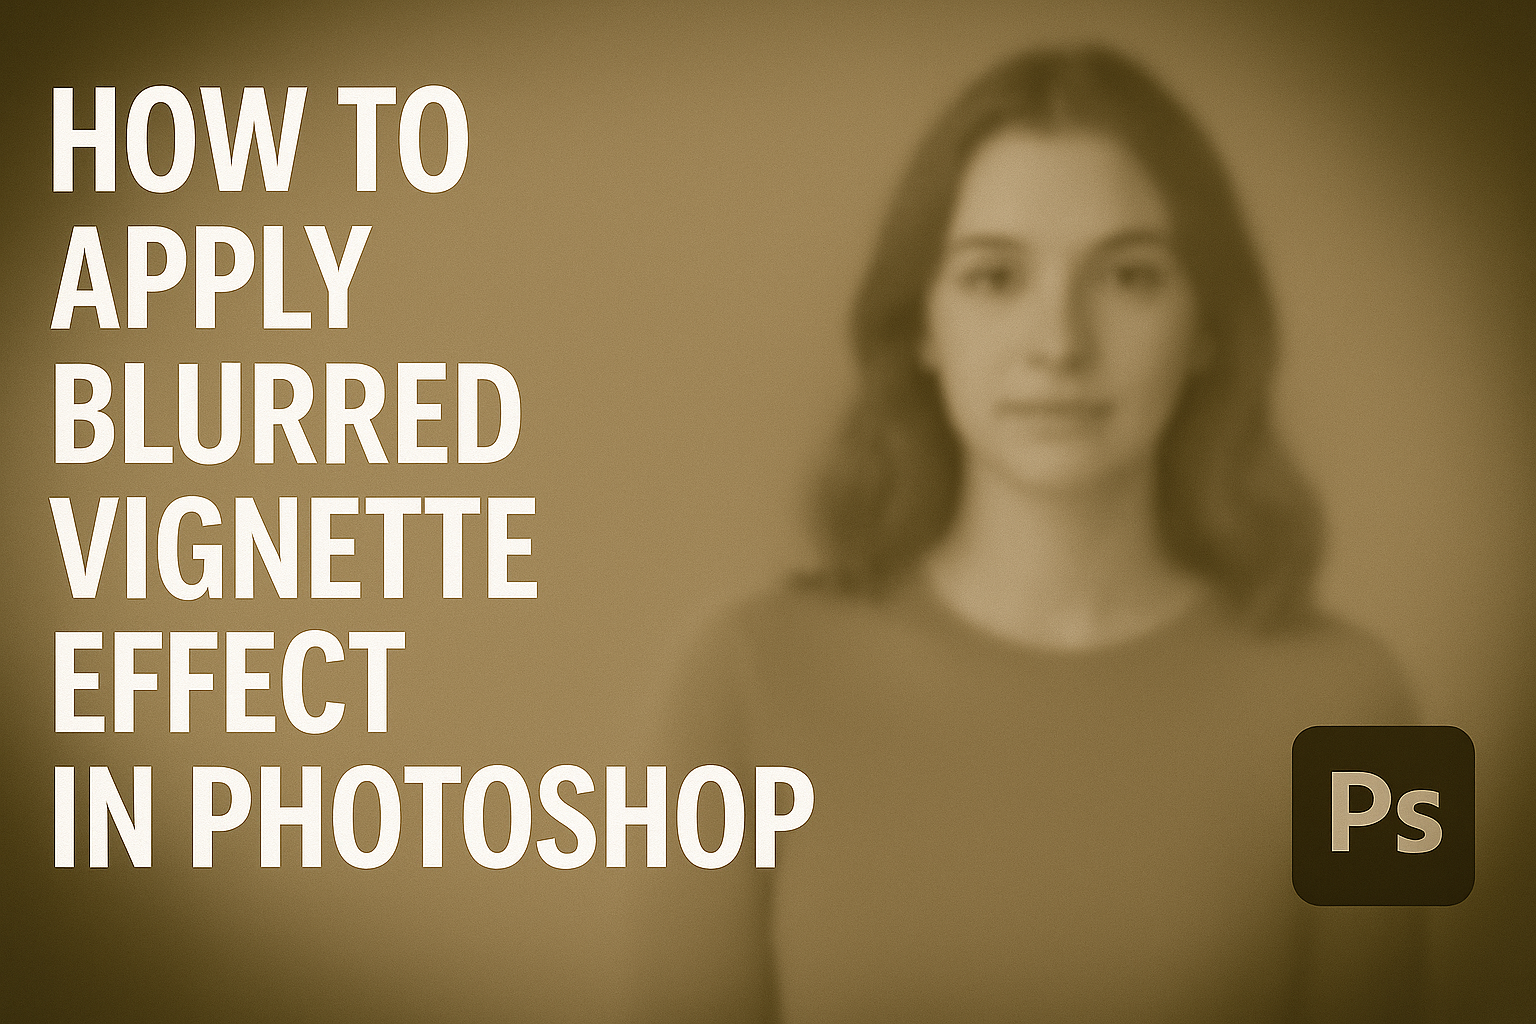
Creating a blurred vignette effect in Photoshop can add a professional touch to your photos, drawing attention to your main subject while subtly fading the edges. This technique enhances portraits and various compositions by providing a soft, artistic frame to any picture.
To apply a blurred vignette effect, use Photoshop’s layer masks and adjustment layers to control the blur and focus on your subject.
For beginners and experienced users alike, achieving this effect is straightforward. By opening your image in Photoshop, you can start by using a Lens Correction Filter or applying a Vibrance adjustment layer.
These tools allow you to tweak the saturation and contrast, enhancing the vignette’s subtlety and impact.
Whether you’re editing a casual photo or perfecting a professional shot, the blurred vignette effect is a versatile tool in your Photoshop arsenal. It allows photographers and designers to elevate their visual storytelling, offering a gentle yet impactful focus shift that can captivate viewers.
Understanding the Vignette Effect
The vignette effect is a powerful tool in photography. It draws focus to the center of an image. By subtly darkening the edges, it enhances the visual impact and adds depth.
History of Vignetting in Photography
The vignette effect has roots in traditional film photography. Originally, it was an unintended result of lens design, causing the corners of photos to appear darker. Photographers soon embraced this as a creative tool.
In earlier days, vignetting was often seen as a flaw. Yet, as photography evolved, artists started using it purposefully to guide the viewer’s attention. Through the years, the effect became a popular way to add a classic touch to images.
With the rise of digital photography, vignetting became easier to control. Software like Photoshop allows photographers to apply this effect with precision. This shift has made the vignette effect more accessible to both amateurs and professionals.
Benefits of Adding a Vignette
Adding a vignette effect can enhance a photo in several ways. It helps to center the viewer’s focus on the most important part of the image. This can be particularly useful in portraits or nature shots.
Vignettes also create a sense of mood. By darkening the edges, an image can evoke emotions like nostalgia or drama. This makes them a favorite tool for storytellers working with images.
Apart from artistic appeal, vignetting can simplify a busy scene. It reduces distractions by blurring out less important details along the edges. This makes the main subject stand out more clearly.
Photographers find it an effective way to subtly emphasize their intended focal points.
Getting Started with Photoshop
Before applying a blurred vignette effect, it’s essential to understand how to navigate the Photoshop interface and set up your project. This knowledge will help streamline your workflow and ensure you’re ready to create stunning effects.
Navigating the Photoshop Interface
Photoshop might seem complex, but with a bit of guidance, it becomes easy to manage.
The Toolbar on the left contains essential tools like the brush, eraser, and selection tools. It’s important to familiarize oneself with these tools to select objects and edit images.
At the top is the Options Bar, where settings for each tool are available. Adjusting settings here can significantly impact how the tools behave, providing more control over edits.
On the right, the Panels, such as Layers and Adjustments, help manage and tweak projects. Understanding how to use these panels is crucial, as they allow for non-destructive editing, ensuring that all adjustments can be edited or reversed later.
Setting Up Your Project
Starting a project in Photoshop involves a few straightforward steps.
First, create a new document by heading to File > New. Here, set the desired dimensions, which depend on the project’s goals. Choose the correct resolution for print or digital media; 300 DPI is best for print, while 72 DPI is suited for digital.
Then, unlock the background layer by double-clicking it in the Layers panel. This step allows for more dynamic editing within your project.
Organize your workspace by dragging and dropping panels into positions you prefer. Customizing the workspace can make the process more efficient, helping to focus on the creative elements of applying effects like the blurred vignette.
Creating a Vignette Base
Creating a vignette base in Photoshop involves selecting the right layer to work on and using tools to shape the vignette effect. This step ensures a smooth transition when adding the effect, which enhances the image’s focus.
Selecting the Appropriate Layer
Before adding a vignette, it’s important to choose the correct layer. If the image layer is locked, it needs to be unlocked to enable editing. This can be done by double-clicking the layer in the Layers panel and renaming it.
Working with a Smart Object provides more flexibility, allowing non-destructive edits. Converting the layer to a Smart Object can be done by right-clicking the layer and selecting “Convert to Smart Object.” This way, any adjustments applied, like blurring, can be changed or removed at any time without affecting the original image quality.
It’s also a good idea to keep an original backup layer. This allows the creator to retain the original state of the image and compare it with the edited version.
Choosing the Elliptical Marquee Tool
The Elliptical Marquee Tool is crucial for creating a vignette. It forms the basis by defining the area of focus and the shaded edges.
To select the tool, users can press “M” on the keyboard or find it in the toolbar on the left.
Once selected, click and drag over the image to create an ellipse. Holding the “Shift” key while dragging maintains a perfect circle, which may suit some designs better. For a centered ellipse, pressing the “Alt” (Option on Mac) key while dragging starts the selection from the center point outward.
After making the selection, a feathering effect should be applied to soften the edges. This can be set by navigating to “Select” in the top menu, choosing “Modify,” and then “Feather.” Typically, a feather radius between 30 to 50 pixels works well depending on the image’s resolution.
Applying the Blurred Effect
To create a blurred vignette in Photoshop, it’s crucial to manipulate edge feathering and blur intensity. These adjustments help in creating a soft transition and controlling the overall effect appearance.
Feathering the Edges
Feathering the edges makes the transition from the focused center to the blurred border smooth.
In Photoshop, users can achieve this by using a layer mask on their image. They can start by selecting the elliptical marquee tool to define the area to be kept in focus.
Once selected, they should shift to Select and Mask to refine the edges. Here, feathering can be adjusted to soften the transition.
A higher feather value will create smoother transitions, while a lower setting keeps the distinction sharp. This step is fundamental in creating an elegant, subtle vignette that doesn’t distract.
Adjusting the Blur Intensity
The intensity of the blur determines how much of the background is softened.
Users can adjust this by applying the Gaussian Blur filter on the selected layer mask. By navigating to Filter > Blur > Gaussian Blur, the intensity slider allows for precise control.
It’s important to experiment with different levels to match the desired mood of the image. Too much blur might lose detail, while too little might not give the desired effect. Adjusting it helps in achieving the perfect balance, ensuring that the central focus remains sharp and the background gently fades away.
For a more automated approach, Photoshop’s Quick Actions feature provides easy, one-click adjustments to add and refine vignettes as well.
Fine-Tuning the Vignette
To perfect a vignette effect, adjusting opacity and blend modes can help it blend smoothly into the image. Altering color and exposure levels can further enhance the intended mood and focus of the photo.
Modifying Opacity and Blend Modes
Adjusting opacity is crucial for blending the vignette with the underlying image.
By lowering the opacity, the vignette becomes subtler, allowing for a more natural transition. This technique is particularly useful for achieving a soft edge that gently fades into the rest of the photo.
Blend modes also offer versatile ways to affect how the vignette interacts with image elements.
For instance, using a multiply blend mode can darken the outer edges effectively, while screen mode may help to brighten them. Experimenting with these settings provides creative control and helps achieve the desired effect without overpowering the main image.
Altering Color and Exposure
Color adjustments can significantly impact the vignette’s effect.
By fine-tuning the hue, saturation, and brightness, the vignette can be made to complement or contrast with the focal point of the photograph. This approach helps draw attention exactly where it is needed.
Exposure changes are another important aspect.
Increasing exposure helps lighten the vignette, creating a softer and airy look, while reducing exposure adds depth and moodiness. This is especially valuable for setting the right atmosphere or highlighting specific parts of the image.
Using adjustment layers in Photoshop enables quick tweaks without altering the original image. This non-destructive method allows endless experimentation, ensuring the final outcome aligns perfectly with artistic vision while keeping the creative process flexible.
Adding Final Touches
In Photoshop, applying a blurred vignette effect can give photos a softer look. Once the vignette is in place, refining specific details and ensuring proper export settings are key steps.
Sharpening the Focus Area
After creating a blurred vignette, the focus area may need sharpening to stand out against the softened edges.
Begin by selecting the focus area carefully using selection tools like the Lasso or Quick Select tool.
With the area selected, apply a sharpening filter. The Unsharp Mask or the Smart Sharpen filter is often recommended because they provide control over the sharpening amount and radius.
Adjust the sliders until the focus area appears crisp but not too overdone.
Zooming in will help to see the sharpening effects more clearly. Make sure the subject isn’t oversharpened, which can lead to an unnatural look. Always preview the changes and toggle the before and after view to adjust accordingly.
Saving and Exporting Your Work
When the image looks just right, knowing the best ways to save and export is crucial.
First, go to the File menu and use Save As to create a master file. This keeps all layers and edits intact, which is essential if further tweaks are needed later.
For sharing or online use, exporting is the next step.
Choose Export As or Save for Web from the File menu.
JPEG is typically good for sharing online due to its balance of quality and file size. However, if transparency is needed or higher quality, consider using PNG.
Before finalizing, check the dimensions and quality settings to ensure the image looks great across different devices and platforms.
Tweaking these settings ensures that the final image retains its visual impact.