Animating artwork can bring creations to life, transforming static images into engaging stories. Procreate’s Animation Assist is a powerful tool that makes frame-by-frame animation accessible and straightforward. By enabling Animation Assist, artists can easily manage frames and create smooth animations directly on their iPad.
The process begins by accessing the Animation Assist feature, available in the app’s settings. From there, a new timeline appears, allowing artists to adjust each frame with precision. This way, Procreate offers diverse options for animators, whether they’re beginners or more experienced in digital artistry.
Artists can benefit greatly from features like onion skinning, instant playback, and storyboard thumbnails. These allow for easy edits and seamless transitions between frames. Procreate’s Animation Assist invites creative minds to explore new dimensions of their artistic abilities. This feature simplifies the animation process and expands the possibilities for sharing art with the world.
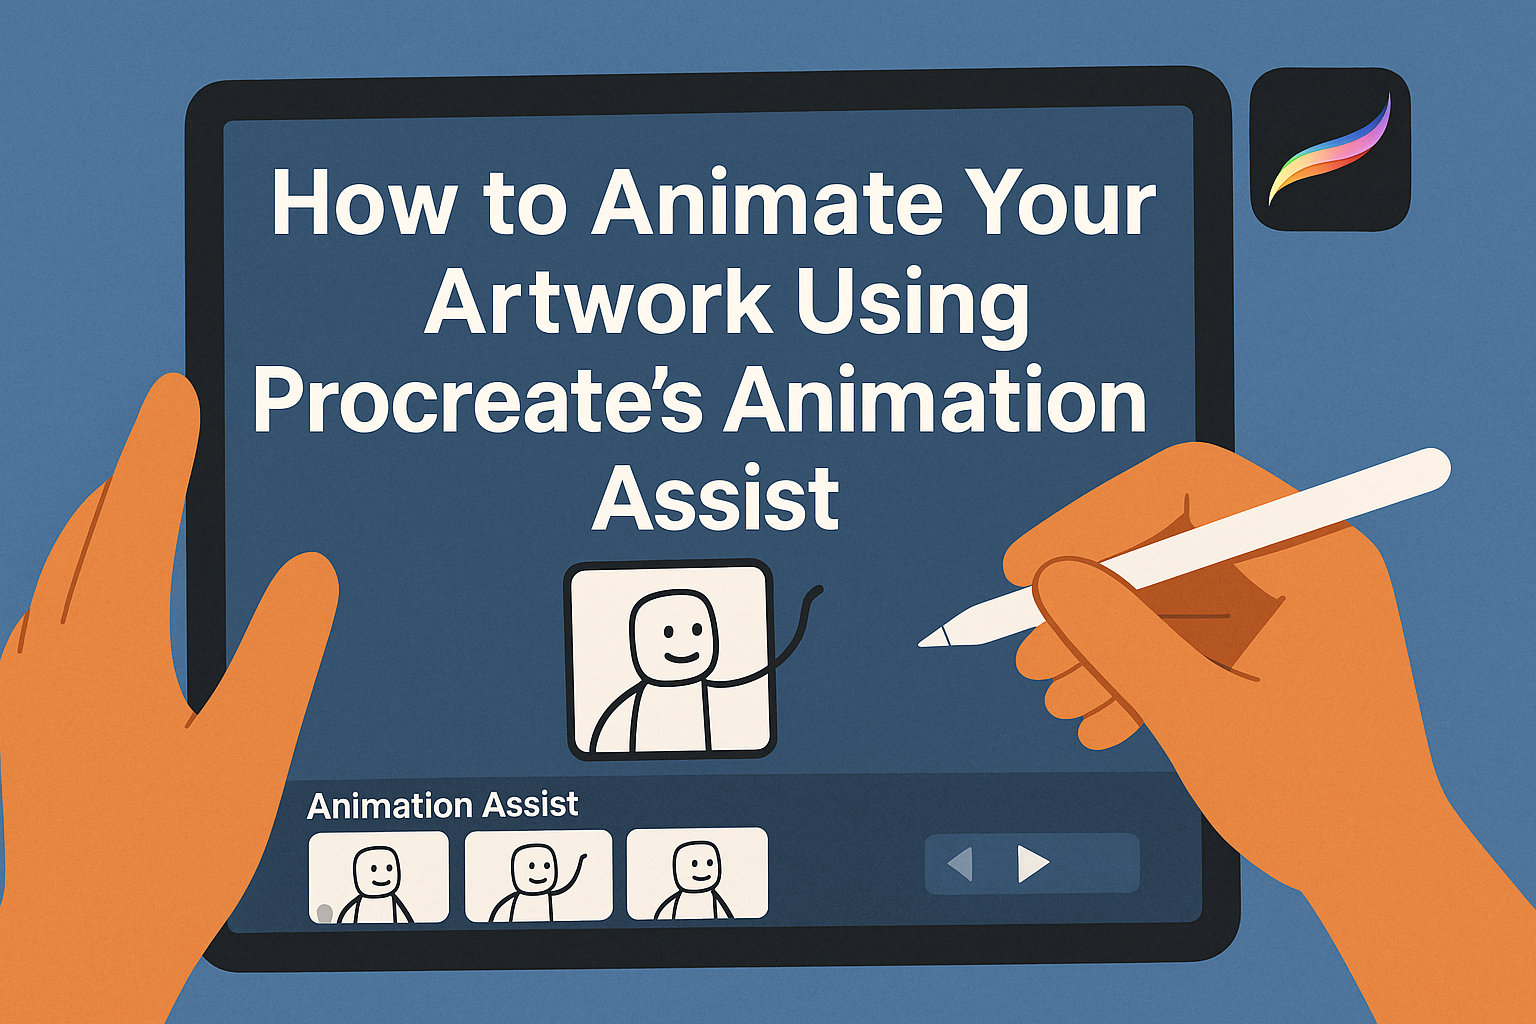
Getting to Know Procreate’s Animation Assist
Procreate’s Animation Assist introduces artists to a set of tools designed to create stunning animations. This section covers its features, setup process, and navigational tips to enhance your animation experience in Procreate.
Overview of Animation Features
Animation Assist in Procreate offers several useful tools for animators. The onion skinning feature allows users to see multiple frames on screen, making it easier to create smooth motion. Instant feedback is provided through quick playback options that let artists see their progress.
A visual timeline lays out frames clearly. It provides a streamlined view of the animation, ensuring ease of editing and manipulation. Artists can efficiently manage and edit individual frames this way. Being able to share art in various formats further enhances the versatility of Animation Assist.
Setting Up Animation Assist
Getting started with Animation Assist is simple. Users need to activate the feature by clicking on the wrench icon. This icon is located at the top corner of the screen in Procreate. Next, by selecting the Canvas option, the Animation Assist toggle appears.
Switching this feature on will bring the animation controls to the bottom of the interface. This easy setup lets artists jump right into animating without any hassle. With the controls now visible, it’s straightforward to add new layers or frames to the project.
Navigating the Animation Toolbar
The animation toolbar is intuitive and user-friendly. Once activated, it appears at the screen’s bottom. The toolbar includes buttons for adding frames, playing back animations, and adjusting onion skin settings.
Each button is clearly labeled, ensuring that even beginners can navigate it with ease. The timeline view shows all frames in sequence, making it simple to rearrange or delete frames as necessary. Additionally, artists can use this toolbar to adjust the duration and speed of each frame, allowing for precise control over how their animation unfolds.
Creating Your First Animation
Creating your first animation in Procreate involves guiding the user through sketching, adding frames, and managing layers effectively. Each step builds upon the last, providing a clear path from static artwork to a fully animated creation.
Sketching Your Artwork
Start by opening a new canvas in Procreate. This is where your animation begins. Use the brush tool to sketch your artwork. Keep it simple to avoid overwhelming detail, as complex sketches can complicate the animation process.
Think about key elements you want to animate. Identify objects that will move or change, and highlight them lightly. This will make it easier to separate these areas in the frames later on.
Ensure your sketch is clear and consistent, focusing on the parts that need motion. Quality sketches will serve as the backbone for smooth and effective animations.
Adding Frames to Your Animation
Once your sketch is ready, it’s time to add frames. Activate Animation Assist by tapping the wrench icon and selecting ‘Canvas’. Toggle on the ‘Animation Assist’ option. This will bring up a visual timeline at the bottom of your screen, showing your frames.
Begin adding frames for each step of motion. A good rule of thumb is to keep frames consistent in spacing for smooth transitions. Start with a few frames and increase as needed to capture the motion accurately.
Use onion skinning—a tool that shows previous frames as ghost images—to help align and adjust frames effectively. This feature ensures consistency and fluidity in your animation.
Layer Management for Animation
Layer management is crucial when animating in Procreate. Each frame is essentially a layer, so keeping them organized will save time and effort. Name layers clearly, especially if certain elements need to stay consistent across frames.
Use foreground and background layers to maintain a steady backdrop while animating moving parts separately. This eliminates unnecessary redrawing of static elements.
Consider merging layers when patterns or repeating elements become too numerous, allowing for more space and easier management. Good layer management will enhance workflow efficiency and make complex animations easier.
Refining Your Animation
When refining your animation in Procreate, focus on adjusting frame duration, exploring onion skin modes, and editing individual frames. Each aspect enhances the overall quality and smoothness of your animation.
Adjusting Frame Duration
Adjusting frame duration is essential for achieving smooth transitions. In Procreate, users can change the duration of each frame to control the speed and flow.
To do this, tap the frame’s thumbnail at the bottom of the screen. A slider will appear that allows users to increase or decrease the time each frame is displayed.
Shorter durations create quick action, while longer durations slow things down for detailed sequences. It’s important to experiment with different settings to find the right balance for the animation’s pacing. Consistency between frames can also contribute to a polished final result.
Onion Skin Modes Explained
Onion skin modes are useful for seeing multiple frames at once while creating animations. In Procreate, this feature can be turned on through the animation settings.
It allows animators to view transparent overlays of both the previous and next frames simultaneously. This helps in aligning and adjusting movements between frames more accurately.
Users can change the number of onion skin frames visible, modifying how much of the previous and following frames are shown. This flexibility aids in ensuring smooth transitions and consistency throughout the animation. It is especially helpful for complex movements, where precise adjustments are needed.
Editing Individual Frames
Editing individual frames is a crucial part of refining an animation. Each frame can be modified by selecting it and making changes directly on the canvas.
Artists can edit elements like position, size, and color. This is helpful for correcting mistakes or adding details that enhance the animation. The layers for each frame remain available, making it easier to make these adjustments without affecting other frames.
For precise edits, using the zoom feature can help focus on small details, ensuring high-quality results. By carefully reviewing and tweaking each frame, animators can achieve a professional and polished look for their artwork in Procreate.
Advanced Animation Techniques
Exploring advanced animation techniques in Procreate can elevate your artwork to a new level. By mastering playback modes, enhancing complexity with layers, and adding textures and effects, your animations can become more dynamic and visually appealing.
Loop, Ping-Pong, and Other Playback Modes
Playback modes in Procreate offer various ways to manage how your animation repeats. Loop mode plays your animation continuously from start to end. Ping-Pong mode adds a bounce effect by playing the animation forward and then in reverse.
These modes can add fluidity and seamlessness to your work. To access these modes, click on the wrench icon, go to the Animation Assist settings, and choose your desired playback option. Understanding these modes helps artists control the flow and rhythm of their animation pieces. It also adds engaging motions to the final product and makes repetitive actions smoother.
Using Layers to Create Complexity
Layers are essential in Procreate for adding depth and complexity to animations. Each layer can contain different elements of the animation, allowing you to separate the background, characters, and special effects. This keeps everything organized and easy to edit.
To start, sketch the main components on separate layers. Artists can also group layers to manage them better. By utilizing layers, animators create more detailed and interactive scenes without merging elements prematurely. Never merge the background too early, as emphasized in advanced animation tricks.
Adding Textures and Effects
By adding textures and effects, you can enhance the visual appeal of your animations. Procreate offers various brushes and adjustments to simulate different materials like watercolor, chalk, or pencil textures. Incorporate these brushes to give your animation a unique look and feel.
To add effects, start with adjustment layers to modify colors, brightness, or saturation. Artists can also explore blend modes to achieve different effects by layering and combining textures. These alterations can transform simple animations into eye-catching pieces, drawing attention to details and enriching the viewer’s experience.
Exporting Your Animated Artwork
Exporting your animated artwork from Procreate can help you share your creations with a wider audience. It’s important to know how to pick the right format, share on social media, and save to your device to ensure the best quality and accessibility for your animations.
Choosing the Right Format
When exporting animations from Procreate, selecting the correct file format is essential. Various formats serve different purposes. GIF is ideal for short, looping animations with limited colors, making it perfect for simple animations shared online.
On the other hand, MP4 is suitable for more complex animations, offering higher quality and larger file sizes. This is generally a good choice for animations with sound or when sharing on video platforms.
For those looking to have a high-quality backup, exporting as a Procreate file (.procreate) keeps all layers and settings intact. This format is not shareable or viewable on most devices but is perfect for revisiting and editing animations later.
Share to Social Media Platforms
Sharing animations directly from Procreate to social media platforms is both easy and efficient. Most users prefer sharing on Instagram, where visual content thrives. Ensure that your video length and format adhere to Instagram’s specifications—short videos under 60 seconds work best.
Facebook accommodates both GIFs and MP4s, allowing more flexibility. Meanwhile, TikTok focuses on MP4 files due to the emphasis on sound.
Procreate offers in-app options for direct sharing to many platforms. If needed, use third-party apps to add filters or captions before publishing, enhancing your post’s overall impact.
Saving to Your Device
Saving your animation to your device is a straightforward process. Decide whether you prefer saving as a video or GIF based on the animation’s complexity and intended use.
Use Export options to select your preferred format. Store videos in both the Photos and Files apps on your device to ensure easy access from any app or service.
Consider backing up important pieces to cloud storage. This prevents loss and allows access from different devices. Cloud services like iCloud or Google Drive offer free space and security for your artwork.
Tips for Workflow Efficiency
Animating in Procreate can be made more efficient by using gesture controls, keeping frame rates consistent, and utilizing shortcuts. These strategies can help in creating smooth and effective animations in less time.
Customizing Gesture Controls
Procreate allows users to personalize gesture controls to fit their workflow. By customizing these, an artist can tailor their workspace for quick access to often-used functions. For instance, assigning a specific gesture for undoing actions can save time and streamline the creative process.
To adjust gesture controls, one can go to the app’s preferences. Gestures can be set for tasks like switching tools or layers with a simple tap or swipe. This flexibility helps artists focus more on their art and less on navigating menus, ultimately speeding up the progress of animation projects.
Maintaining Consistent Frame Rates
A consistent frame rate is crucial for a smooth animation. If frame rates fluctuate, the animation can appear jittery or disjointed, which may disrupt the viewer’s experience. In Procreate, artists can set a steady frame rate to ensure fluidity.
Adjusting the frame rate can be done in the Animation Assist bar by setting frames per second (fps) appropriate for the animation’s style and pacing. Beginners might start with a basic understanding of animation speed, while more advanced animators can experiment with different rates for dynamic effects.
Procreate Shortcuts for Animation
Leveraging shortcuts in Procreate can significantly enhance productivity, especially during animation. By memorizing and utilizing key shortcuts, artists can minimize manual navigation and concentrate more on their creative output.
In the Animation Assist interface, shortcuts can be used for adding new frames, duplicating layers, or onion skinning. These shortcuts are intuitive and can be learned quickly, making the animation process smoother. Artists can focus better on bringing their artwork to life without unnecessary interruptions caused by manual adjustments.
Animating with a Storyboard
A storyboard helps organize thoughts and scenes before starting the animation process. It acts like a roadmap, guiding animators on how the story unfolds. By sketching out key frames and transitions, creators can better visualize the flow and pacing.
This process involves deciding on the beginning, middle, and end of the animation. Each panel should depict a crucial moment in the story. Once the storyboard is complete, animators have a clear guide that can save time and prevent creative blocks.
Experimenting with Different Art Styles
Trying various art styles can spark new ideas and perspectives in animation projects. Each unique style can convey different emotions and moods. For instance, a whimsical, cartoonish style may suit a fun and light-hearted story, while a more realistic approach might be ideal for dramatic narratives.
Experimentation often leads to discovering new techniques and expanding artistic skills. Animators might try mixing styles, which can result in innovative and eye-catching visuals. Procreate’s tools allow for easy style-switching, making it ideal for exploring creative possibilities.
Incorporating Sound and Music
Sound and music play a crucial role in enhancing the viewer’s experience. They bring an animation to life by adding depth and realism. A well-chosen soundtrack can evoke specific emotions and complement the visual story.
Creators can add sound effects for particular actions or moments to heighten drama or humor. It is important to ensure that the audio elements match the animation’s tone and rhythm. Using Procreate in combination with audio-editing software can refine the soundtrack and sync it perfectly with the visuals.